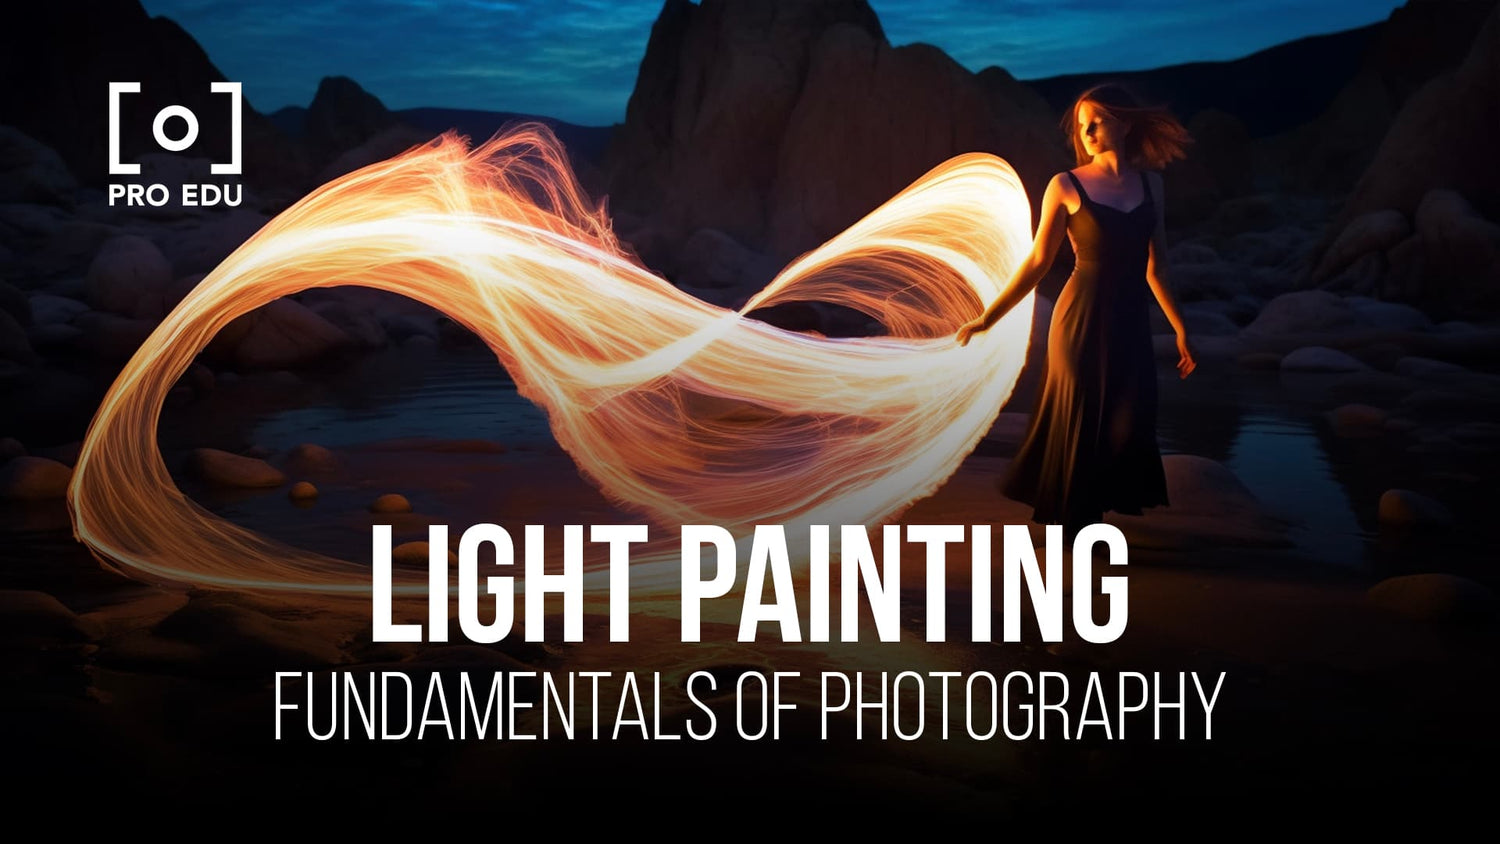
Exploring the Art of Light Painting in Photography: A Comprehensive Guide
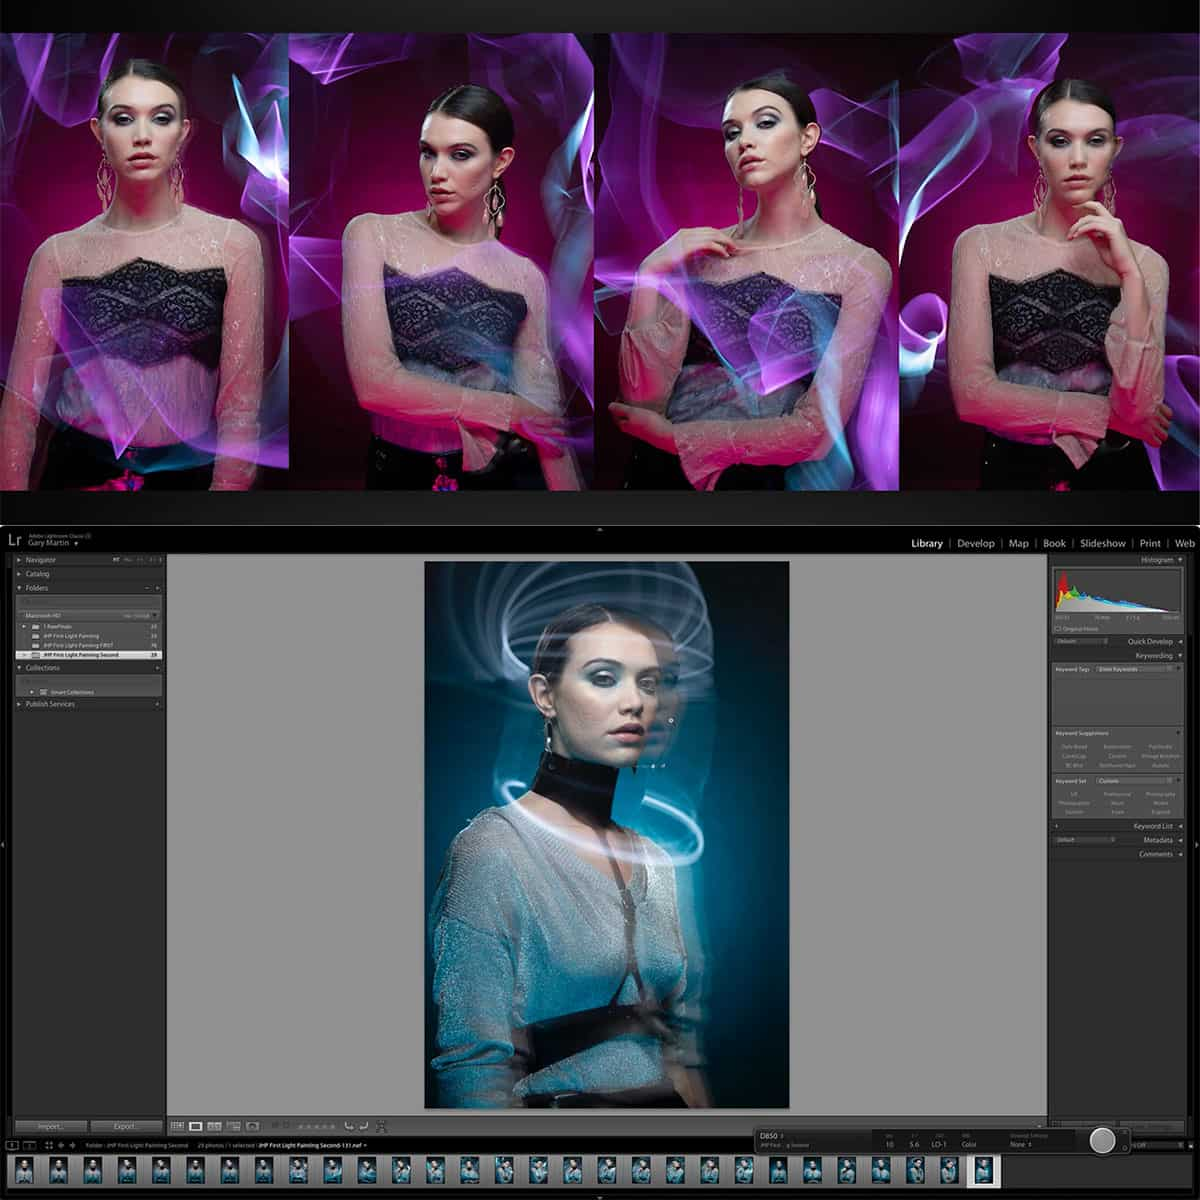
Light painting, a captivating photography technique, involves using a handheld light source to create moving, luminous artwork in a single exposure. By setting the camera to a longer exposure time, photographers can manipulate the light, capturing its vibrant motion and creating ethereal, visually stunning images.
This art form encourages photographers to unleash their creativity, as the possibilities for light painting are nearly limitless. Experimenting with different light sources and ingenious techniques, photographers can delve into this fascinating world and produce truly unique imagery.
Key Takeaways
- Light painting utilizes handheld light sources and long exposure times to create dynamic images
- Experimentation with various light sources and techniques encourages creativity and artistic expression
- Mastering the fundamentals of light painting can lead to advanced techniques and applications in photography
Fundamentals of Light Painting
Camera Basics
In light painting photography, understanding the fundamentals of your camera is essential. The three key aspects to focus on are shutter speed, aperture, and ISO. Every camera has a shutter, which opens and closes to control the amount of light reaching the sensor. To capture light paintings, you'll need to have your shutter open for an extended period of time.
The aperture controls the amount of light that enters the camera by adjusting the size of the opening in the lens. A smaller aperture (higher f-number) will let less light into the camera, which is suitable for light painting because the light source will be bright and moving. Lastly, the ISO determines the camera's sensitivity to light. Lower ISO values mean less noise in the image and should be used for light painting.
Long Exposure Photography
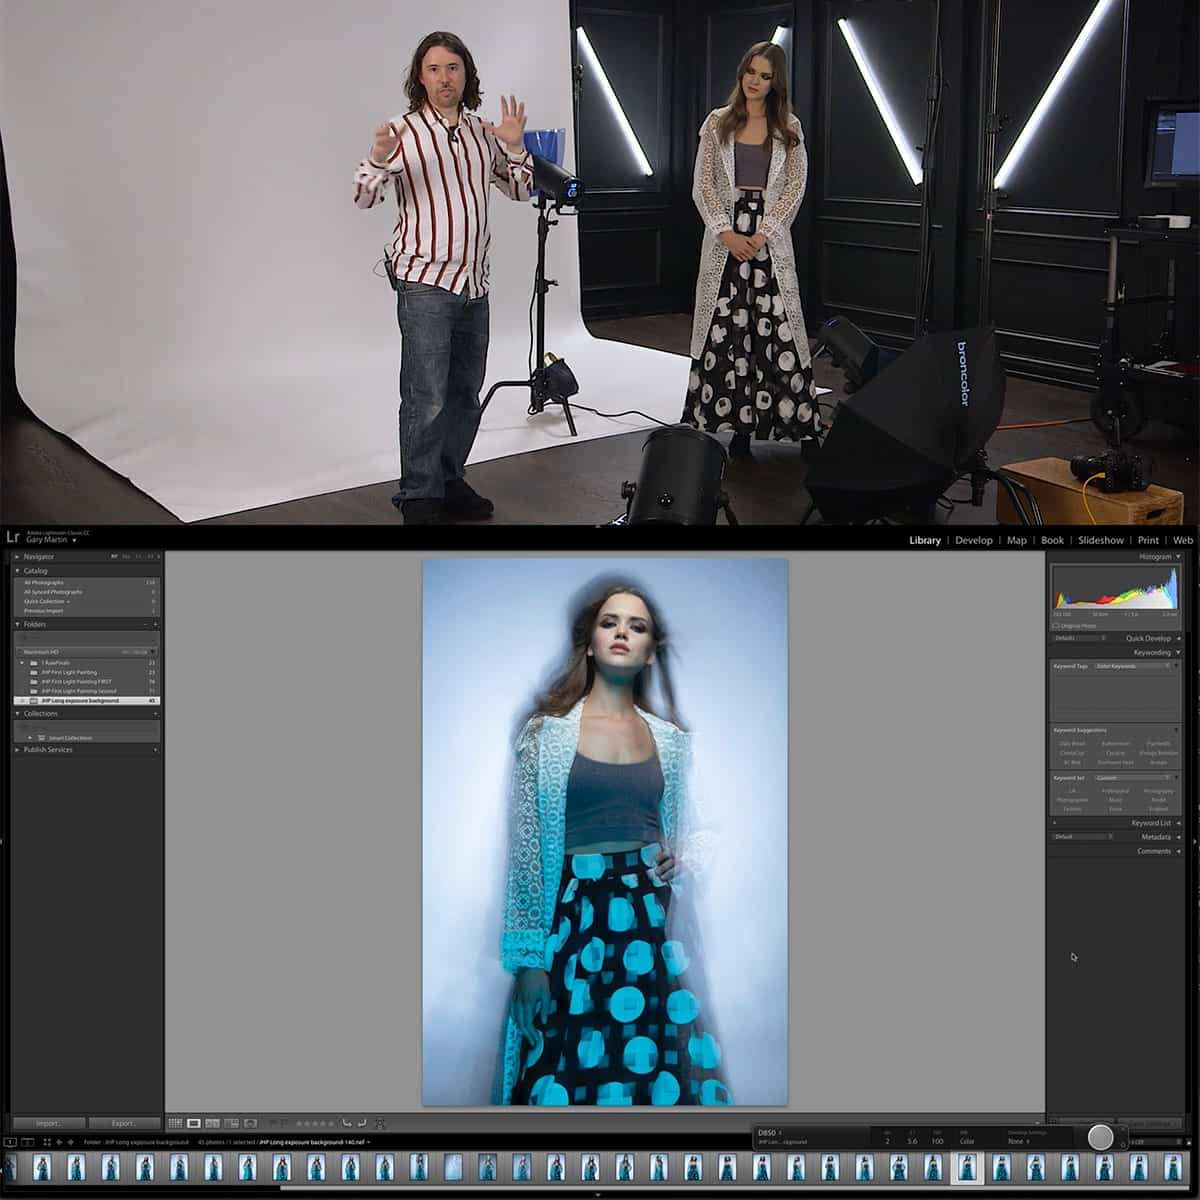
Light painting is closely related to long exposure photography. In this technique, the camera's shutter is open for an extended time, capturing the movement of light sources to create fascinating images. A tripod is an essential tool for long exposure photography, as it stabilizes the camera and prevents unwanted motion blur.
Setting your camera to manual mode is vital for light painting. This allows control over the shutter speed, aperture, and ISO to create the perfect exposure. Experiment with different settings, and remember that practice makes perfect! Enhance your photography skills by taking advanced photography courses to further explore light painting techniques and other creative ideas.
In conclusion, understanding the camera basics and long exposure photography techniques are the foundations for creating stunning light painting images. With practice and experimentation, you can develop your artistic vision and take your photography skills to new heights.
Techniques and Tools for Light Painting
Choosing Light Sources
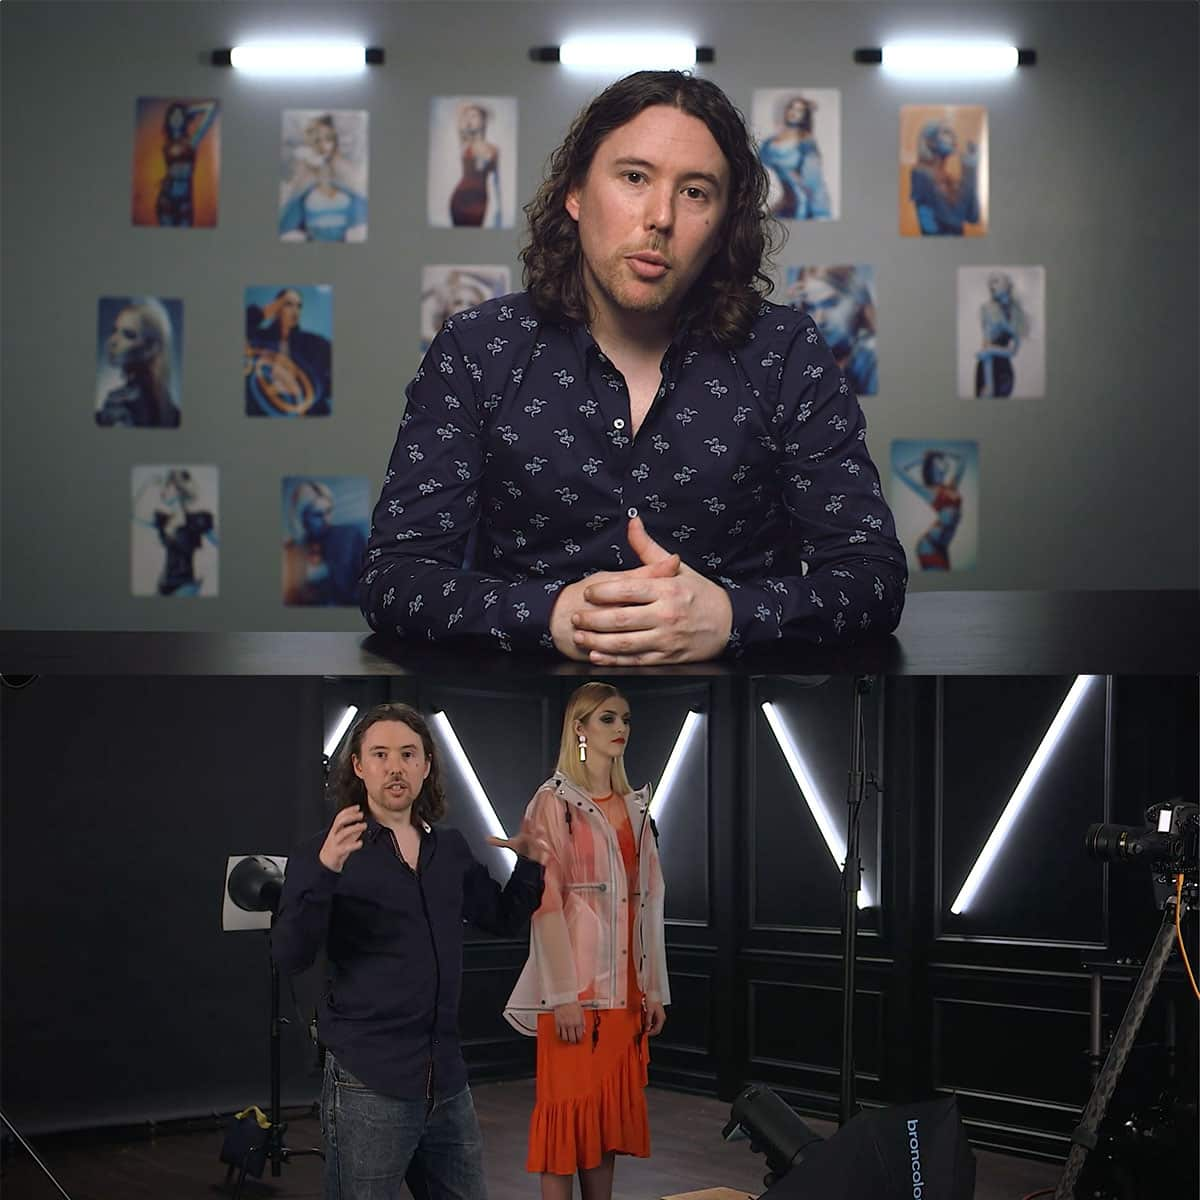
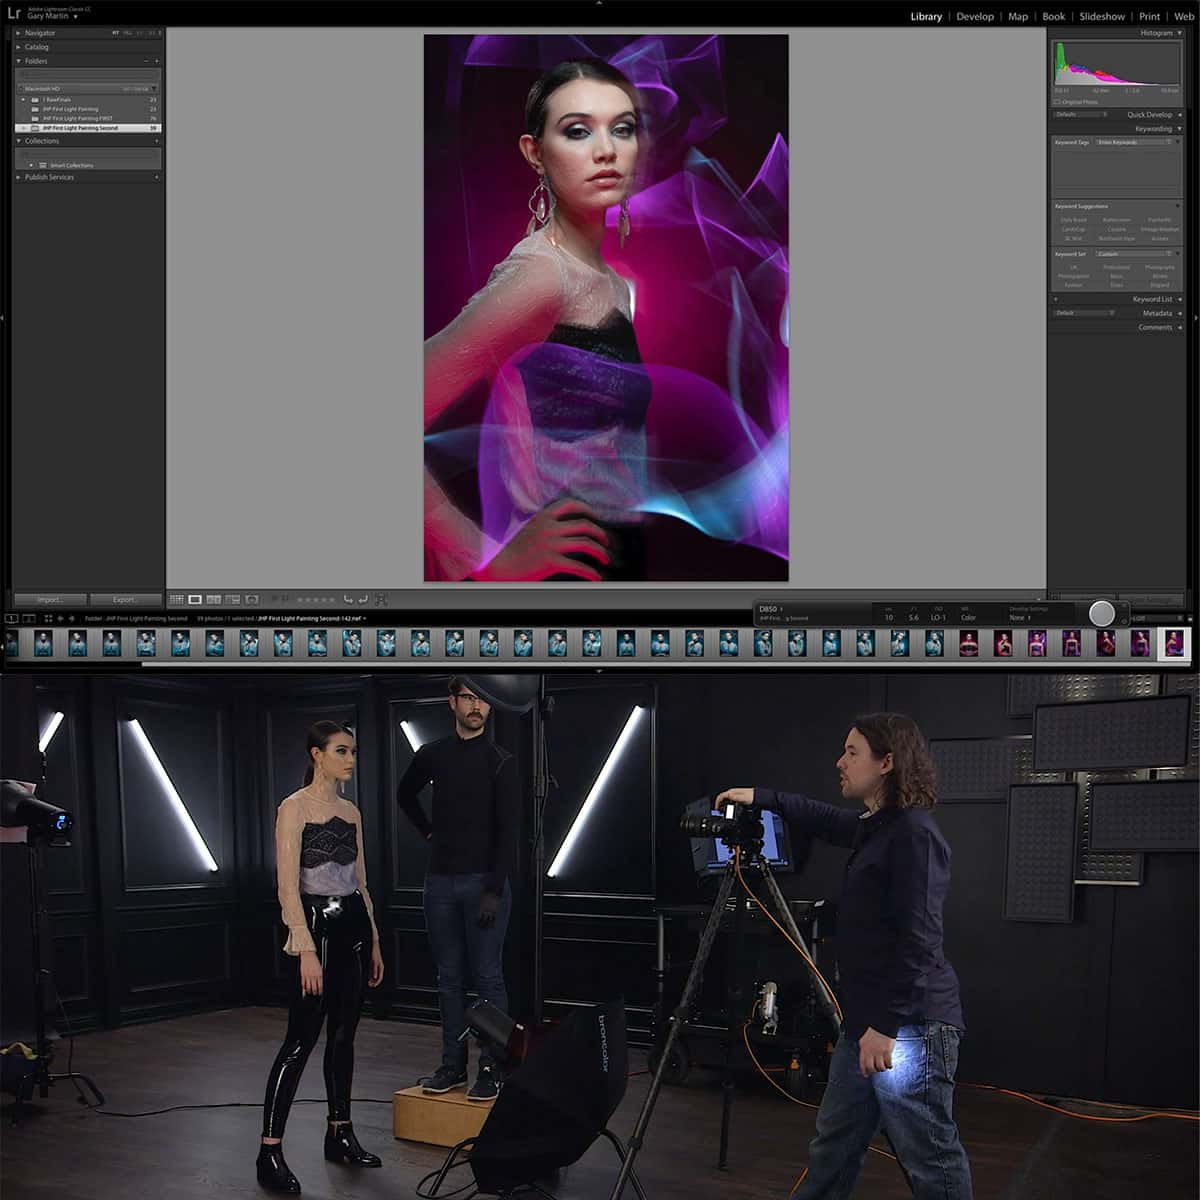
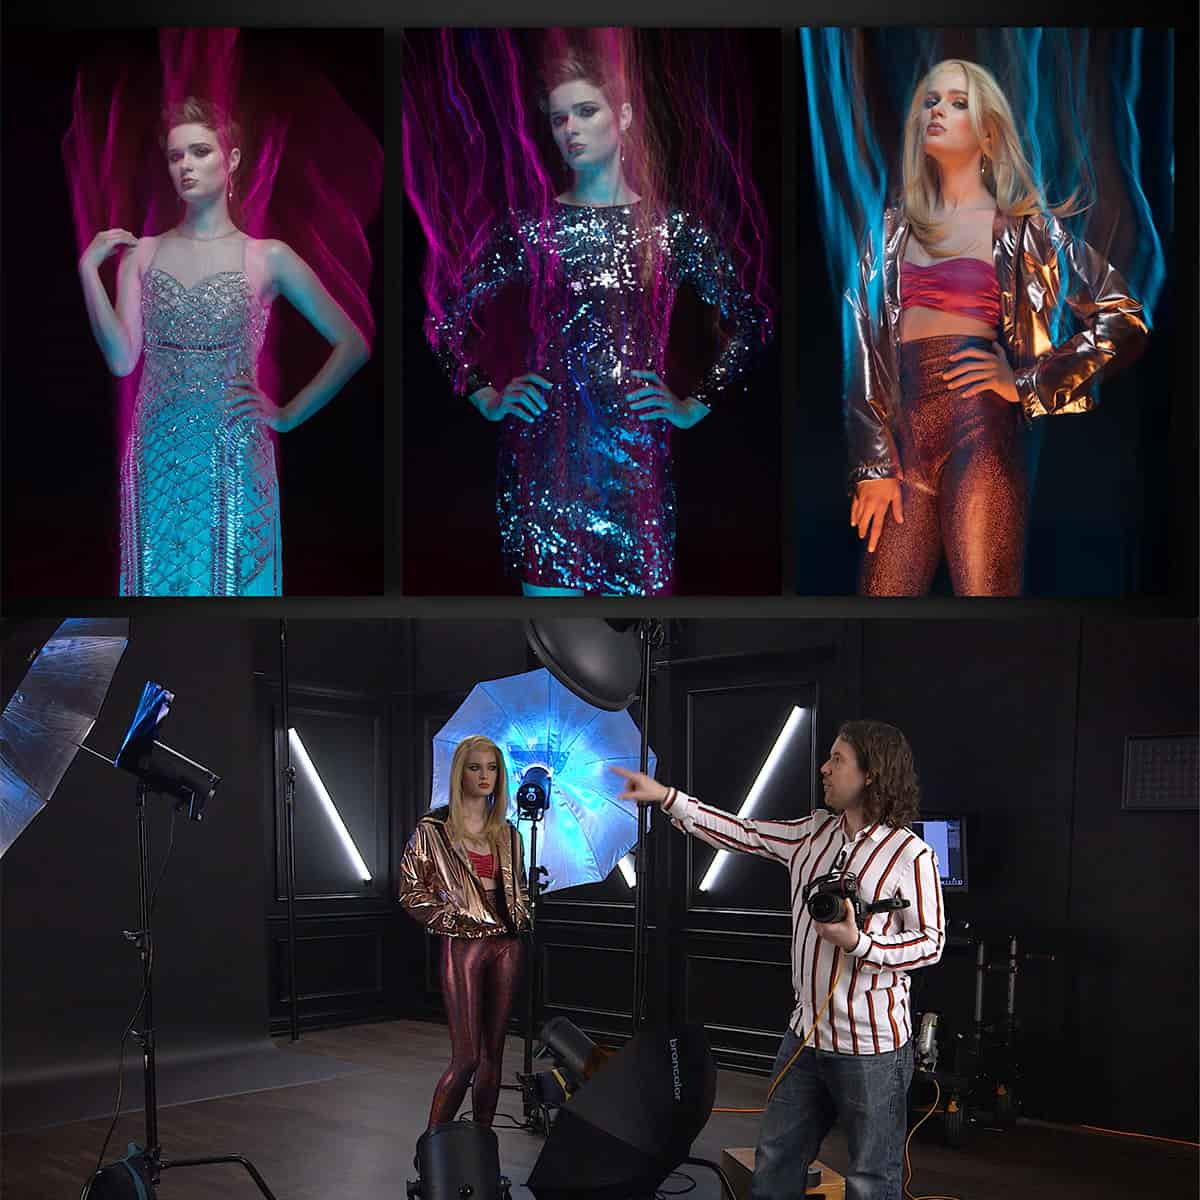
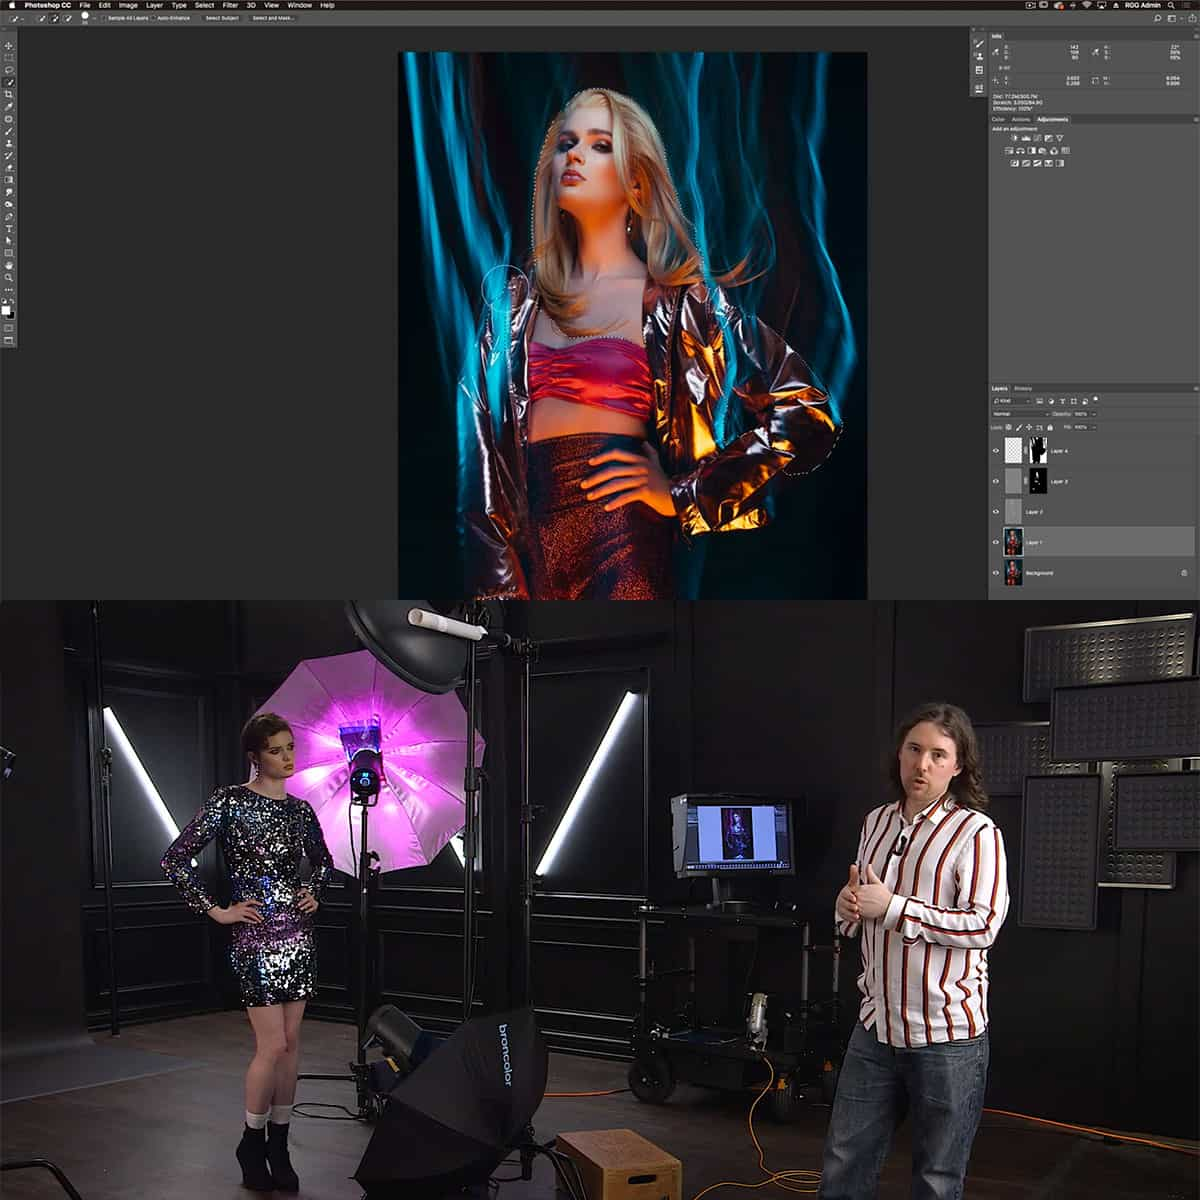
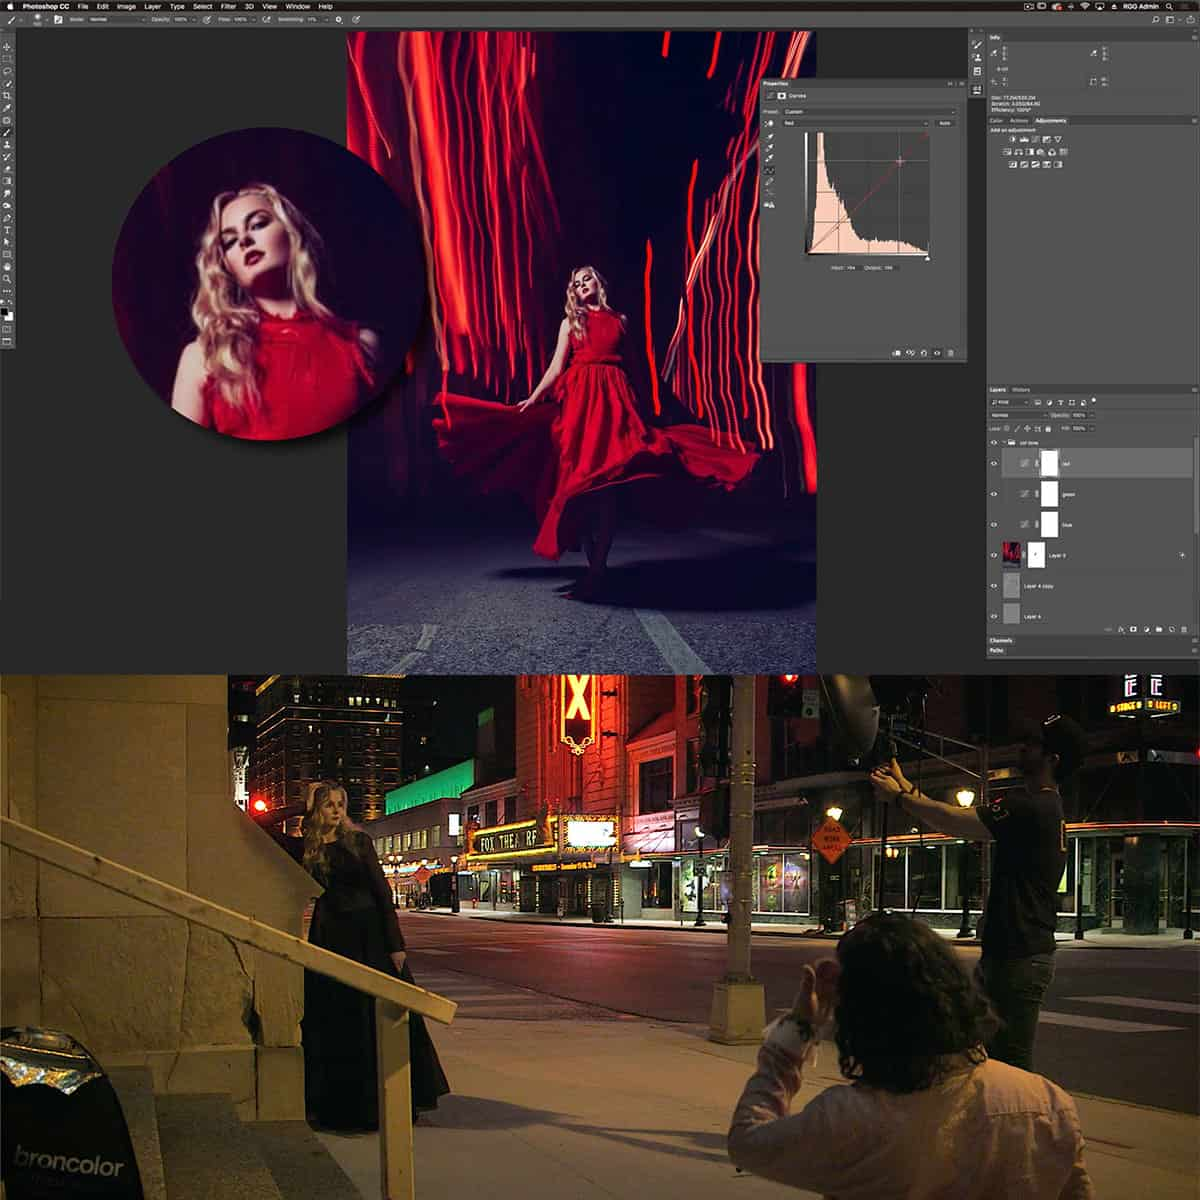
When exploring the art of light painting in photography, we must first consider the light sources we will use. Common light sources for this technique include flashlights, torches, and LED lights. The choice of light source can significantly impact the final result, so it's essential to experiment with various options to find the one that best suits our creative vision.
Setting Up Your Camera
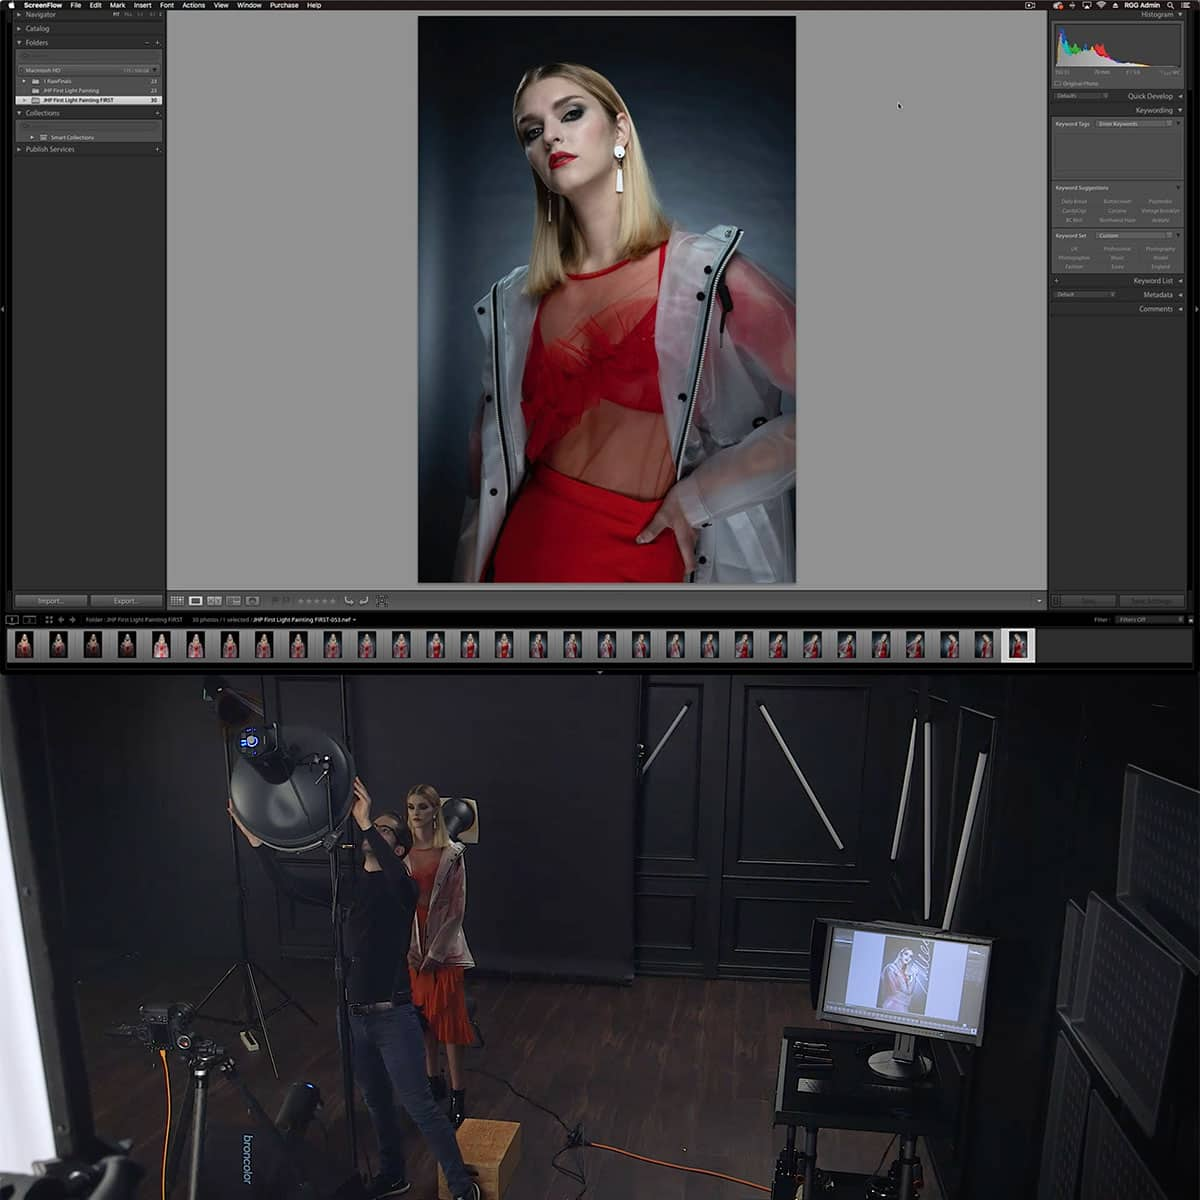
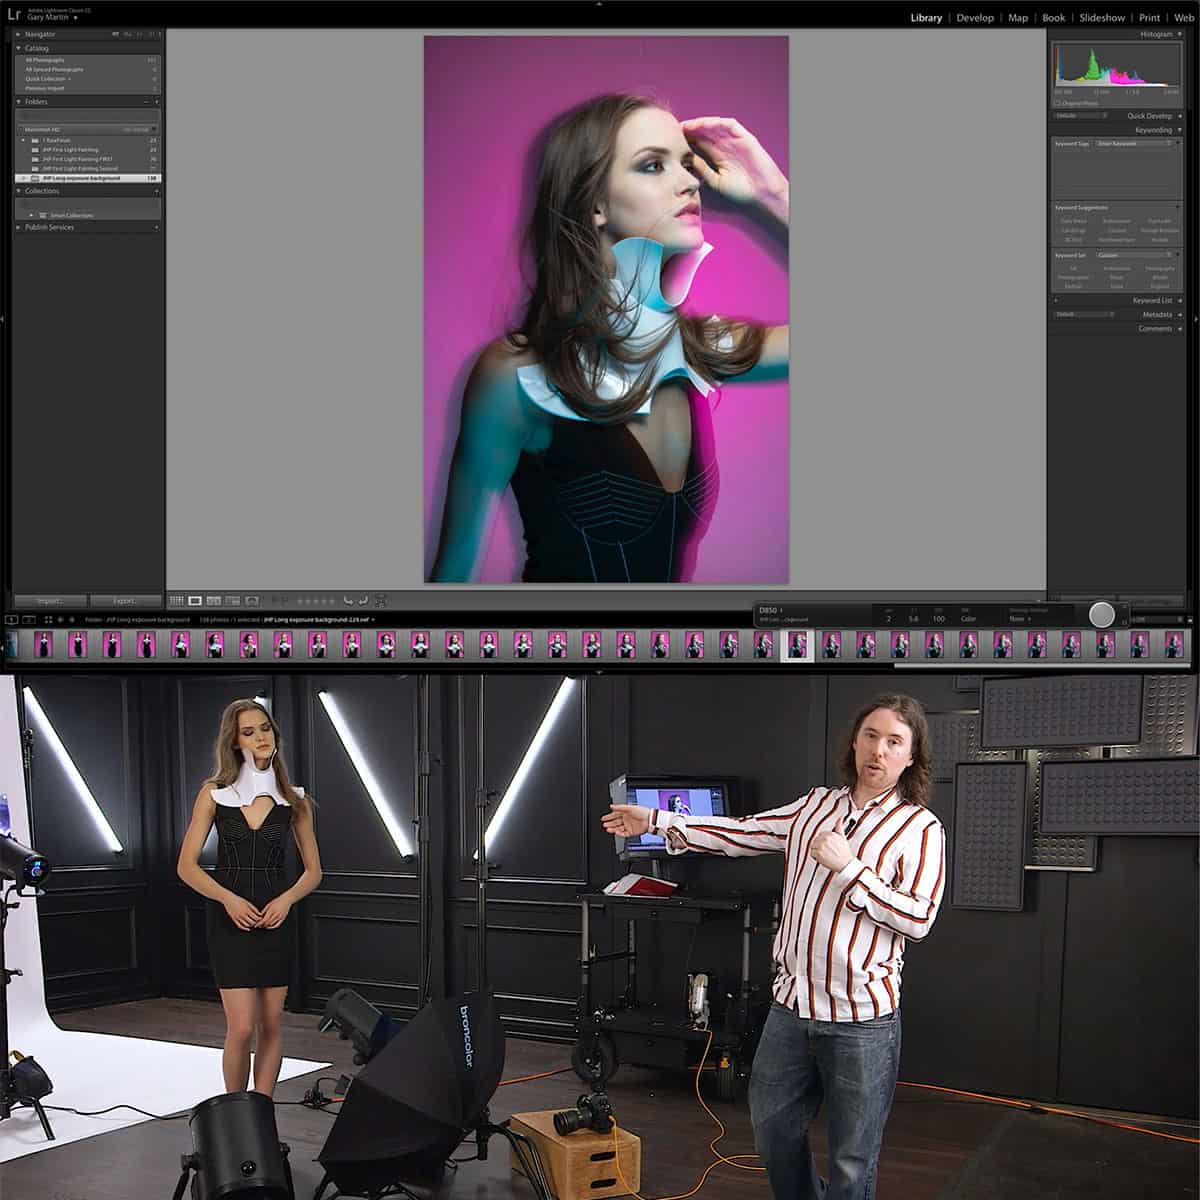
Proper camera settings are crucial in achieving successful light painting photography. Long exposure techniques, such as setting a slow shutter speed, and using a tripod to keep the camera stable, are essential to create the desired effects1. Additionally, we need to adjust the ISO and aperture according to the surrounding light conditions and the desired depth of field.
Using the Right Gear
Aside from the camera and light source, several other pieces of gear can be useful for light painting photography.
-
Tripod: To ensure stability and sharpness, using a tripod is highly recommended2.
-
Remote shutter release: This tool helps prevent camera shake when pressing the shutter button and allows us to control the shutter without touching the camera3.
-
Colored gels and filters: By incorporating colored gels and filters, we can add variety and creativity to our light painting4.
By combining the right techniques, camera settings, and gear, we can create breathtaking and unique light painting images. However, it's essential to practice and experiment with various approaches to develop our skills and discover our creative style.
Creativity and Artistry in Light Painting
Exploring Creativity
When it comes to light painting, there are no limits to the creativity that we can explore. As an intersection of photography and art, this unique medium allows us to design captivating compositions using various light sources. By experimenting with different colors and intensities, we can bring a sense of depth and dimension to our images, transforming them into vivid and striking pieces of art.
Understanding Techniques
In light painting, we must first understand the techniques involved to effectively create our visions. Among the many light painting techniques, we can consider using long exposure times to capture the movement of the light source, as well as adjusting our camera settings accordingly. The more we practice, the more control we gain over our light painting tools, allowing for greater precision in our artistic expression.
Creating Styles
Our unique style in light painting will depend on a combination of factors: our choice of light painting tool, the technique employed, and our creative vision. By experimenting with various tools, such as LED lights, flashlights, or even fire, we can paint with light and express our individuality in our work. Moreover, collaborating with other artists or photographers can open up new possibilities for creating innovative and compelling styles.
Becoming proficient in light painting takes time and patience, but as we nurture our creativity and master the techniques, our artistic horizons will continue to expand. The world of light painting is a boundless playground for us to explore, offering endless opportunities for growth and self-expression.
Advanced Techniques and Applications
Mastering the DSLR
When diving into light painting photography, it's crucial to understand the intricacies of using a DSLR camera. First, we recommend setting your camera to manual focus to ensure optimal control over the focus point. For long exposures, switch to bulb mode which allows you to keep the shutter open for extended periods.
Don't forget to utilize a remote shutter release to prevent camera shake while capturing your masterpiece. Experimenting with various light sources and light painting tools can help bring your vision to life.
Consolidating Lighting Techniques
By combining different light painting techniques, we can create fascinating images. For instance, integrating light drawing and other subcategories of the art form can result in dynamic compositions. Some common techniques to explore include:
- Light drawing
- Silhouettes
- Light stencils
- Reflective surfaces
As we grow our skillset, we can develop our unique style, enhancing the visual appeal of our work.
Working with RAW files
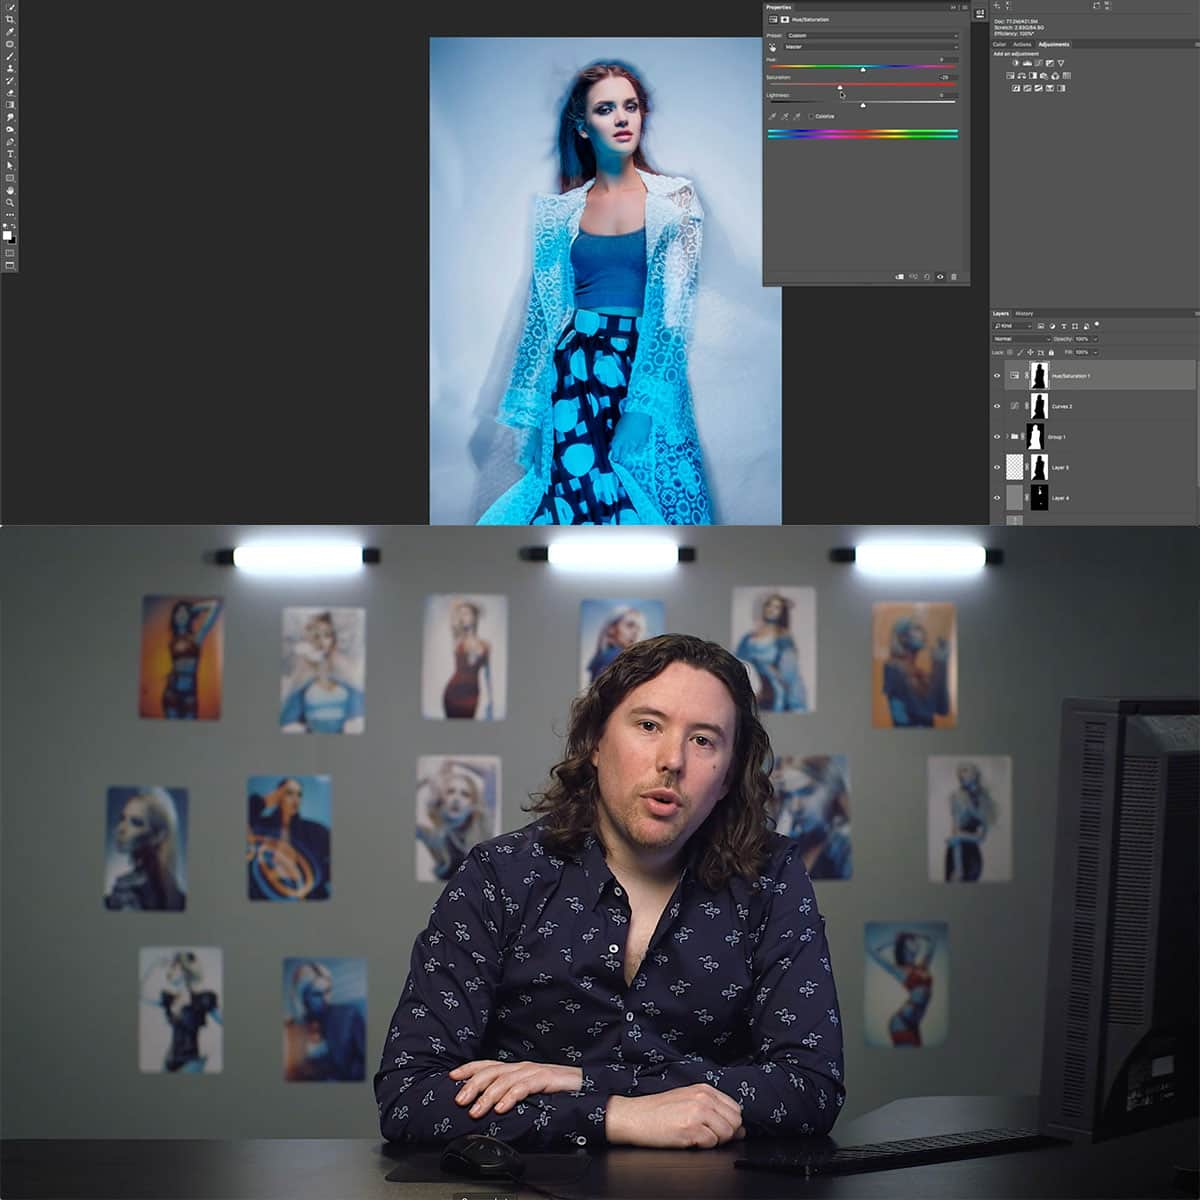
To maintain flexibility in post-production, we should capture our light painting images in RAW format. RAW files contain significantly more data than compressed formats like JPEG, enabling us to adjust various aspects of the image, such as:
- Exposure
- White balance
- Contrast
- Saturation
By working with RAW files, we can fine-tune our images, resulting in refined and better quality light paintings. Becoming proficient in these advanced techniques and applications can elevate our light painting photography, allowing us to create stunning, captivating, and memorable images that stand out from the crowd.
Challenges and Troubleshooting in Light Painting
Handling Difficult Locations
When exploring light painting in photography, we might encounter unique locations that pose challenges. Patience is key when working in these environments. Factors like wind, uneven ground, and changing light conditions can affect our shots, but with persistence and adaptability, we can achieve success.
Dealing with Autofocus Issues
Autofocus can be troublesome in low-light situations, as the camera struggles to lock focus on our subjects. To tackle this, we can use manual focus and light-assist tools, or pre-focus on a brighter object at a similar distance before beginning our light painting. By doing so, we ensure sharp and well-focused images.
Managing Depth of Field
Controlling depth of field is crucial in light painting. A shallow depth of field can result in an out-of-focus subject, while a deep depth of field can cause issues with auto white balance. We can strategically adjust our aperture to strike a balance between focus and background details, starting around f/5.6 for optimal results, as mentioned by Shotkit guide.
By addressing these challenges head-on and taking advantage of available tools, our light-painting endeavours will become more refined and rewarding.
Frequently Asked Questions
What are the essential tools for light painting?
To start with light painting, one needs a camera with manual settings, a sturdy tripod, and a light source such as LED lights, flashlights, or glow sticks. Experimenting with different light sources can create unique effects in your light painting photography.
How does one effectively achieve light painting portraits?
For captivating light painting portraits, it's crucial to have your subject remain as still as possible during the long exposure. You can use a constant light source to illuminate the subject's face and then move behind them, using another light source to create shapes, lines, or patterns.
What are the popular apps used for light painting?
Several smartphone apps can assist in light painting, such as Slow Shutter Cam, Lightbomber, and Luminancer. These apps allow you to adjust shutter speed, capture long exposure photographs, and provide light painting effects to create visually stunning images.
Which photographers are known for their light painting techniques?
Several talented photographers are renowned for their light painting techniques, some of them being Eric Paré, Michael Bosanko, Patrick Rochon, and Eric Staller. These photographers have made groundbreaking contributions to the light painting art form.
What concepts are crucial to understand in light painting art?
The critical concepts in light painting include understanding shutter speed, aperture, ISO, and the importance of a dark environment. One also needs to comprehend the role of movement in shaping light streaks and patterns. It is vital to experiment with various techniques and settings to create unique and visually appealing results.
How do LED lights influence the outcome of light painting photography?
LED lights play a significant role in light painting photography as they provide a controllable and versatile light source. They come in various colors, intensities, and shapes, enabling you to create a wide range of effects. By incorporating different LED lights, you can enhance your light painting photography and add depth and creativity to your images.


