Auto White Balance: Maximize Your Photography Skills with Camera Settings
In the world of photography, white balance plays a crucial role in capturing accurate and natural colors in our images. As photographers, we understand that different lighting conditions can cast various color tints on our subjects, and it's our responsibility to adjust the camera settings to correct for these inconsistencies. One of the most frequently used and versatile camera settings is Auto White Balance (AWB), which allows our digital cameras to automatically assess and adjust the color temperature of the scene.
By understanding the fundamentals of AWB and how it interacts with different light conditions, we can make the most out of this camera setting. Taking advantage of AWB not only saves time while shooting, but also simplifies the editing and processing of our photos during post-production. It's essential to learn when and how to utilize this powerful tool to create professional, high-quality images that truly capture the essence of the moment.
Key Takeaways
- Auto White Balance is a versatile setting that helps photographers achieve accurate colors in various lighting conditions
- Familiarizing yourself with different white balance settings and AWB can improve the quality of your photos
- Proper use of AWB can save time during both photography and post-production stages.
Fundamentals of Auto White Balance
Understanding White Balance
White balance is a crucial aspect of photography that deals with the accurate depiction of colors in an image. It allows us to adjust the camera settings according to different light sources, hence rendering the colors close to what we see with our eyes. The color temperature of a light source is measured in Kelvin (K), and varying the white balance settings allows us to fine-tune the camera to match that temperature.
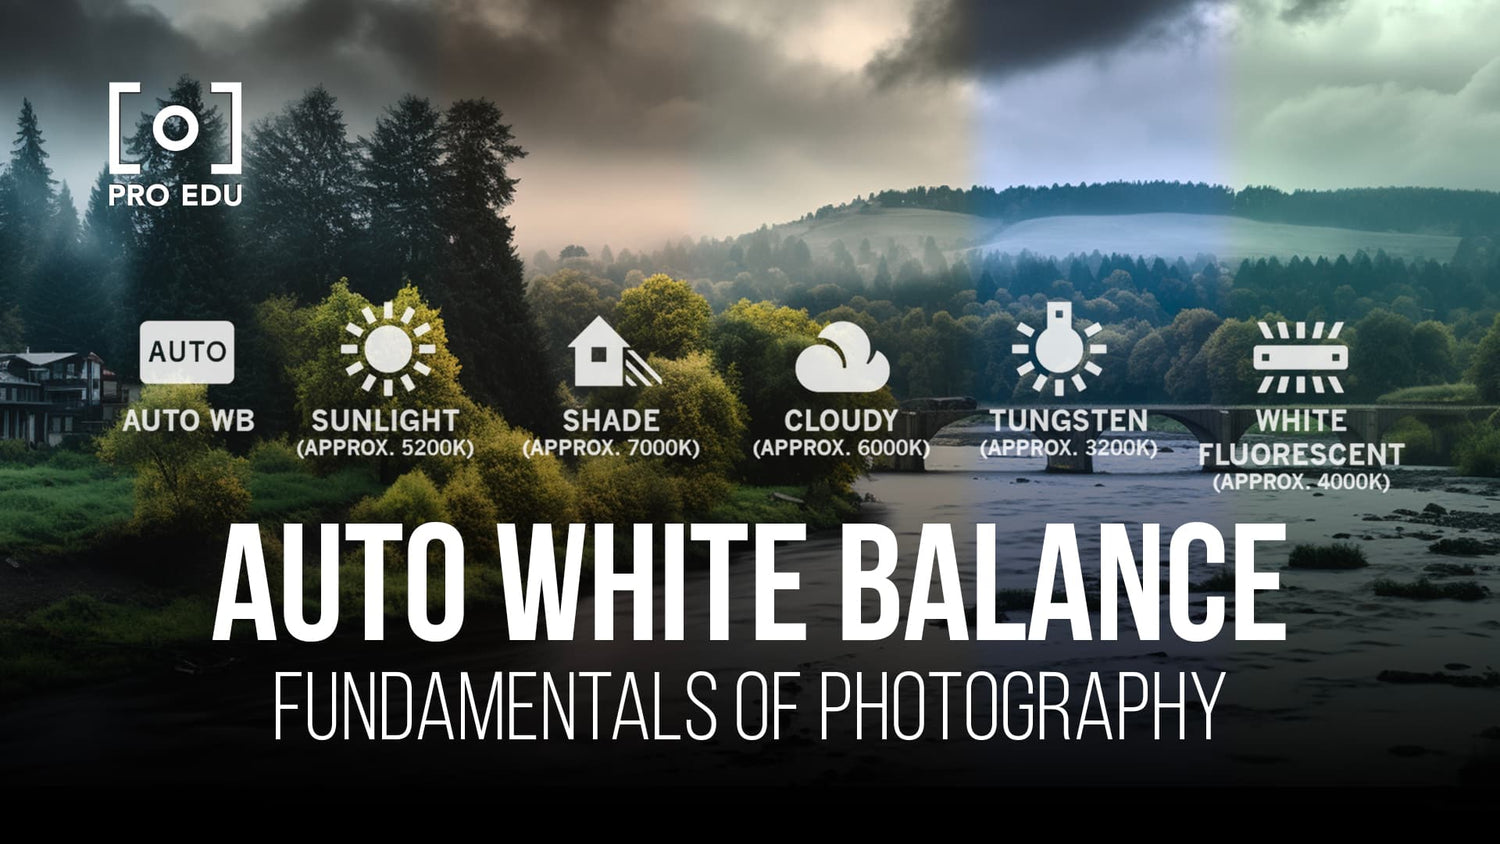
We have different presets in our camera, such as Daylight, Shade, Cloudy, Tungsten, and Fluorescent, which cater to specific lighting conditions. However, there is an option called auto white balance (AWB) that can help simplify the process and save time.
Auto White Balance and Its Functions
Auto white balance is a function that assesses the scene and automatically adjusts the camera's white balance settings. It usually chooses the brightest part of the image as the white point, striving for consistency in color representation. While AWB systems have improved over the years, there are times when it may struggle with certain lighting conditions, such as mixed or artificial lighting.
In such situations, we can resort to custom white balance, which allows us to set the camera's white balance by taking a reference photo of a neutral-colored object. This technique can be valuable in achieving more accurate results, especially when the lighting conditions are tricky.
Ultimately, understanding and utilizing the auto white balance settings can make a significant difference in the quality and accuracy of the colors in our photos. It is worth experimenting with both AWB and other white balance presets to determine what works best in each specific context.
Different White Balance Settings
Custom and Presets
When it comes to white balance settings, we can choose between custom settings or presets. For custom settings, we can manually input the desired color temperature to get the most accurate colors. Presets, on the other hand, are pre-defined settings within the camera for specific lighting situations.
Here are a few common presets:
- Auto White Balance (AWB): The camera automatically adjusts the white balance based on the lighting conditions
- Daylight: Optimized for natural sunlight
- Cloudy: Best used for overcast skies
- Tungsten: Designed for shooting under incandescent or tungsten lights
- Fluorescent: Suitable for shooting indoors with fluorescent lights
Tungsten and Fluorescent
When shooting indoors or in areas with artificial lighting, it is essential to adjust our white balance accordingly. For tungsten lighting, using the tungsten preset will help remove the orange cast and bring out more natural colors.
For fluorescent lighting, the fluorescent preset will reduce the greenish tint often associated with these light sources, providing a more accurate color representation in our photos.
Daylight and Cloudy
When shooting outdoors during daylight hours, using the daylight preset gives us consistent and balanced colors. This preset works best in situations with strong, direct sunlight. However, when the sky is overcast or the light is diffused, the cloudy preset is a better choice to account for the cooler, bluish tones often present during such conditions. This setting enhances the warmth in the image and maintains a more accurate color balance.
Working With Light Conditions
Natural and Artificial Light
When we deal with natural light, we have to consider the sun's position and the presence of clouds, which can cause variations in color temperature. On the contrary, artificial light encompasses a range of sources, such as incandescent bulbs, LED lights, and even fluorescent tubes, which also influence color temperature1.
The shade could cause colors to become cooler, whereas direct sunlight might render warmer tones. A camera's Auto White Balance (AWB) may struggle to find the right balance under mixed lighting conditions, but manually adjusting the white balance can often yield more accurate colors2.
Indoor and Outdoor Settings
Indoors, common light sources include incandescent bulbs and fluorescent lights. Incandescent lighting usually provides a warm light3, while fluorescent lights might introduce a greenish cast. The camera's AWB attempts to avoid these color casts by adjusting the white balance settings4.
Here's a brief summary of different light sources and their color temperatures:
| Light Source | Color Temperature |
|---|---|
| Shade | Cooler (bluish) |
| Sunlight | Warmer (yellowish) |
| Incandescent Bulbs | Warm (orange) |
| Fluorescent Lights | Cool (greenish) |
Outdoor settings generally involve natural light from the sun and the sky. However, using the camera's flash can effectively balance different sources of light, especially when capturing subjects in mixed lighting conditions. Remember that flash could affect the overall color temperature, so fine-tuning the white balance is essential5.
In conclusion, understanding the impact of light sources on a photo's color temperature aids in choosing the right settings on your camera and ensures accurate and visually-pleasing results6.
Editing and Processing
Post-Processing With RAW Files
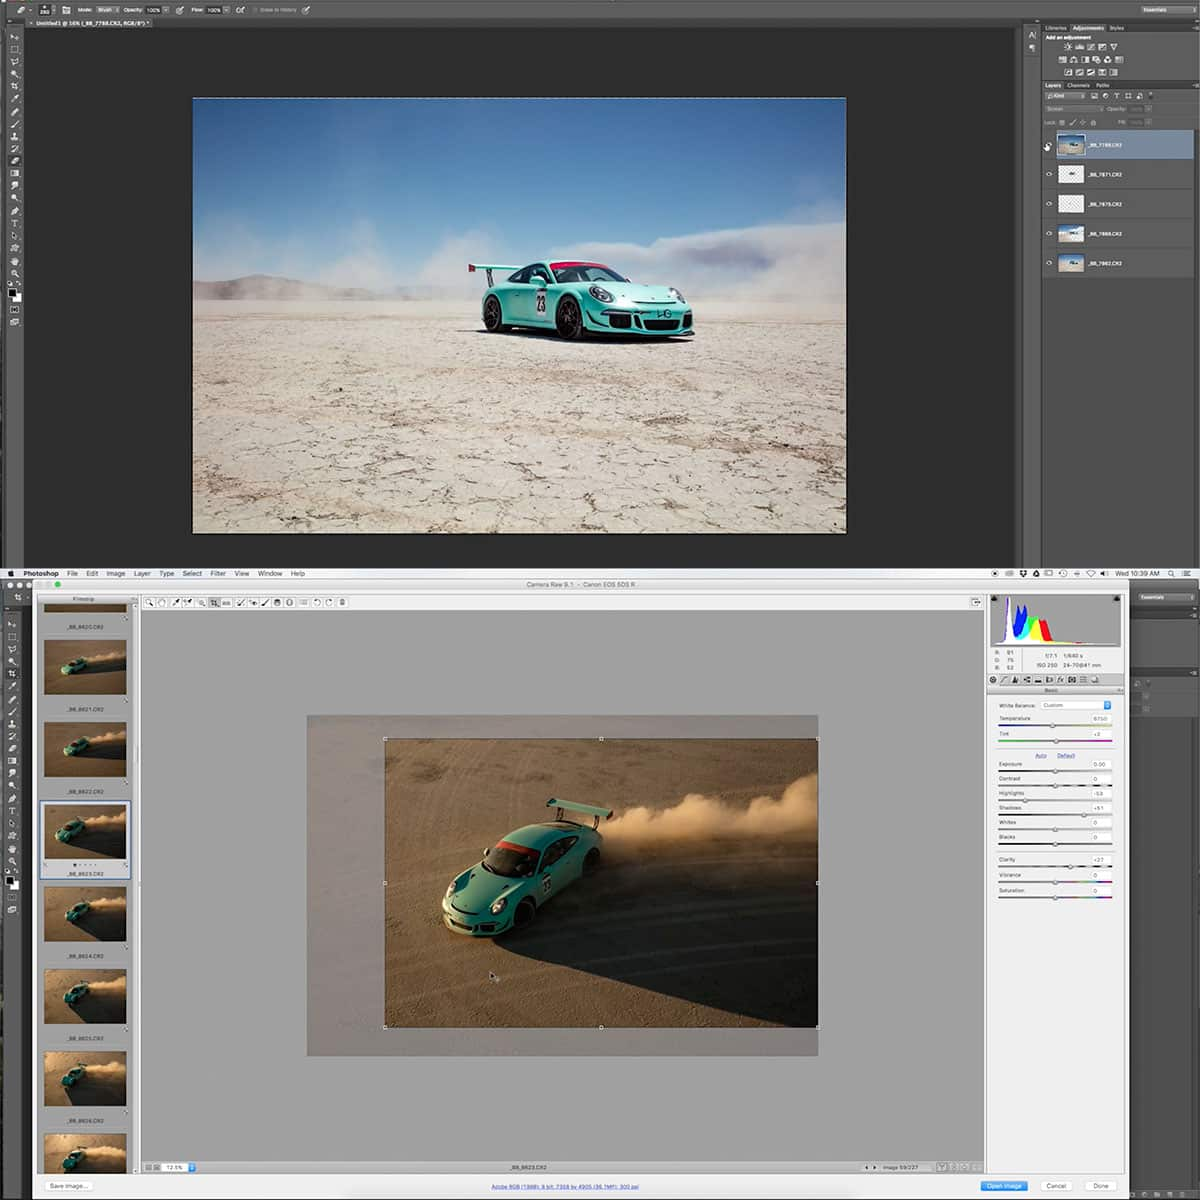
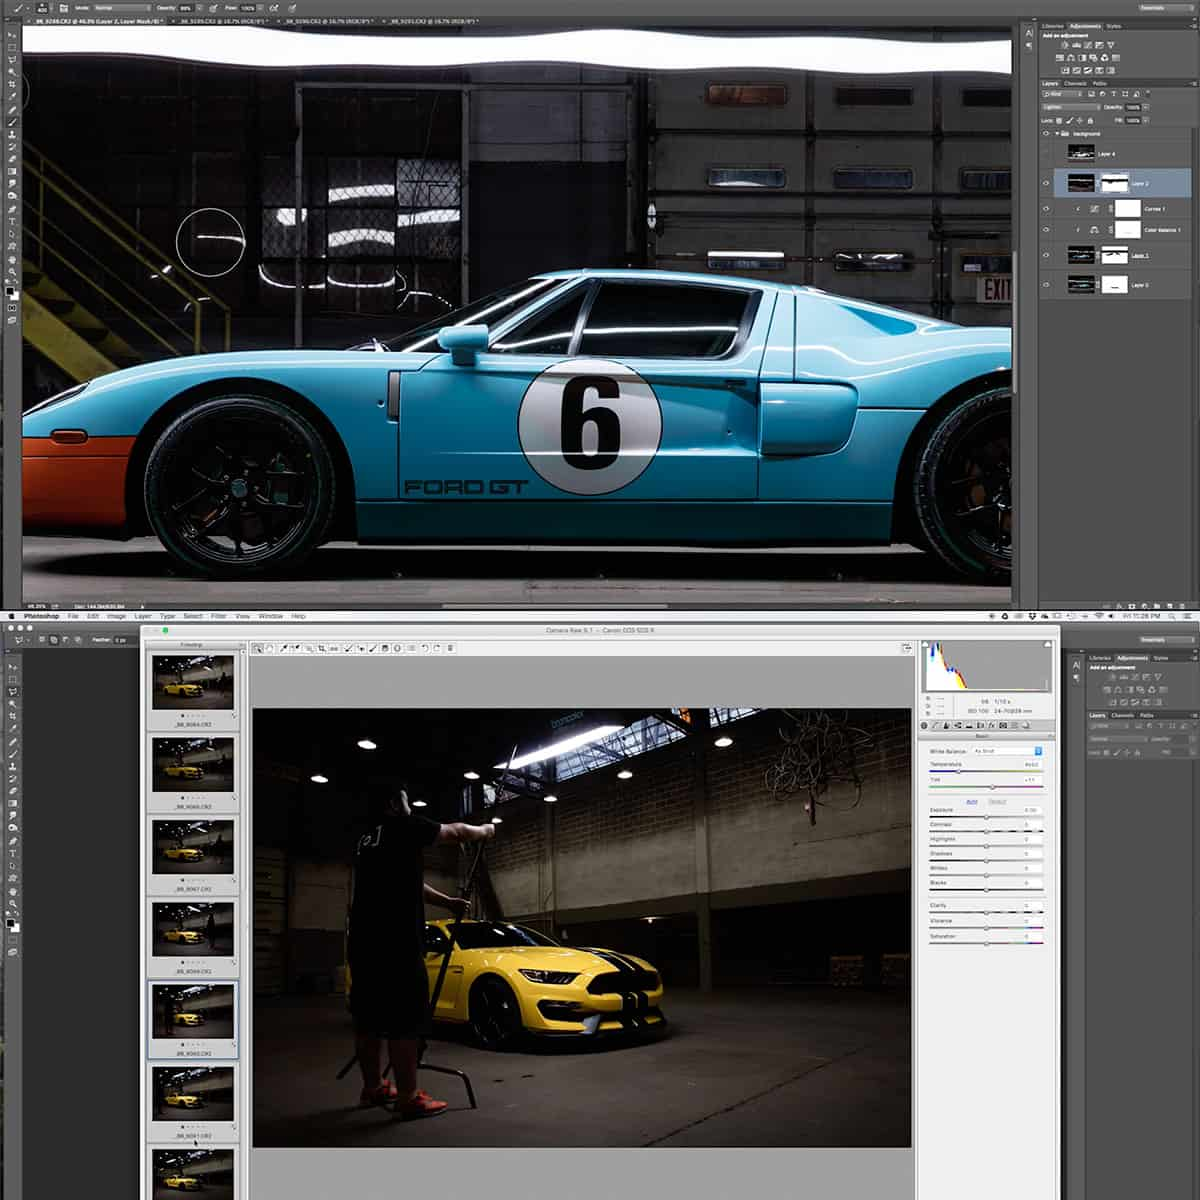
When working with RAW files, we have greater flexibility in adjusting our white balance settings during post-processing. Unlike JPEG files, RAW files don't have a predetermined white balance, allowing us to fine-tune color temperature more accurately.
To achieve the best results, using a live view mode can help to preview adjustments in real-time. This can be particularly useful when dealing with challenging lighting situations, as it allows us to evaluate and correct the white balance more effectively.
Using Editing Software
Popular photo editing software like Adobe Lightroom or Photoshop provides various tools specifically designed for adjusting white balance. These include sliders for adjusting color temperature and tint, as well as the option to select from a range of white balance presets.
Here are some common presets and their typical uses:
- Daylight: Ideal for outdoor daytime shots
- Shade: Best for photos taken in the shade
- Cloudy: Suitable for overcast lighting conditions
- Tungsten: Designed for indoor shots with incandescent lighting
- Fluorescent: Optimized for photos taken in fluorescent-lit environments
- Auto: Allows the software to automatically adjust the white balance based on the image's content
In conclusion, understanding the fundamentals of white balance and effectively utilizing your camera's auto white balance settings can significantly improve the overall quality and consistency of your photos. Knowing how to edit and process RAW files also offers additional flexibility, ensuring that your images always look their best.
Making the Most of Auto White Balance
Shooting in Different Conditions
When it comes to photography, we often encounter various shooting conditions that have a significant impact on the colors in our images. Auto White Balance (AWB) is a camera setting that helps us automatically adjust the white balance to obtain accurate colors in different lighting situations1. AWB can be particularly useful when we are outdoors dealing with natural lighting, as it often "guesses" the best settings2.
However, in more complex or mixed lighting situations, we might need to utilize other white balance presets to ensure accurate color rendition. For example, saving images in RAW format and adjusting white balance in post-production can help us achieve better results.
Achieving Desired Mood and Color Cast
Sometimes, we might want to create a specific mood or color cast in our photos. In these cases, it's essential to understand that auto white balance might not always provide the desired outcome. Instead, we can explore the various white balance presets available in our camera's settings3 or manually adjust the white balance to achieve the intended effect.
Utilizing tables and lists can be beneficial when comparing different settings and their outcomes. For instance:
| White Balance Preset | Effect on Image |
|---|---|
| Daylight | Neutral colors |
| Shade | Warmer tones |
| Tungsten | Cool blues |
| Fluorescent | Cool greens |
Ultimately, being aware of the effects of different white balance presets allows us to achieve our artistic vision and better control the overall color casts in our images.
Frequently Asked Questions
What is the difference between auto and manual white balance settings?
Auto white balance (AWB) is a camera setting that automatically adjusts the color temperature based on the lighting conditions in a scene. This helps to maintain accurate colors in your images. In contrast, manual white balance allows you to manually set the color temperature, giving you more control over the final look of your photos.
How does auto white balance adjust according to lighting conditions?
Auto white balance works by assessing the scene and identifying the brightest part of the image as the white point. The camera then adjusts the color temperature to ensure that whites appear white and colors look natural. Auto white balance systems have improved over the years, but they can still struggle in certain lighting conditions.
Which situations are best suited for using auto white balance?
Auto white balance is beneficial in situations where the lighting conditions change frequently or where you don't have time to manually adjust the white balance. It's generally suitable for everyday photography, such as outdoor scenes, casual family photos, and events with consistent lighting.
How can I manually set white balance if auto mode isn't accurate?
To manually set white balance, first choose the appropriate preset (e.g., Daylight, Shade, Cloudy, Tungsten, or Fluorescent) in your camera's white balance settings. If your camera allows for custom white balance settings, you can measure the color temperature of the scene using a gray card or similar tool and input the Kelvin value directly into the camera.
What are the advantages of using a white balance card?
A white balance card is a tool used to help photographers achieve accurate colors by providing a neutral reference point for the camera. Using a white balance card allows your camera to recognize the correct color temperature in the scene and make necessary adjustments. This can result in more accurate and consistent colors in your images.
Is it recommended to use flash white balance with artificial lighting?
Flash white balance is designed for situations where you are using a camera flash as your primary light source. However, when dealing with artificial lighting, it's often better to choose a white balance preset that correlates to the specific type of lighting being used (e.g., Tungsten or Fluorescent). This can help achieve more accurate colors in your images.


