Car Photography: Mastering Automotive Shots Like a Pro
Car photography is an exciting and dynamic niche that requires a combination of technical skills, creative vision, and a passion for automobiles. With the right tips, tricks, and techniques, one can develop the ability to capture stunning images of both stationary and moving vehicles. Whether you're a professional photographer looking to expand your expertise or an avid car enthusiast wanting to improve your shots, this tutorial will provide essential information to help you elevate your car photography skills.
One of the factors that make car photography stand out is its ability to convey the emotions and essence of the subject. The sleek lines, intricate details, and reflections, when captured effectively, can evoke a sense of motion and energy, even in a still image. Understanding the interplay of light, composition, and camera settings is crucial to consistently creating eye-catching shots. By implementing various shooting techniques, you can bring out the unique character of each vehicle and showcase its best features.
Key Takeaways
- Mastering car photography involves understanding essential techniques and developing creative vision.
- Consider factors such as light, camera settings, and shooting techniques to capture unique aspects of each vehicle.
- Experiment with advanced methods and post-production to further enhance your car photography skills.
About Easton Chang
Biography
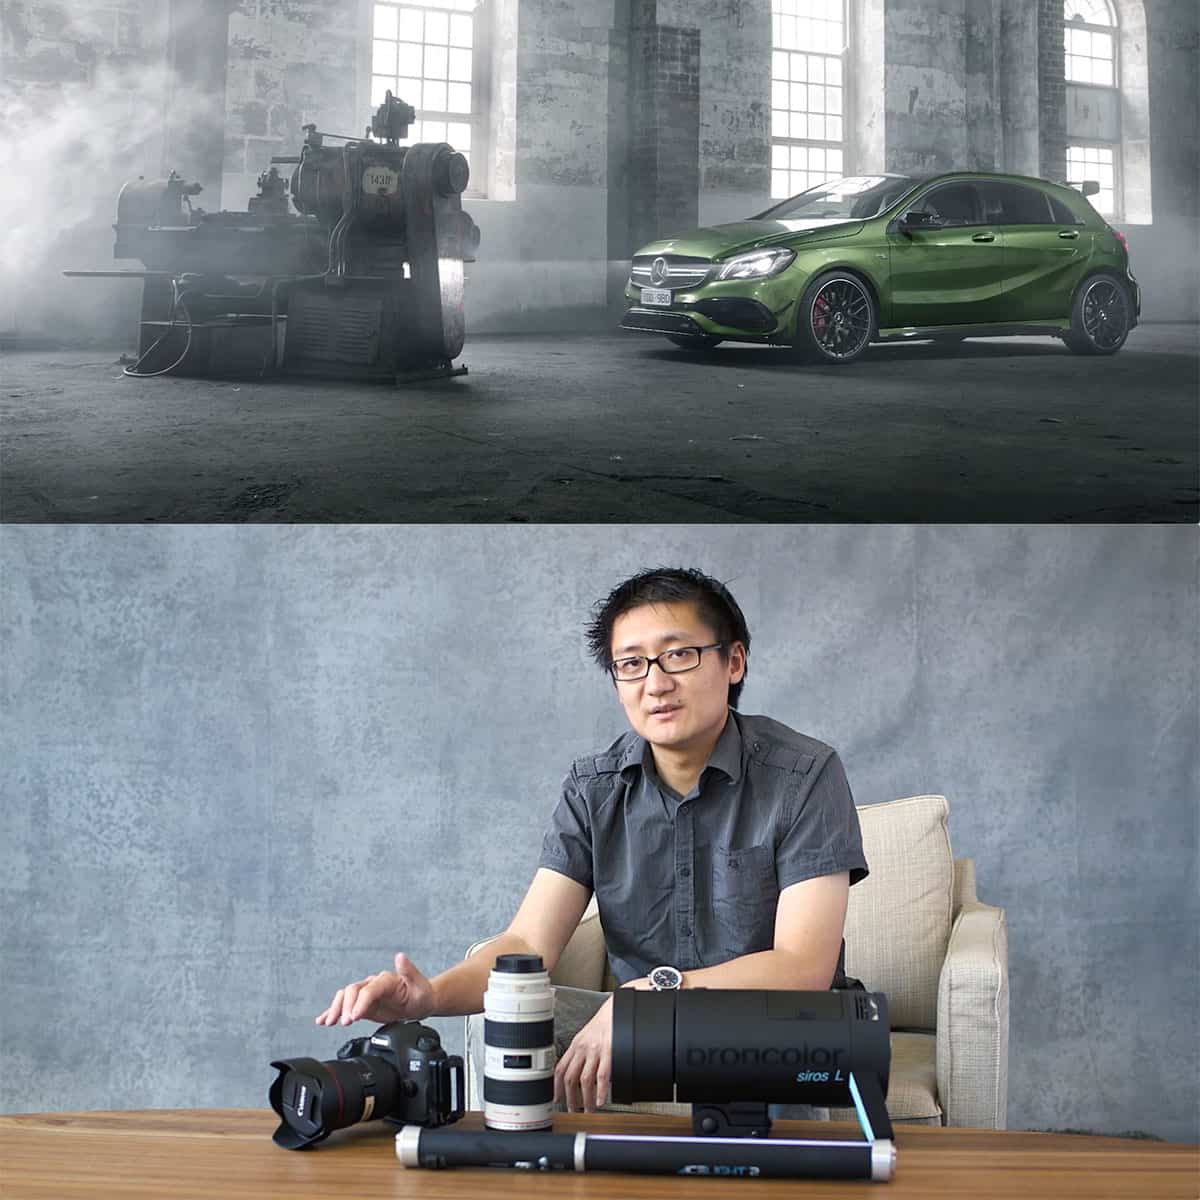
Easton Chang is a world-renowned automotive photographer. Throughout his career, he has demonstrated an impressive ability to capture the essence and beauty of performance cars. With clients such as Cadillac, Jaguar, Mazda, General Motors, Ford Lexus, Audi, and Porsche, Easton's work spans across international borders and can be seen in various advertisements and magazine covers.
Photographic Style and Achievements
Chang's unique style combines dramatic lighting and action-packed compositions to create truly captivating images. In his work, we can see that he utilizes various techniques, including long-exposure shots and creative camera angles, to make the cars stand out and evoke powerful emotion in the viewer. Not only is his work visually striking, but he has also received widespread recognition both from the car industry and the photography community.
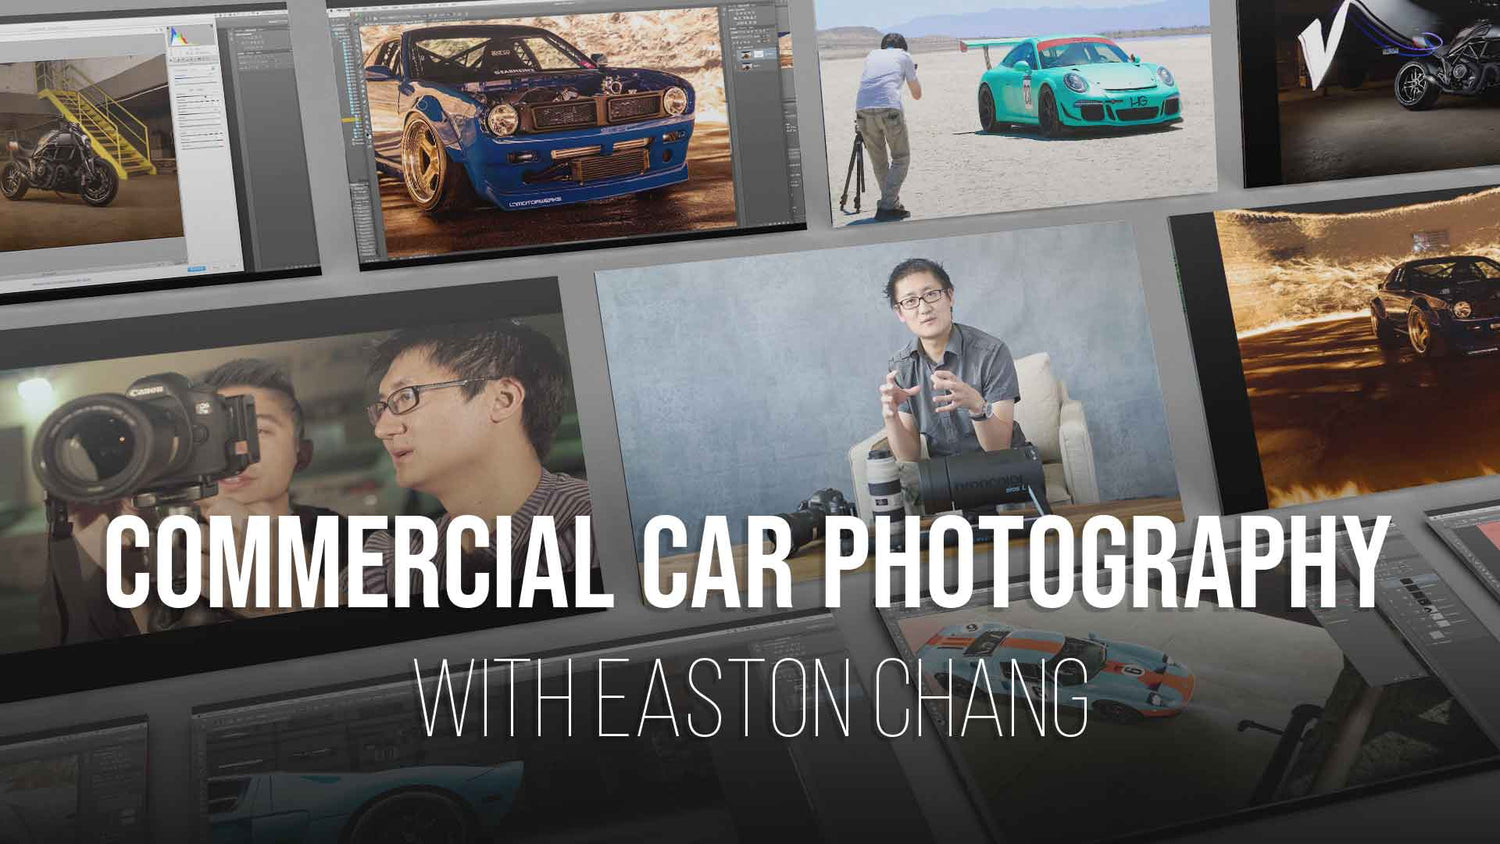
One excellent opportunity to learn from Easton Chang's photographic expertise is by watching his Commercial Car Photography & Retouching tutorial on PRO EDU. This tutorial showcases the secrets to creating dramatic and breathtaking car images, enabling photographers to enhance their skills in this genre.
In conclusion, Easton Chang is a truly exceptional automotive photographer. By learning from his tutorials and analyzing his work, automotive photographers can sharpen their skills and create captivating images of their own.
Car Photography Essentials
Camera Gear and Settings
When it comes to car photography, using the right gear and settings is crucial. Start by selecting a high-quality camera; DSLR or mirrorless cameras are preferred by many professionals. A versatile lens, such as a 24-70mm zoom lens, will provide flexibility to shoot at different angles and distances.
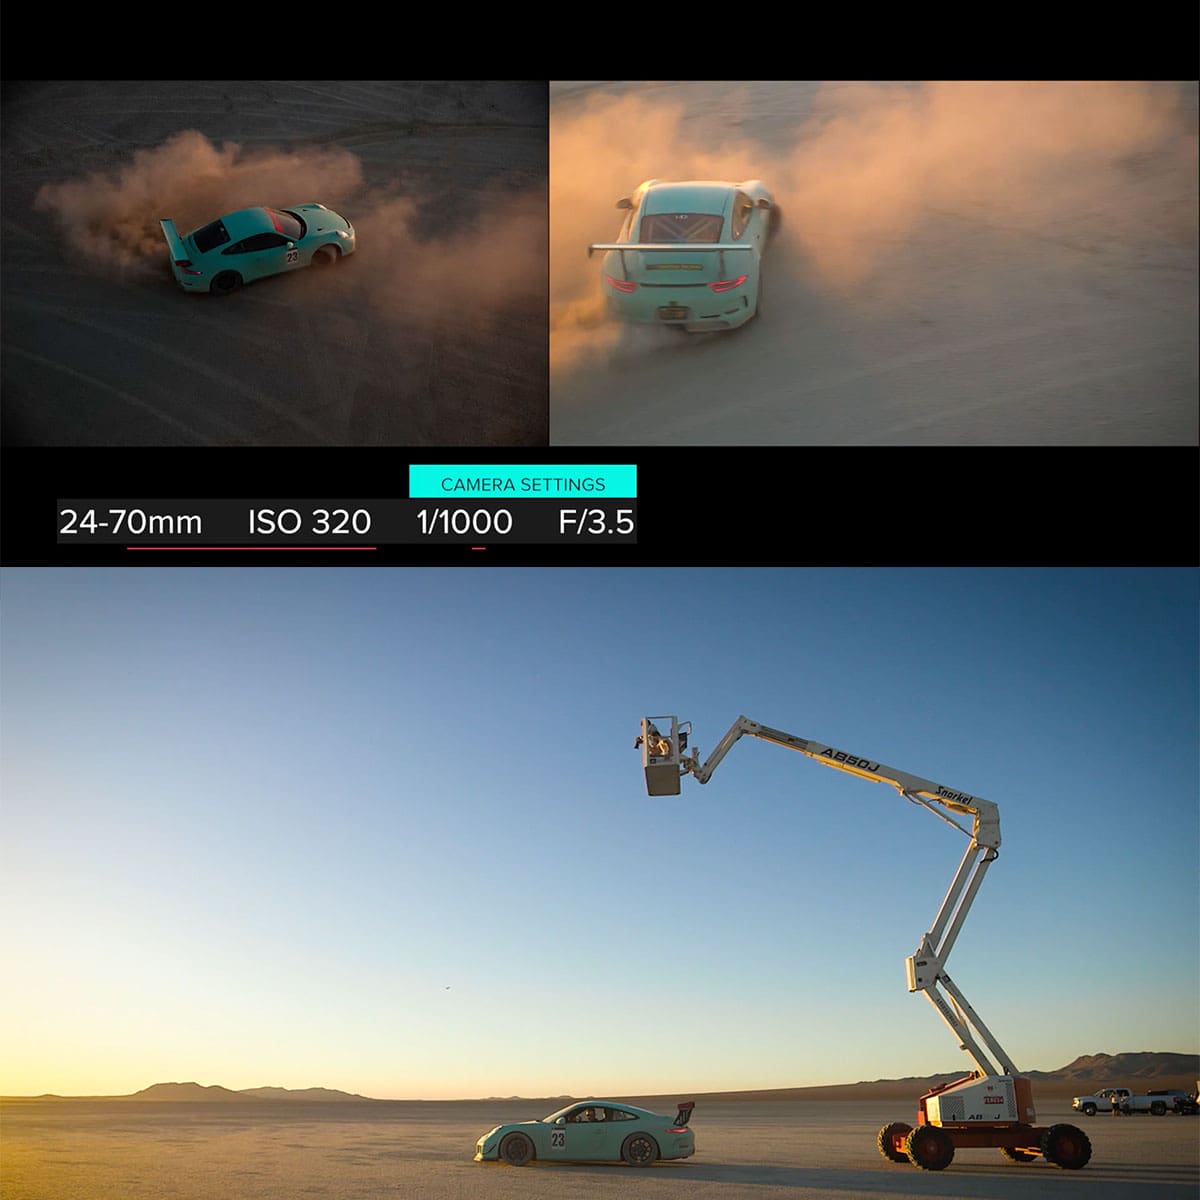
It's essential to fine-tune your camera settings to suit the specific shooting conditions. For example, use a fast shutter speed to capture motion, such as when photographing a moving car. Adjust the aperture according to the desired depth of field, and the ISO to control image noise.
Here are some suggested settings to start with:
- Shutter speed: 1/250s or faster
- Aperture: f/8 for maximum sharpness
- ISO: 100 or the lowest possible
Lighting and Techniques
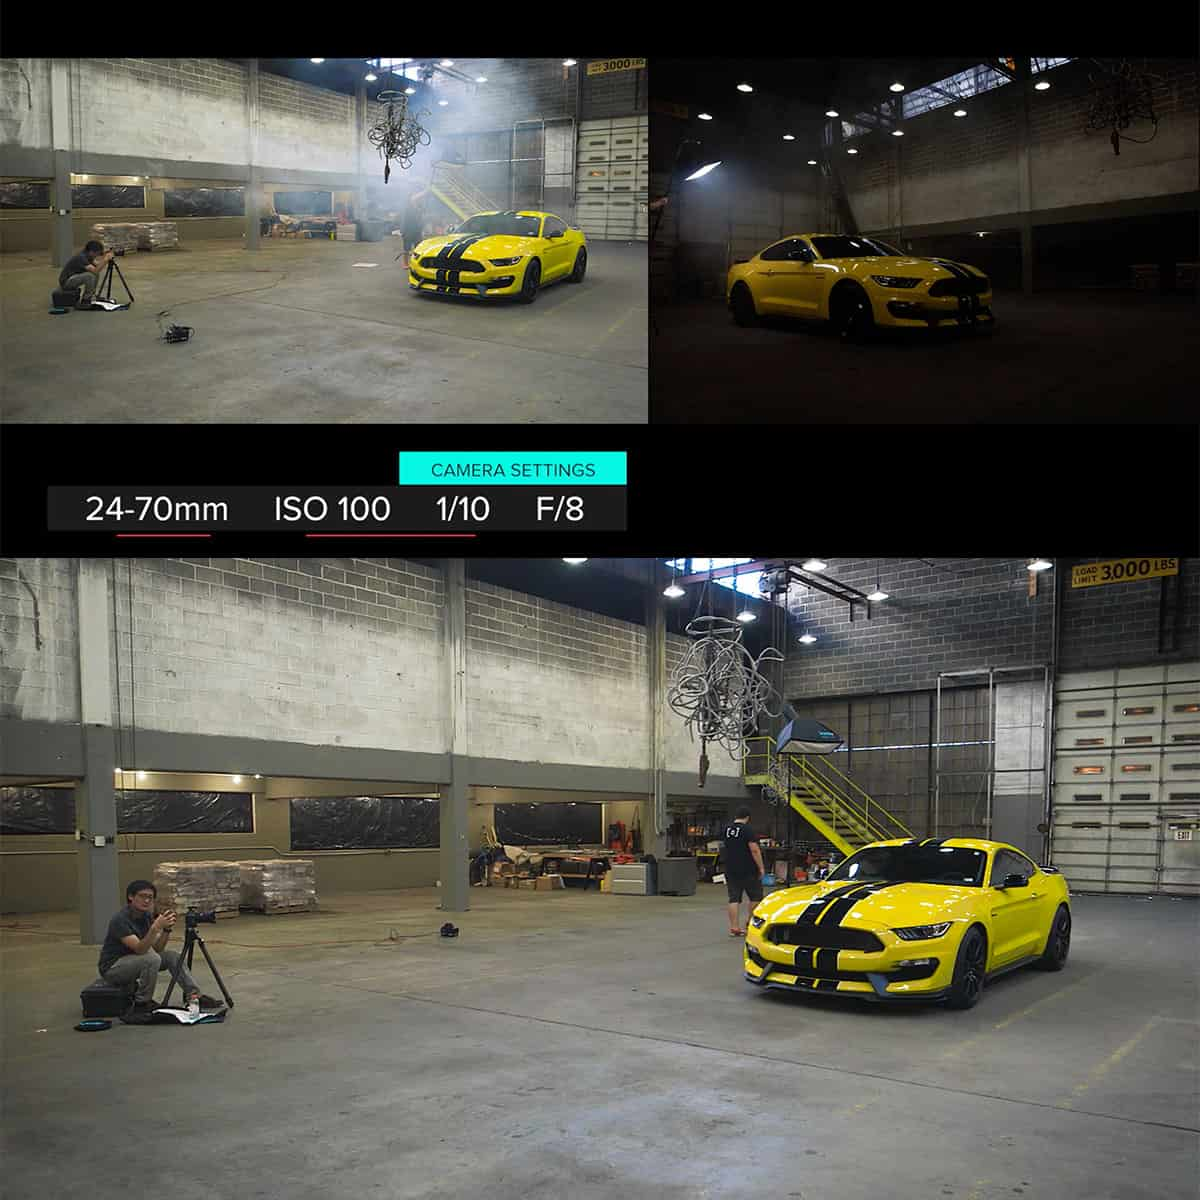
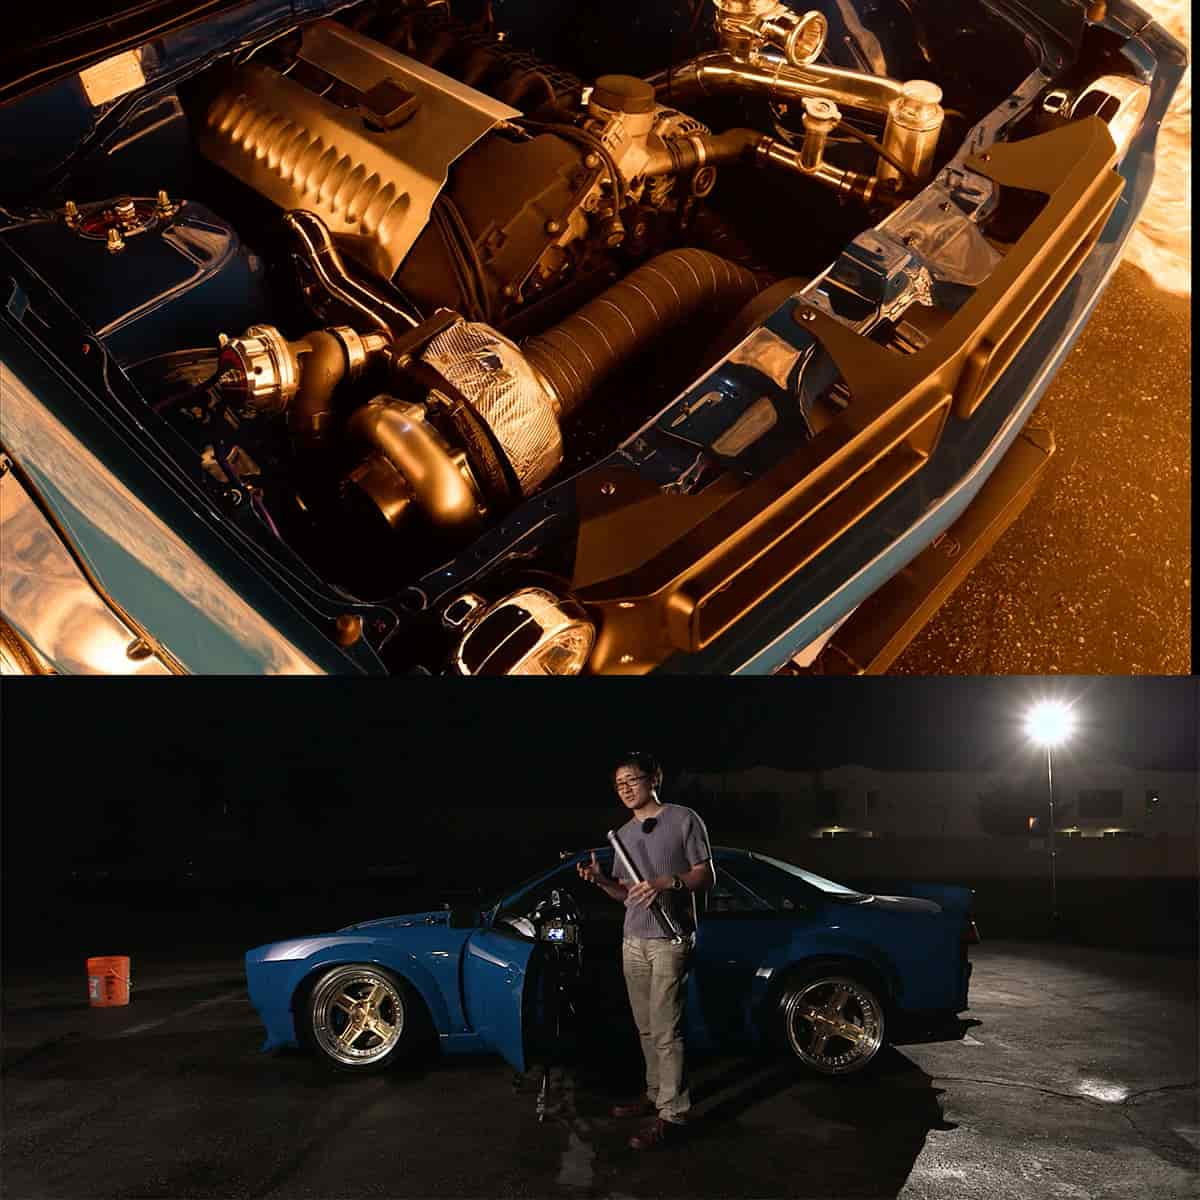
Proper lighting is key to capturing stunning car images. Natural light, especially during the golden hour, can provide dramatic results. However, if you can't shoot outdoors, consider shooting indoors with controlled lighting. Essential lighting equipment includes a softbox or diffuser to soften harsh light and reflectors to bounce light onto darker areas of the car.
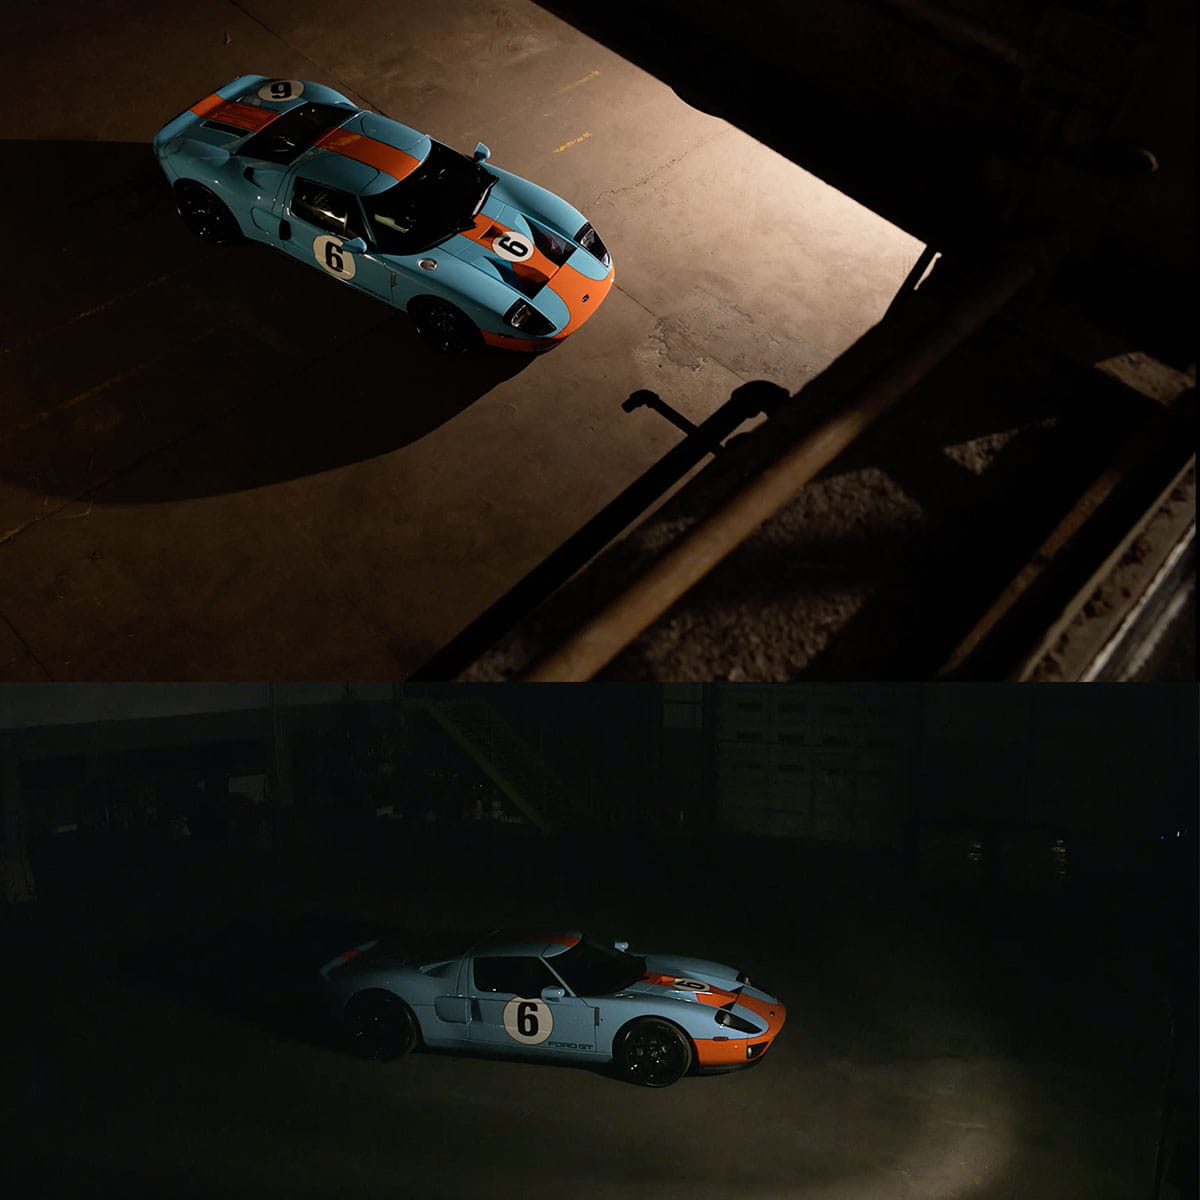
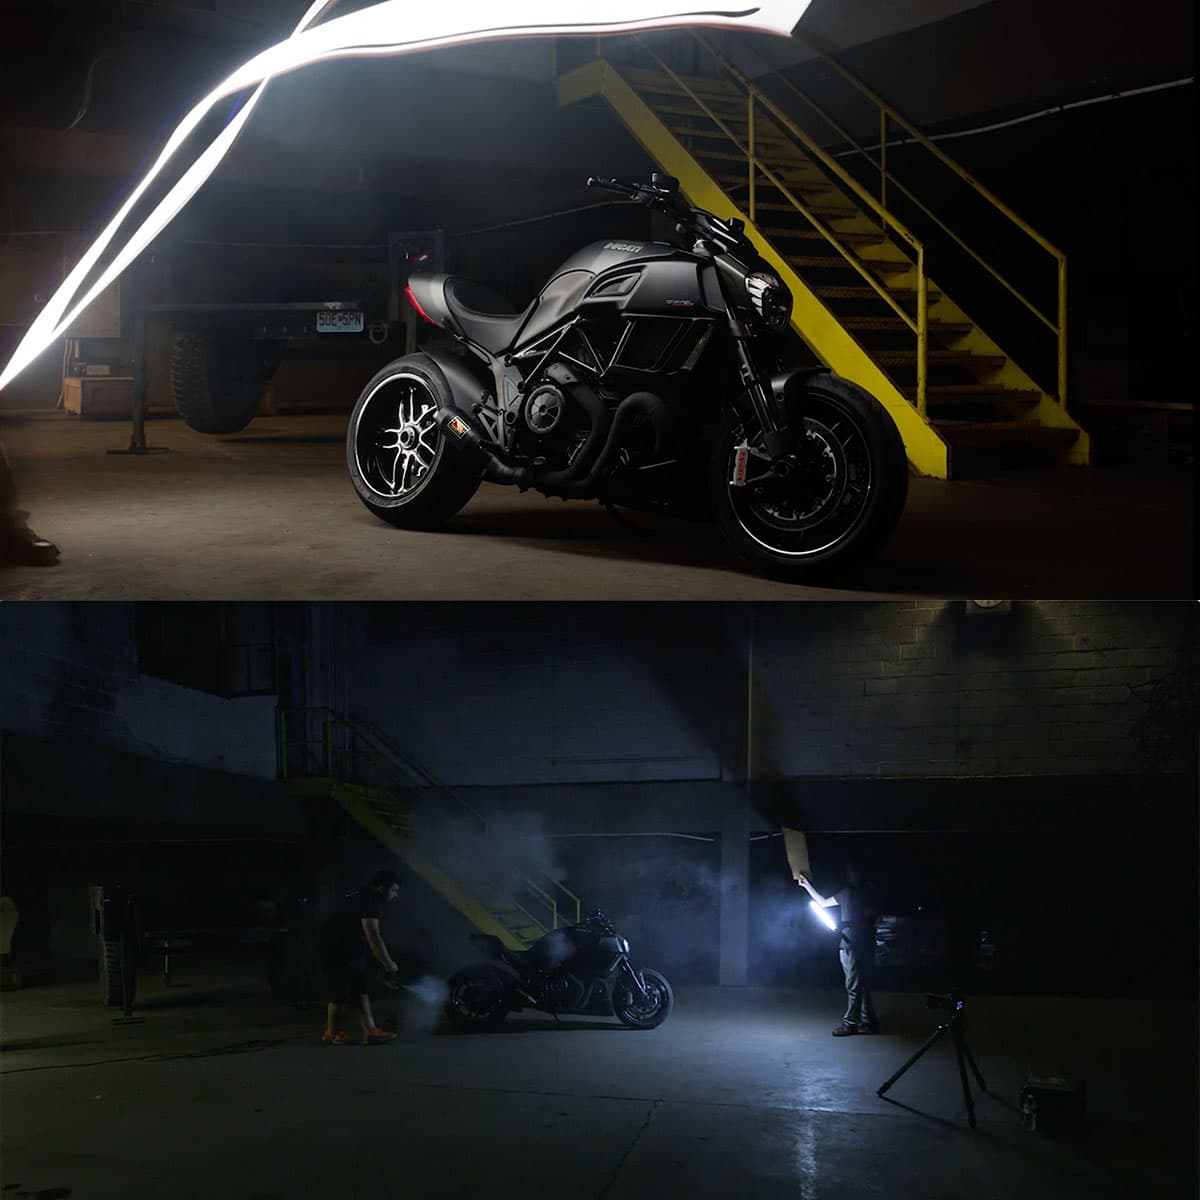
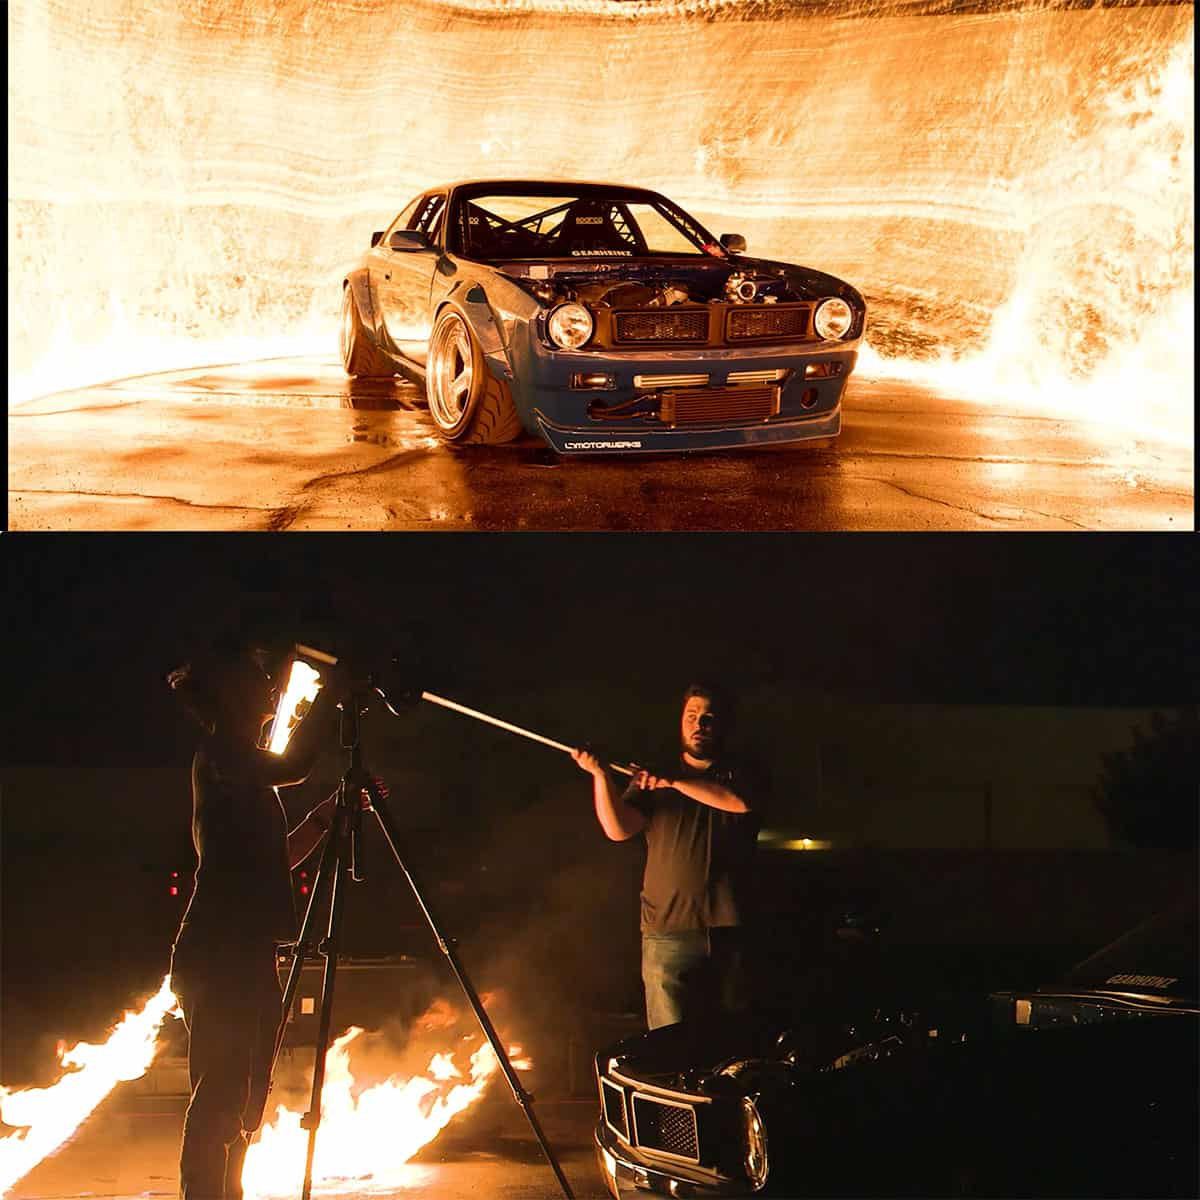
Experiment with various lighting techniques like light painting, where you use a continuous light source during a long exposure to "paint" the car with light. This adds a dynamic and artistic touch to the image.
Composition and Angles
To elevate your car photography, pay close attention to composition and angles. Unique perspectives can help your images stand out. Try shooting from:
- Low angles, emphasizing the car's aggressive stance
- High angles, showing the top view of the car
- Eye-level, for a more traditional and relatable view
Incorporate leading lines, such as roads or fences, to draw the viewer's eye towards the car. Also, consider the rule of thirds for a balanced composition.
Our Car Photography Tutorial provides further guidance and inspiration, allowing you to incorporate these essential tips into your workflow.
Remember, patience and practice are key to mastering car photography. Keep refining your skills and experimenting with new techniques, and you're sure to capture stunning images of your favorite automobiles.
Shooting Techniques
In this section, we'll provide insights into various shooting techniques that can be applied to car photography. These techniques will help you in capturing stunning images that showcase the beauty and power of automobiles.
Static Shots
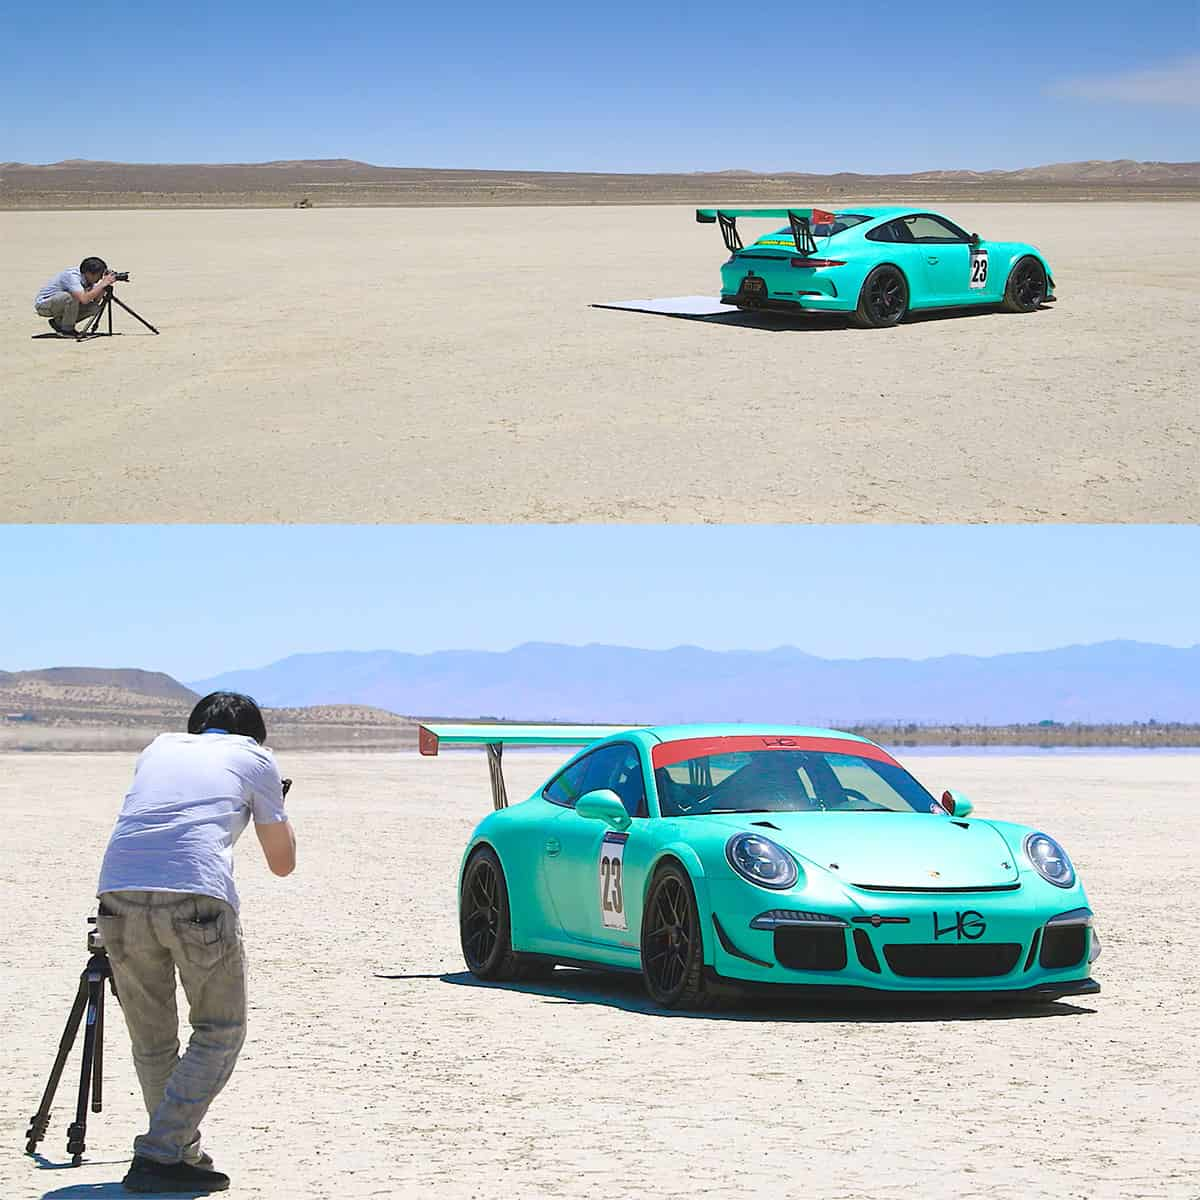
Static shots are essential in car photography as they allow you to focus on the finer details, such as the car's curves, lines, and design elements. Here are some quick tips for capturing compelling static shots:
- Camera angle: Experiment with various angles to find the most flattering perspective for your subject. Low angles tend to emphasize the car's power and stance.
- Lighting: Use natural light whenever possible, and be aware of the sun's position to avoid harsh shadows or overexposure. Reflections on the car's surfaces can be enhanced using light painting techniques.
- Composition: Pay attention to the background, and try to choose a location that complements the car's design without overpowering it. Incorporating leading lines and other compositional elements can help guide the viewer's eye through the image.
Panning and Tracking
Panning and tracking shots involve following a moving car with your camera to create a sense of speed and motion. These shots can be tricky to master but, when executed well, can result in dynamic, engaging images. Some tips include:
- Shutter speed: Use a slow shutter speed (typically between 1/30 and 1/60) to create motion blur in the background while keeping the car sharp.
- Stabilization: A tripod with a smooth panning head can be beneficial in keeping your camera movement steady during the shot.
To make your panning and tracking shots stand out, try incorporating moving car techniques like motion blur, which can be achieved by slowing down your shutter speed and maintaining a steady hand as you follow the car through its movement.
Action Shots
Action shots are an exciting aspect of car photography, capturing the car in its element as it maneuvers around corners or accelerates down straightaways. These shots require quick reflexes and a good understanding of the car's performance capabilities. Here are some pointers to consider when taking action shots:
- Anticipate the moment: Pay close attention to the car's movements, and anticipate turns, braking, and acceleration to be ready for the shot.
- Continuous shooting mode: Use your camera's continuous shooting mode to ensure you capture the perfect moment.
- Focus: Make use of your camera's auto-focus tracking settings to keep your subject in focus as it moves through the frame.
Incorporate these techniques and tips into your car photography skill set, and you'll be well on your way to capturing breathtaking automotive images, whether you're simply showcasing a vehicle on social media or diving into a full-fledged car photography tutorial.
Advanced Car Photography
In this section, we will delve into some advanced car photography techniques that can help you take your automotive photography skills to the next level. We will cover two popular techniques: Rigging and Light Painting.
Rigging
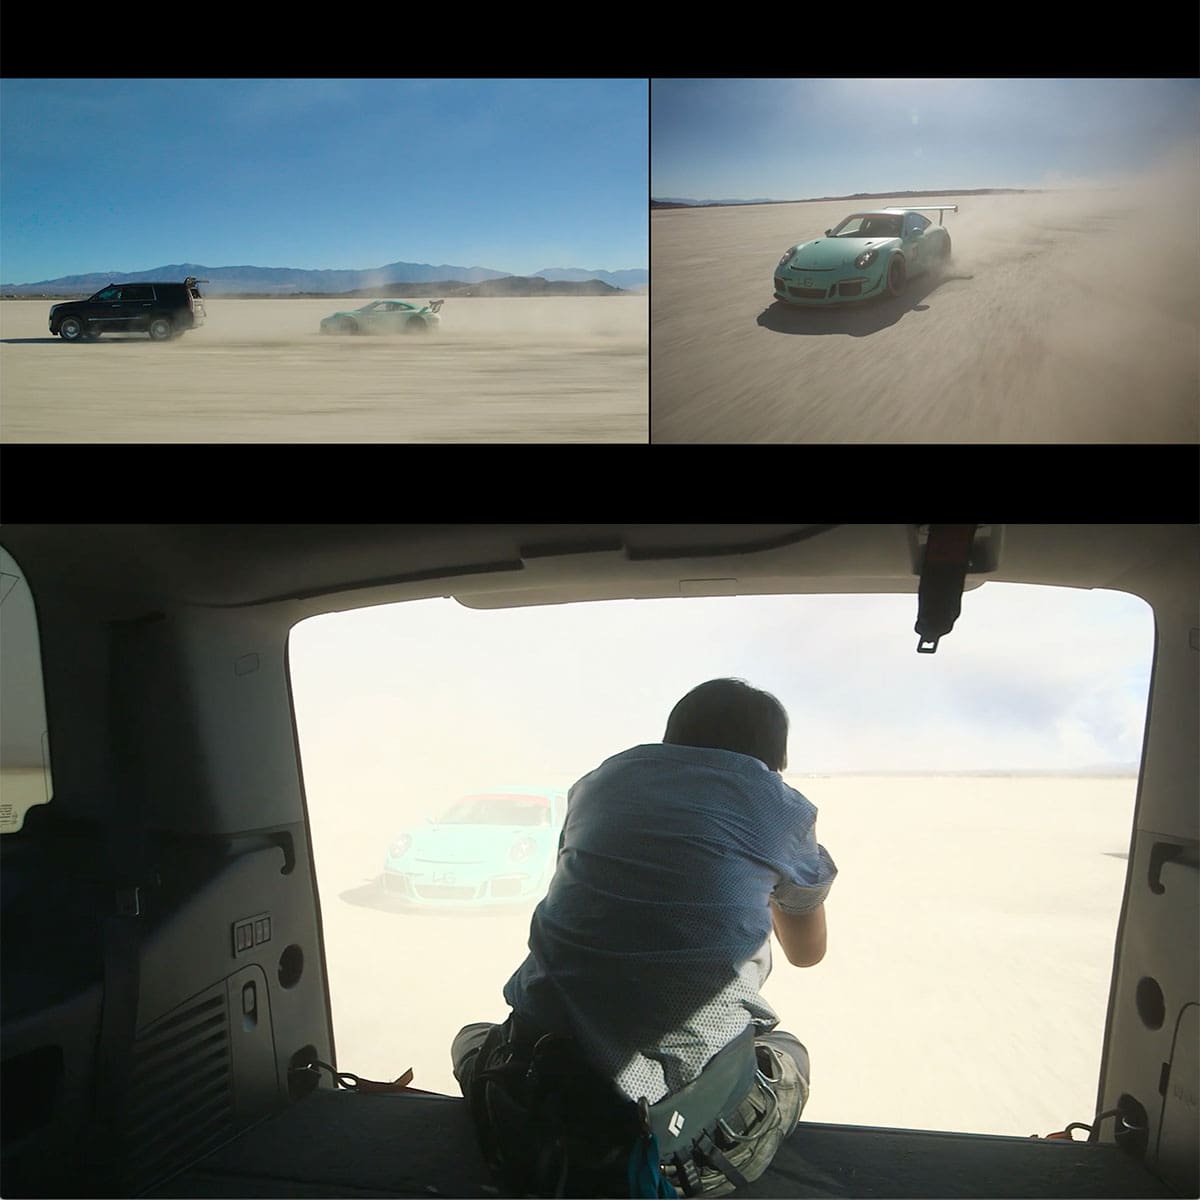
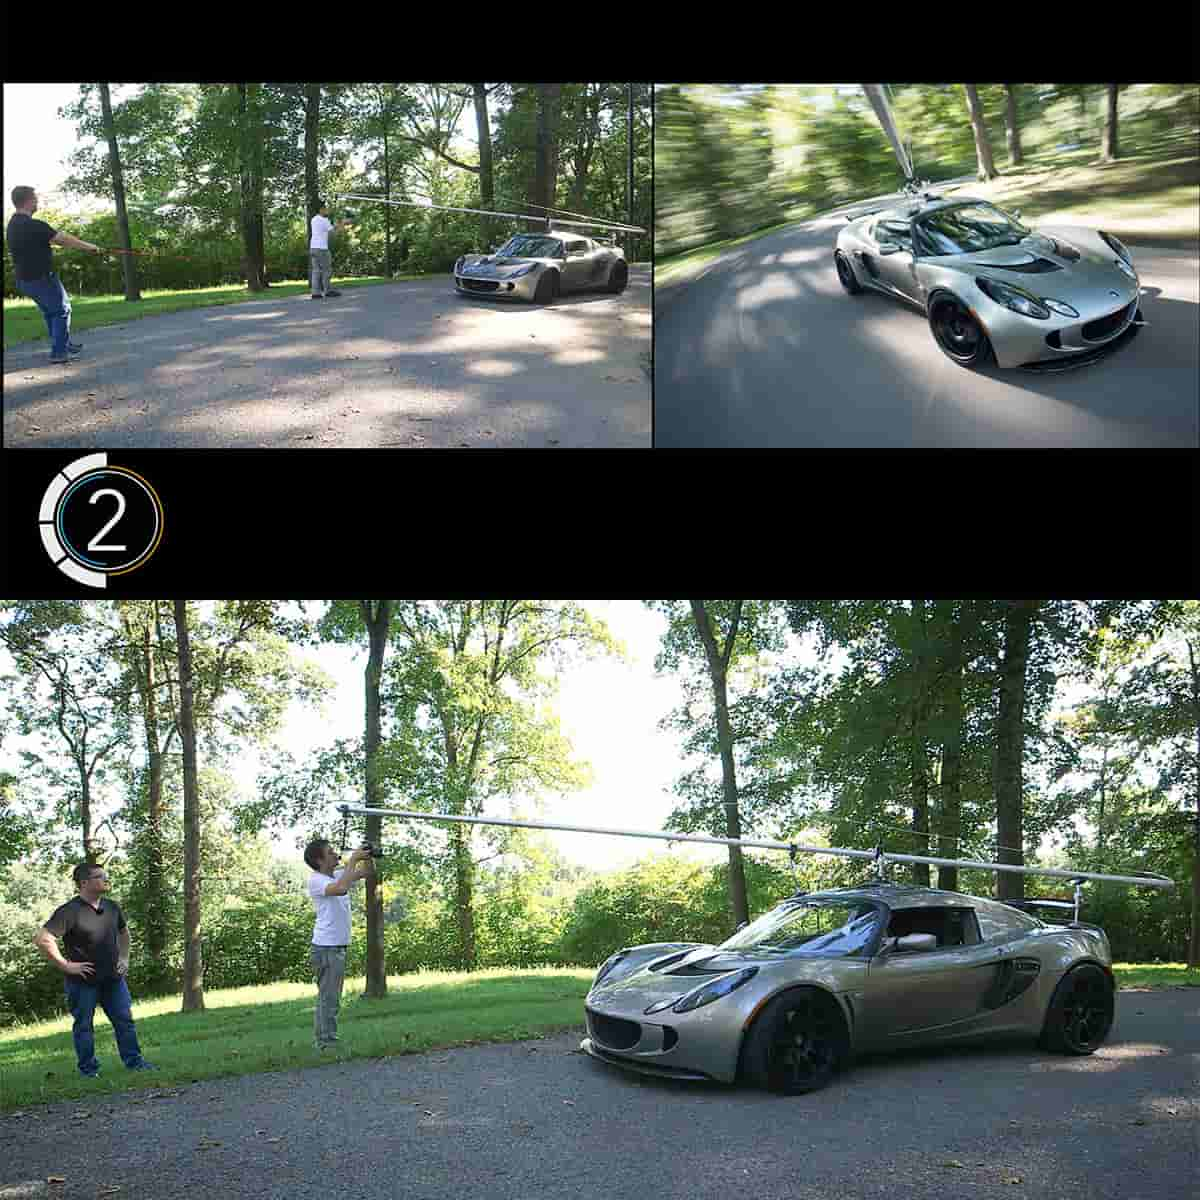
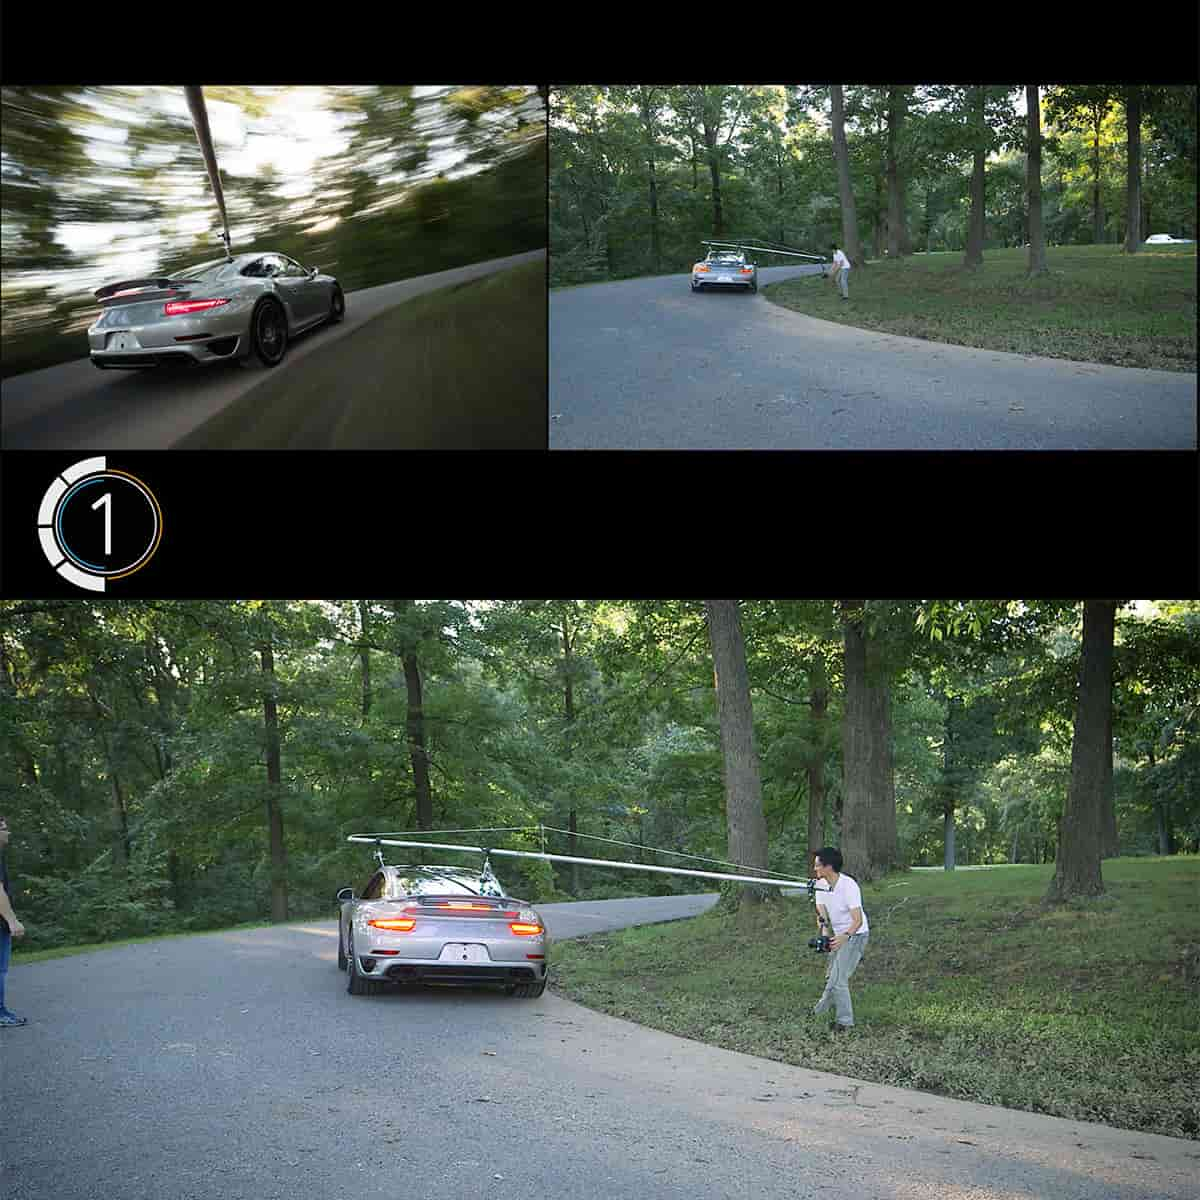
Rigging is a technique used to create dynamic images by attaching a camera to a stable rig on the car. This creates the illusion of movement while keeping the car in focus. Rigging can be a complex process, but with a bit of practice and the right equipment, you can achieve amazing results.
Equipment needed:
- Camera with a wide-angle lens
- Camera rig with suction cups and arms
- Car with a smooth surface for attaching the rig
Steps to follow:
- Set up the rig: Attach the rig to a secure location on the car, such as the roof or the hood.
- Angle the camera: Adjust the angle of the camera, so it captures the desired composition.
- Choose a slow shutter speed: This will blur the background while keeping the car in focus. Typically, a shutter speed between 1/4 and 1/8 of a second works well.
- Use ND filters: To avoid overexposure, use neutral density (ND) filters.
- Shoot in burst mode: Capturing multiple images in quick succession increases the chance of getting a perfect shot.
Light Painting
Light painting is an innovative technique that involves using a light source to paint the car with light during a long exposure. The result is a stunning image that highlights the curves and features of the car.
Equipment needed:
- Camera capable of long exposures
- Tripod to stabilize the camera
- Light source (LED light bar, flashlight, etc.)
Steps to follow:
- Set up in a dark environment: Choose a location with minimal ambient light, such as a garage or a remote area at night.
- Stabilize the camera: Place the camera on a tripod and compose the shot.
- Set a long exposure: Adjust the camera settings to use a long exposure, typically around 15-30 seconds.
- Paint the car with light: Start the exposure and move around the car with your light source, illuminating its features while staying out of frame. Experiment with different angles and light intensities for varied results.
- Combine exposures: If necessary, combine multiple exposures in post-processing to create the final image.
By mastering these advanced car photography techniques and following our Car Photography Tutorial, you will be able to take your automotive photography to new heights. Remember, practice is key, and don't be afraid to experiment with different settings and techniques. Happy shooting!
Post-Production Mastery
Retouching Tools and Techniques
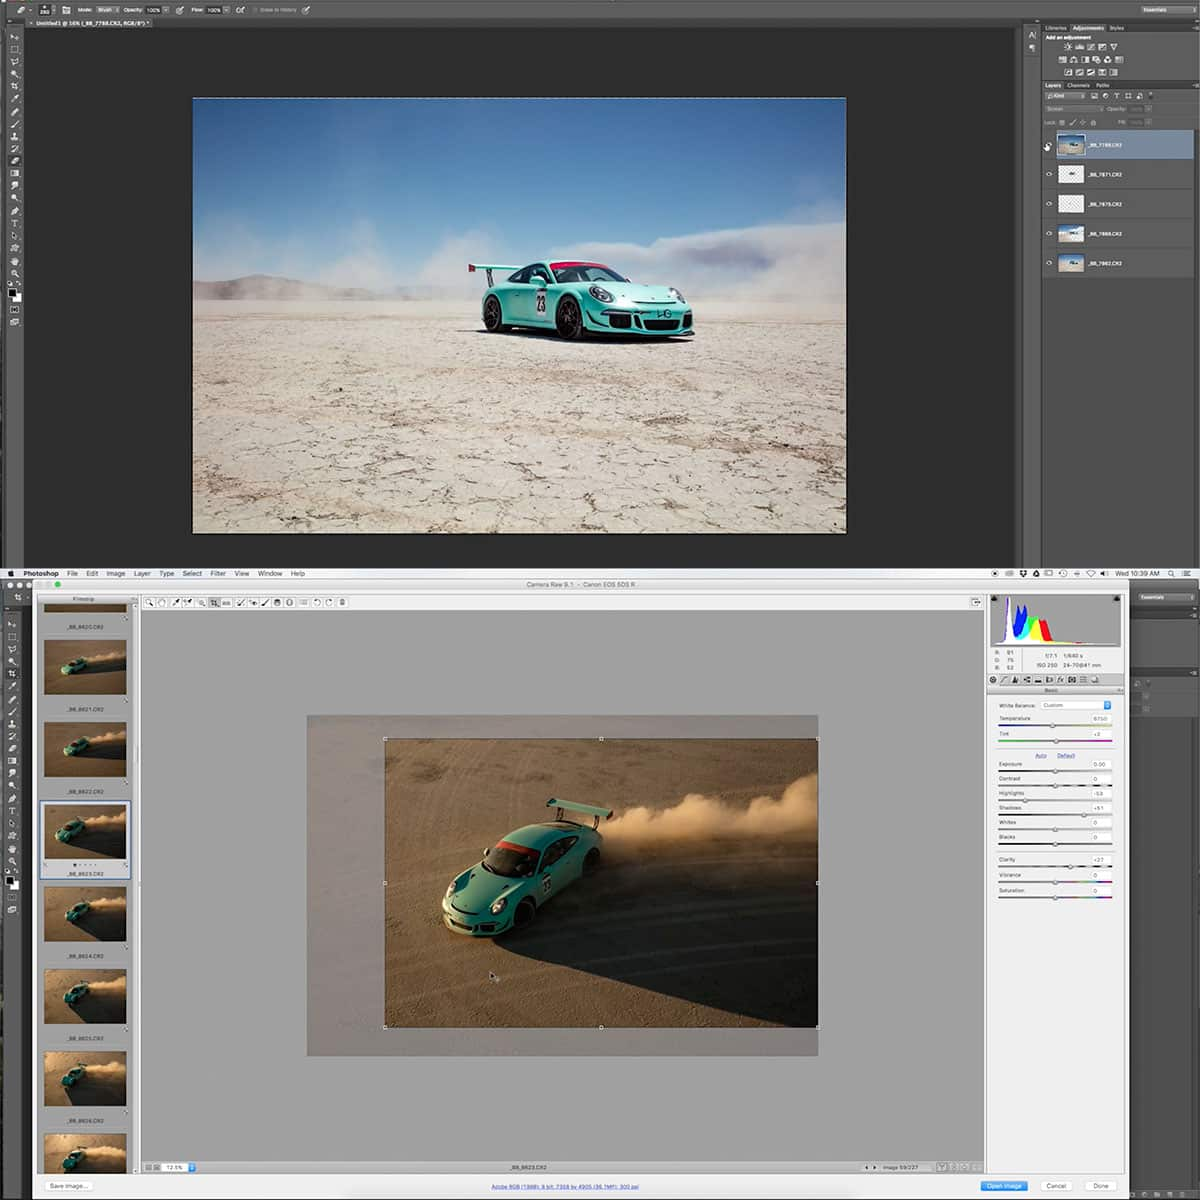
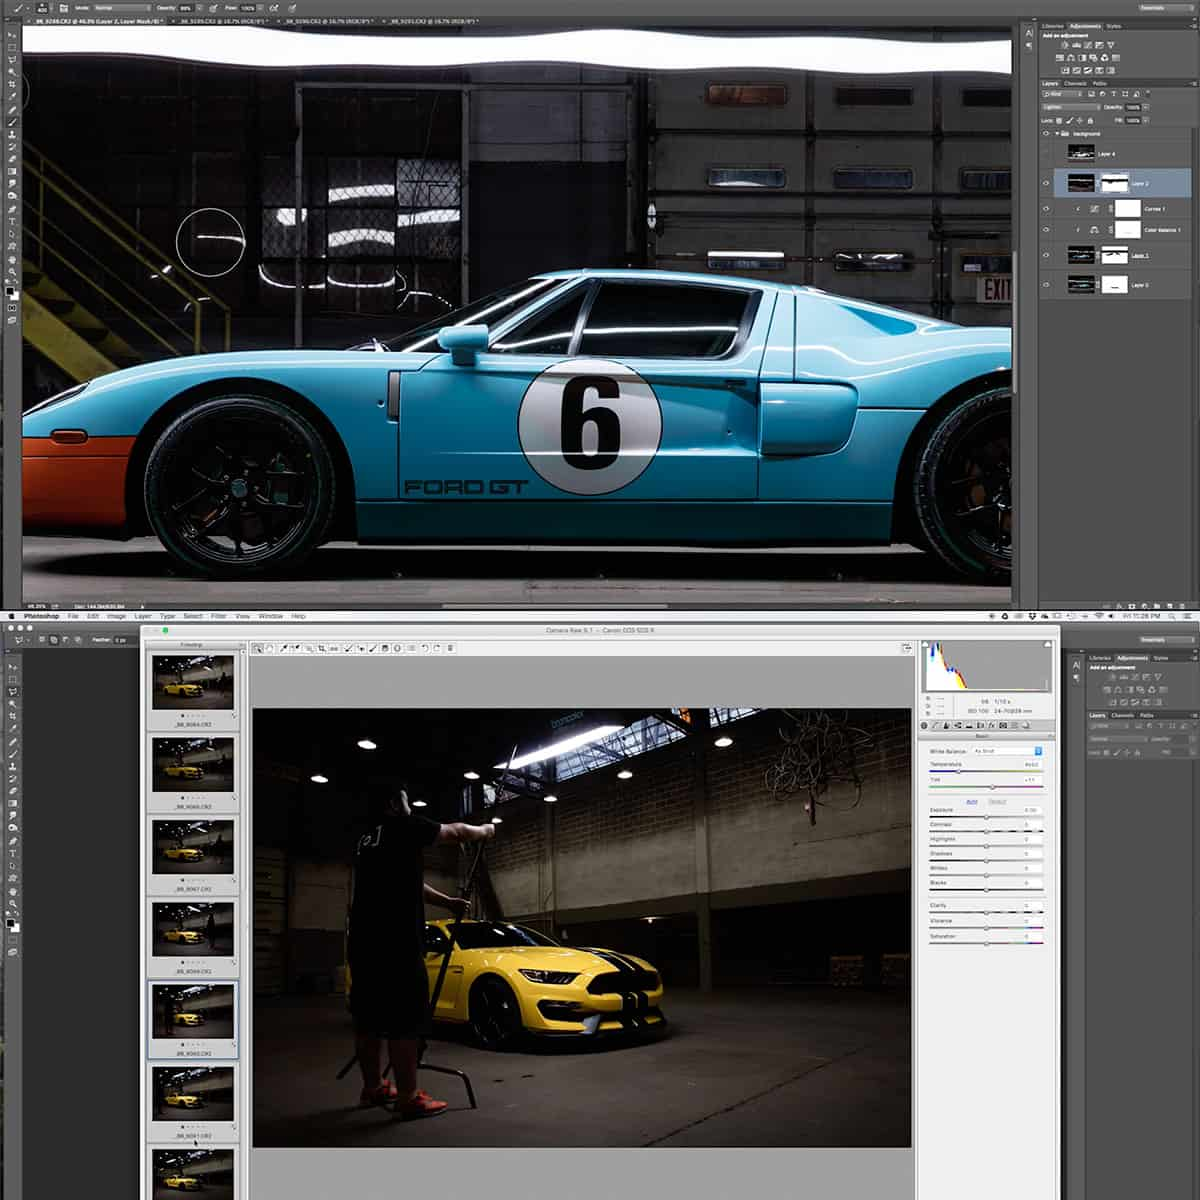
In the world of car photography, it is essential to master retouching tools and techniques to bring out the best in your images. Utilizing software like Adobe Photoshop and Lightroom can help elevate your photos to the next level. Let's explore some of the vital retouching tools and techniques that we can use.
-
Clone Stamp: This tool helps in removing unwanted elements or spots on an image by cloning an area nearby to cover it up. Clone Stamp works wonders to remove dust or dirt on the car surface.
-
Dodging and Burning: Dodge and Burn tools can enhance the overall contrast, highlighting the curves and features of the car. Dodge tool lightens the area, while the Burn tool darkens the portion you paint with the brush.
-
Color grading: Adjusting the hues, saturation, and luminance can create a unique atmosphere and make your car photography stand out. Split Toning is a technique in Lightroom that helps in achieving color grades by adding different tones to highlights and shadows.
-
Layer masks: Utilizing layer masks in Photoshop allows us to blend multiple exposures and make selective edits without affecting the entire image. This non-destructive editing technique provides greater control over the final result.
Post-Production Workflow
Having an organized post-production workflow is vital for efficient and consistent results. Here's a suggested workflow to enhance your car photography:
-
Import and cull images: Start by importing your photos into Lightroom or your preferred editing software. Go through your images, and select the best ones for editing, deleting or rejecting the ones that did not turn out well.
-
Basic adjustments: Apply general corrections and adjustments such as exposure, white balance, contrast, and lens correction to get a good base for further editing.
-
Retouching: Use the retouching techniques mentioned earlier, like Clone Stamp, Dodging, and Burning, to remove imperfections and enhance the overall look of your car images.
-
Creative editing: Apply color grading, filters, and effects to give your images a unique visual style and atmosphere.
-
Sharpening and noise reduction: Before exporting, apply sharpening and noise reduction as needed to achieve the desired level of detail and clarity in your images.
-
Export and save: Finally, export the edited images in the desired formats for various platforms, such as print or web. Save your edits, presets, and actions for future use.
Frequently Asked Questions
How can I improve my automotive photography skills?
To improve your automotive photography skills, it's essential to practice and experiment with different techniques. Start by mastering various angles, lighting, and composition methods. For instance, avoid shooting at eye level and try getting low or high angles to capture the car's unique lines. Also, build connections with people in the auto industry to gain access to remarkable vehicles and opportunities.
What are the optimal camera settings to capture dynamic images of cars?
The optimal camera settings for dynamic car images may vary based on the conditions and car style. Generally, use a narrow to moderate aperture (f/8 to f/11), keep the ISO low to reduce noise, and choose a fast shutter speed (1/1000) to freeze motion. Experimenting with these settings will help you capture the right balance between sharpness and motion blur.
How does the rule of thirds apply to composing striking car photographs?
The rule of thirds is a composition technique that helps to create balanced and visually appealing images. Divide the frame into nine equal parts with two horizontal and two vertical lines, then place the car or its focal points along these lines or at their intersections. This method creates tension and interest in the photograph, resulting in more striking car images.
What lighting techniques can enhance the aesthetic appeal of car photography?
Using natural and artificial light effectively can enhance car photography. Try shooting during the "golden hour" (just after sunrise or before sunset) for soft and warm lighting. Additionally, use artificial sources like reflectors, diffusers, or LED panels to illuminate specific areas and control shadows. Experimenting with different positions and angles of light will highlight the car's design and create visually appealing images.
What equipment is essential for a beginner in car photography?
For beginners, investing in a quality DSLR or mirrorless camera with interchangeable lenses is crucial. A wide-angle lens (16-35mm) and a telephoto lens (70-200mm) can provide versatility in capturing various shots. A sturdy tripod will help in stabilizing the camera for long exposures and sharp images. Additional equipment like polarizing filters, remote triggers, and a basic lighting setup can also improve your car photography.
Can you offer some advanced car photography techniques for professional-looking shots?
To achieve professional-looking car photographs, consider these advanced techniques:
- Panning: Track the car with your camera while using a slower shutter speed to create motion blur in the background while keeping the car sharp.
- Rig shots: Attach a camera rig to the car to capture unique perspectives with a sense of motion, while keeping the car in focus.
- Light painting: Use a long exposure in a dark environment and "paint" the car with a light source like an LED panel, resulting in dramatic and well-lit images.
- Post-processing: Edit your images in software like Adobe Lightroom or Photoshop to enhance colors, contrast, and other attributes for a professional finish.
Experiment with these techniques to create stunning and dynamic car photographs that stand out from the competition.


