
What Is White Balance in Photoshop: A Concise Guide for Users
White balance is a crucial aspect of digital photography, ensuring that colors in your images appear accurate and natural. It involves adjusting the color temperature of an image to neutralize any color casts caused by different light sources. In Photoshop, white balance adjustments are essential for refining the colors of an image and making them look more realistic.
Understanding and adjusting white balance in Photoshop can significantly improve the quality of your photos. With various tools and techniques available in the software, you can easily correct any color discrepancies and achieve a more visually pleasing result. Keep in mind that working with RAW files offers more flexibility when dealing with white balance, as the adjustments to be made are non-destructive and retain higher image quality.
Key Takeaways
- White balance ensures accurate and natural colors in digital images
- Adjusting white balance in Photoshop helps improve photo quality
- Working with RAW files offers flexibility and non-destructive adjustments for white balance
Understanding the Concept of White Balance
White balance is a crucial aspect of photography that needs to be understood and managed well. The main idea behind white balance is calibrating the colors in your photos to ensure that they appear natural under various light sources. Essentially, it is the temperature of the light source that affects the colors in your pictures, as different light sources have diverse color temperatures ranging from warm to cool.
In photography, there are several options for handling white balance. Auto white balance is a feature in most cameras, which automatically adjusts the color temperature based on the scene. However, this may not always result in the ideal outcome. In such cases, it's essential to manually adjust the white balance.
Manual white balance adjustment involves setting specific color temperatures or using presets tailored for various light sources, such as daylight or tungsten lighting. Another option is to use custom white balance, where you photograph a gray card in the same lighting conditions as your subject, then use this photo as a reference to set the appropriate color balance.
In Photoshop, the process of correcting white balance is simplified, and you can use tools like the Adobe Camera Raw interface for making adjustments inside of Photoshop. By mastering white balance, you can ensure that your photos have a natural and pleasant appearance, regardless of the light source.
Why White Balance is Important in Photoshop
White balance is a crucial aspect of photography, as it helps ensure that the colors in an image are accurate and true-to-life. When working with raw images from a digital camera, adjusting the white balance in Photoshop allows us to correct any color casts that may have occurred due to various lighting conditions.
There are several reasons why maintaining proper white balance in our photos is important. First, it establishes a baseline for the true color of white, from which all other colors are measured1. This is an essential step in achieving accurate, professional-looking images that effectively convey a scene or subject as it appeared in real life.
Second, when working with raw file formats, the ability to adjust white balance in Photoshop provides greater flexibility in post-processing. Raw images contain more data than their JPEG counterparts, allowing for more precise and non-destructive adjustments2.
In addition to the overall color adjustments, white balance can also affect the appearance of specific elements within an image. For example, skin tones can appear unnatural if the white balance is off, potentially distracting from the intent of the photo. By mastering white balance, we can improve the authenticity of our images and enhance our visual storytelling prowess3.
In summary, understanding and properly adjusting white balance in Photoshop is crucial for achieving professional, accurate, and visually engaging photography. By doing so, we establish a solid foundation for our images and ensure that they effectively represent the moments they capture.
How to Adjust White Balance in Photoshop
White balance is a crucial aspect in photography that impacts color temperature and accuracy. In this section, we'll discuss various methods to adjust white balance in Photoshop, making your photos look more realistic and visually appealing.
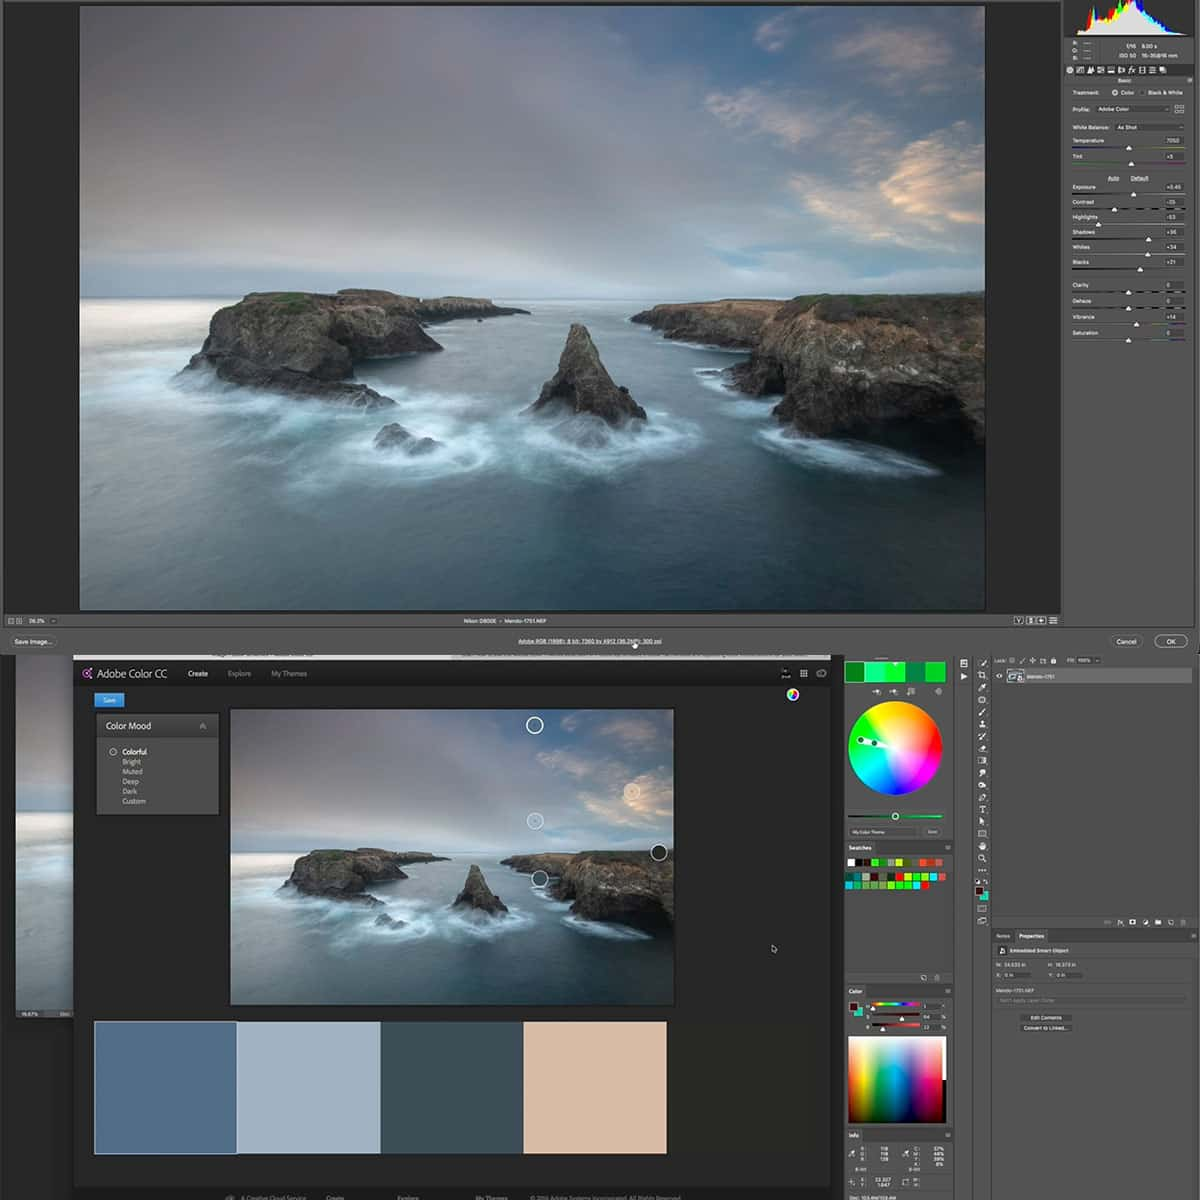
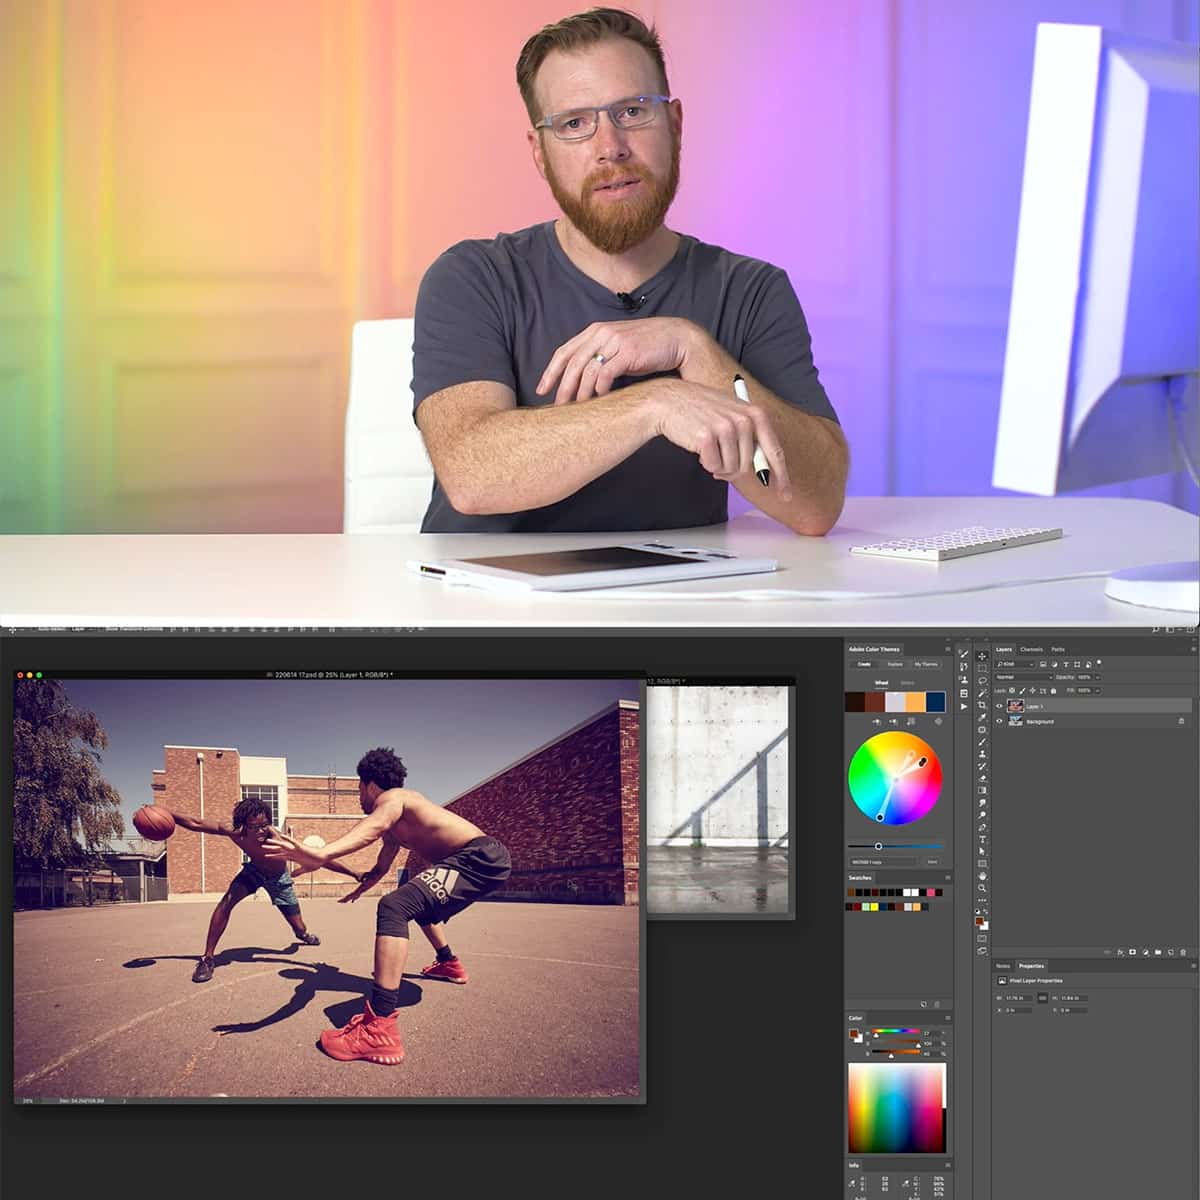
To begin with, we can use the Camera Raw Filter to adjust white balance. Open the Camera Raw filter interface by selecting your image layer and choosing Filter > Camera Raw Filter. Here, we have the Temperature and Tint sliders to control color temperature and tint, respectively. Experiment with these sliders until you achieve the desired white balance.
Another effective method in Photoshop is utilizing Adjustment Layers. Create a Curves Adjustment Layer by clicking the adjustment layer icon at the bottom of the Layers panel and choosing "Curves". The Gray Point Eyedropper tool, found within the Curves properties panel, allows us to select a neutral gray area in the image. This helps Photoshop to automatically calculate and apply the appropriate color correction to the photo.
Additionally, you can try setting white balance using the As Shot option in the Camera Raw Filter. This setting helps when the camera's automatic white balance settings are reasonably accurate and only minor adjustments are required.
Lastly, don't forget about the efficiency of Photoshop Actions. You can create custom actions that include desired white balance adjustments, which allow you to apply these settings to multiple images with ease.
By using these techniques, we can successfully adjust white balance and enhance the overall quality of our photographs. Remember, practice makes perfect, so keep experimenting to find the method that works best for your photos.
Benefits of Using Raw Files for White Balance
When working with white balance in Photoshop, it's crucial to consider the advantages of using RAW files. Unlike JPEG files, RAW files store all the image data captured by the camera sensor, allowing for more accurate post-processing adjustments.
One of the main benefits is that we can modify the white balance with greater accuracy and flexibility. Since RAW files preserve the original individual color information, it's possible to adjust colors without losing image quality. This cannot be achieved with JPEG files, as the camera setting determines the white balance, and the colors are baked into the compressed image.
The ability to fine-tune the exposure is another significant advantage of using RAW files. If the initial exposure was slightly off, we can easily correct it in post-processing without degrading the image quality. Moreover, RAW files offer a higher dynamic range, giving us the flexibility to recover details in the shadows and highlights.
Lastly, working with RAW files provides a non-destructive editing process. Since editing is done within RAW processing software like Lightroom or Adobe Camera Raw, we can always revert to the original file if needed. It's worth noting that these tools offer a range of white balance presets and a custom eye-dropper tool, making it easier to achieve the desired color temperature.
In conclusion, by using RAW files, we can take full advantage of post-processing tools to achieve optimal white balance and overall better image quality.
Advanced White Balance Techniques in Photoshop
In this section, we will discuss some advanced white balance techniques that can be utilized in Photoshop to achieve perfect color balance in our images. Utilizing these methods, we can ensure our photos accurately represent the colors and tones of the original scene. These techniques include using curves, working with smart objects and layers, and incorporating custom white balance settings.
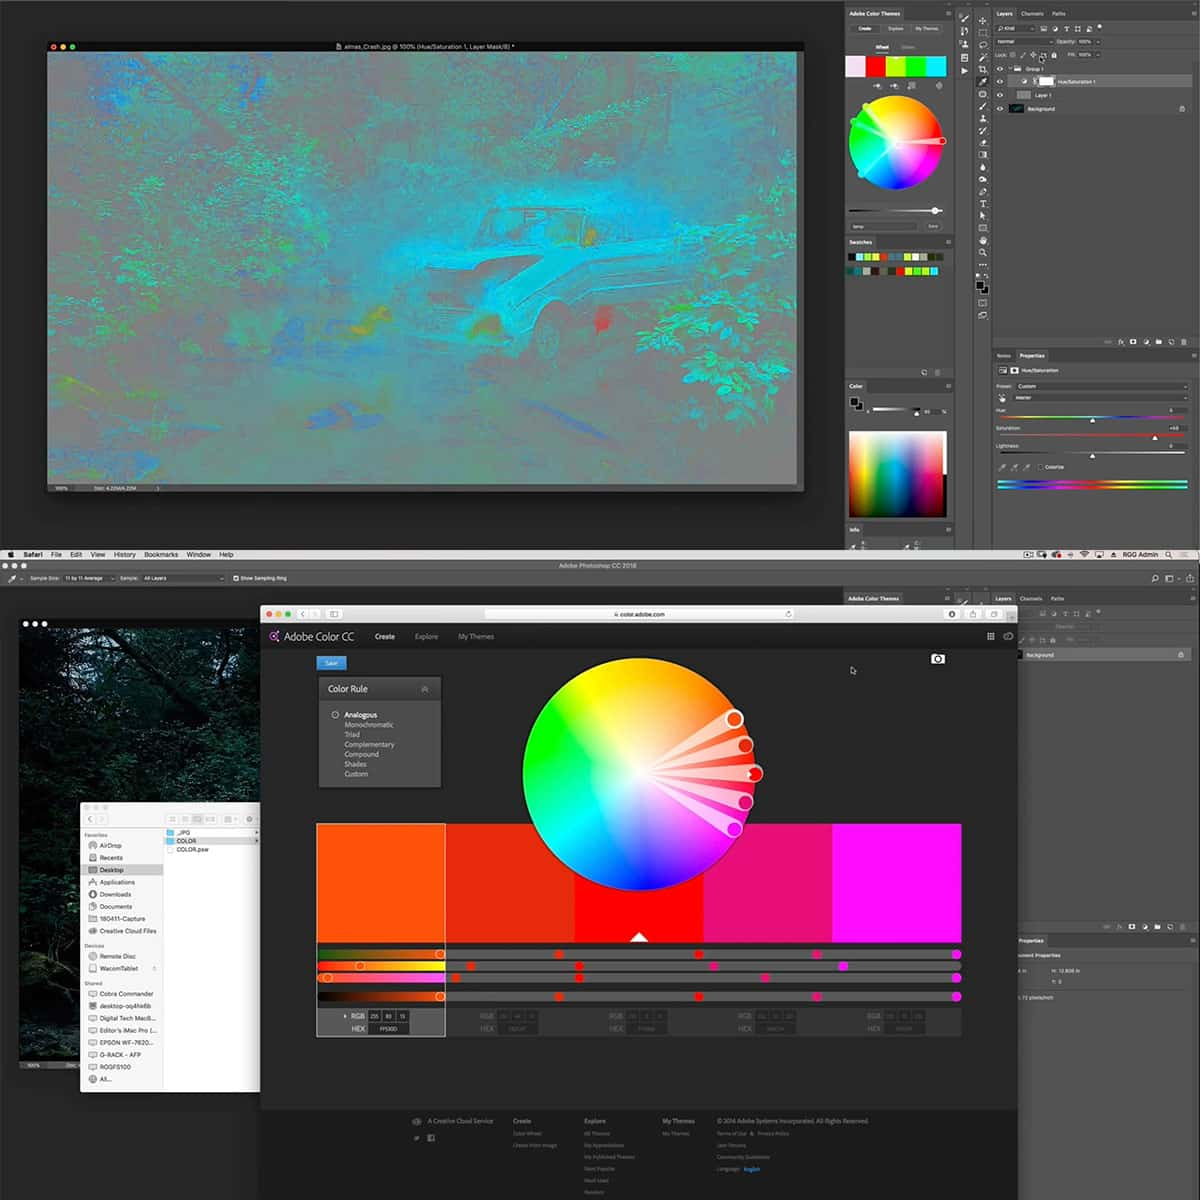
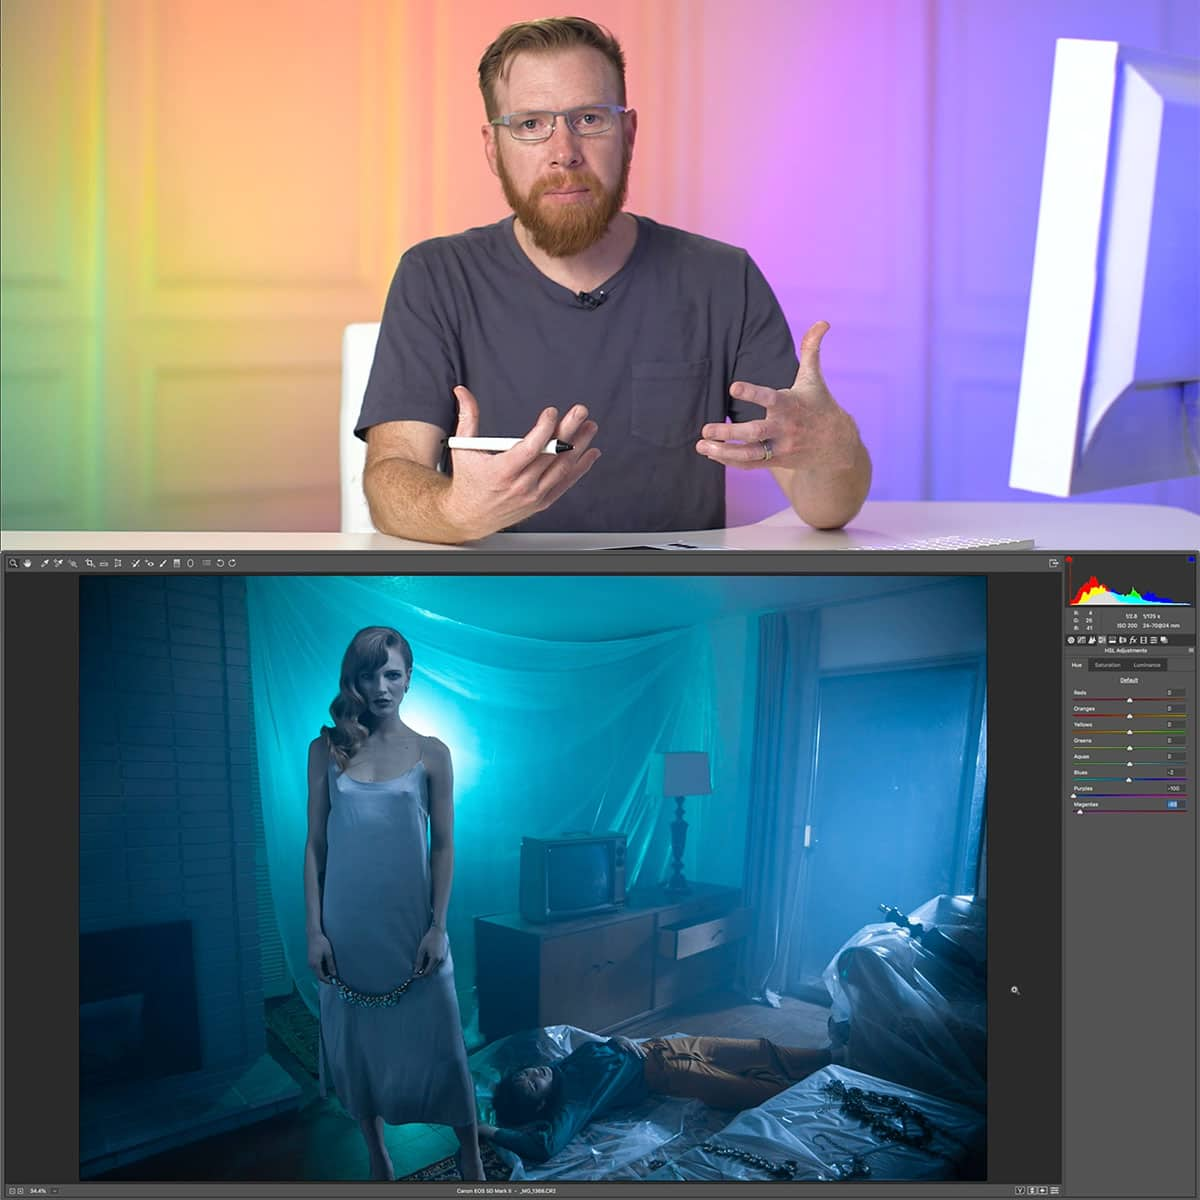
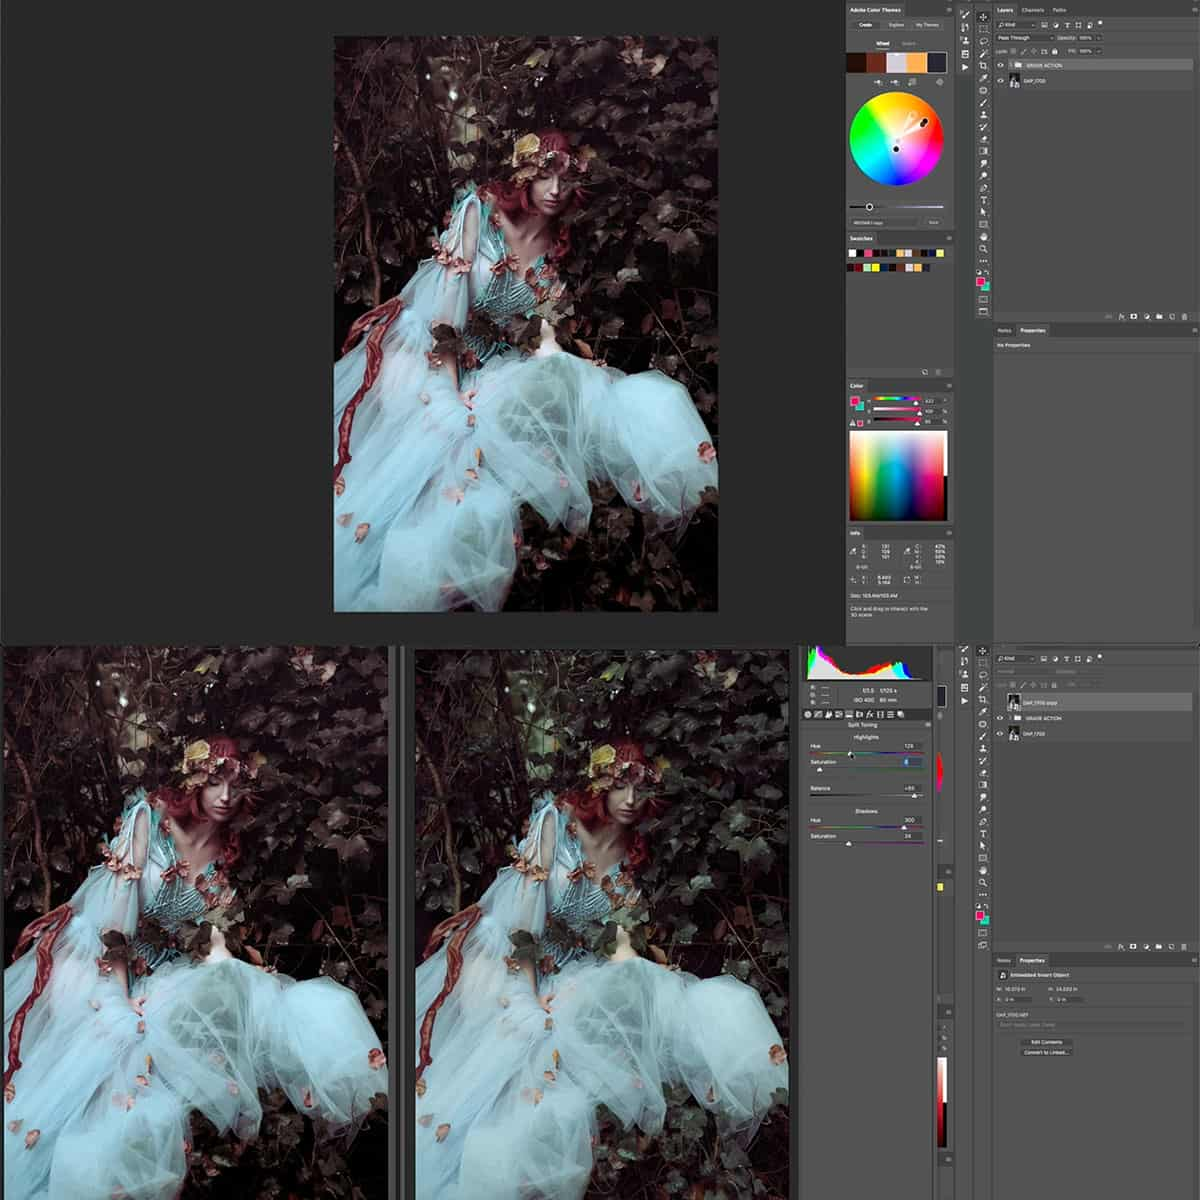
One technique we often use is adjusting the curves in Photoshop. This allows us to correct color balance issues and enhance the overall tonal range in our images. By using the RGB channel, we can effectively neutralize any color casts by adjusting the individual red, green, and blue curves.
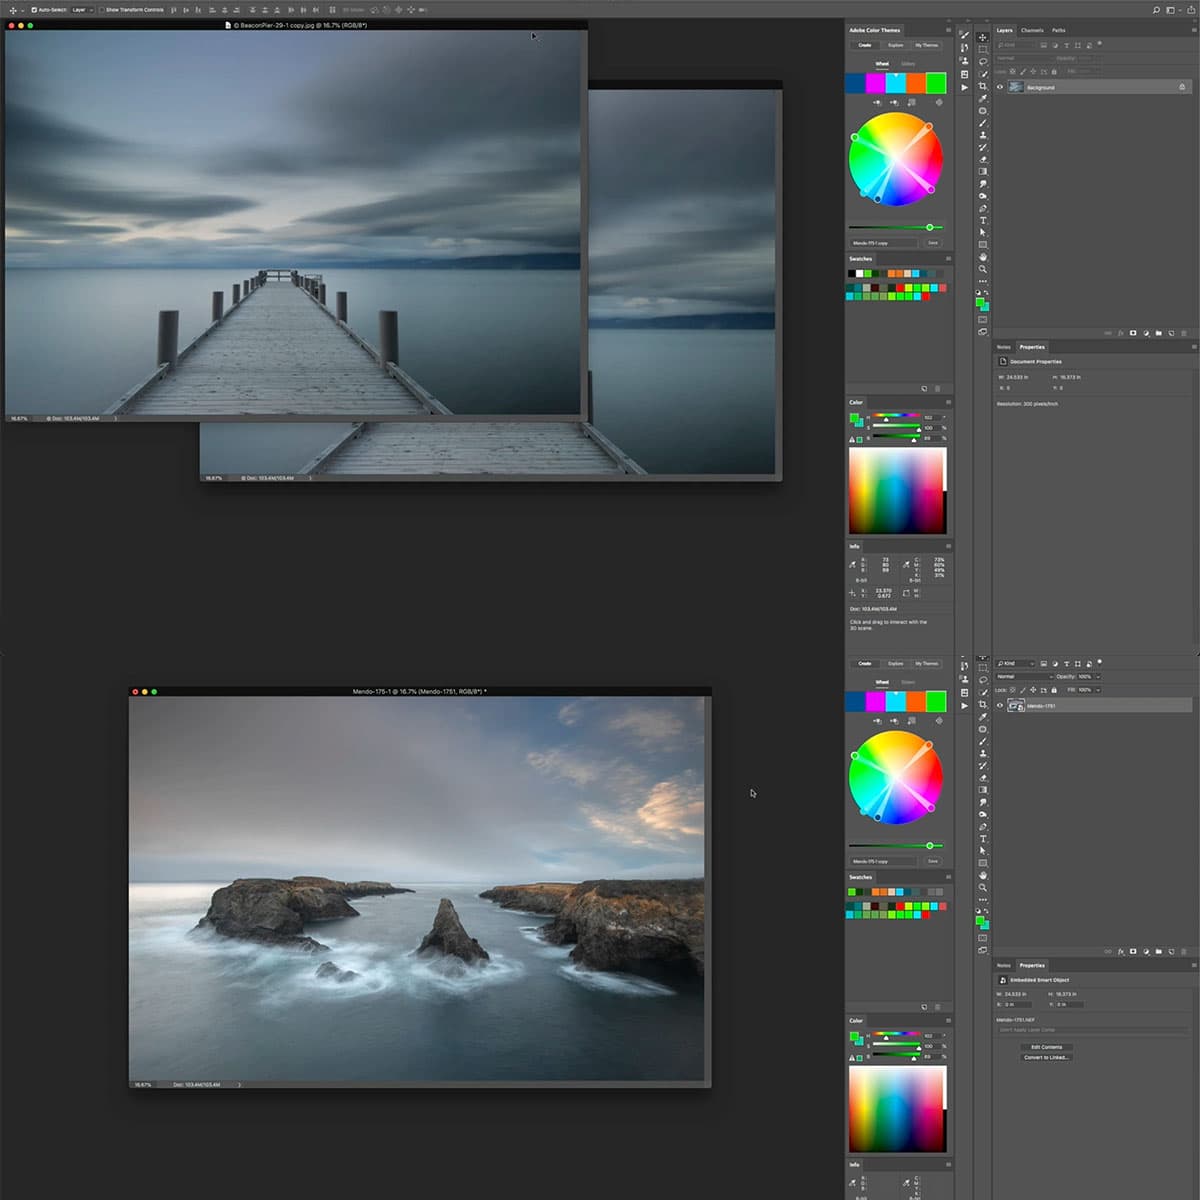
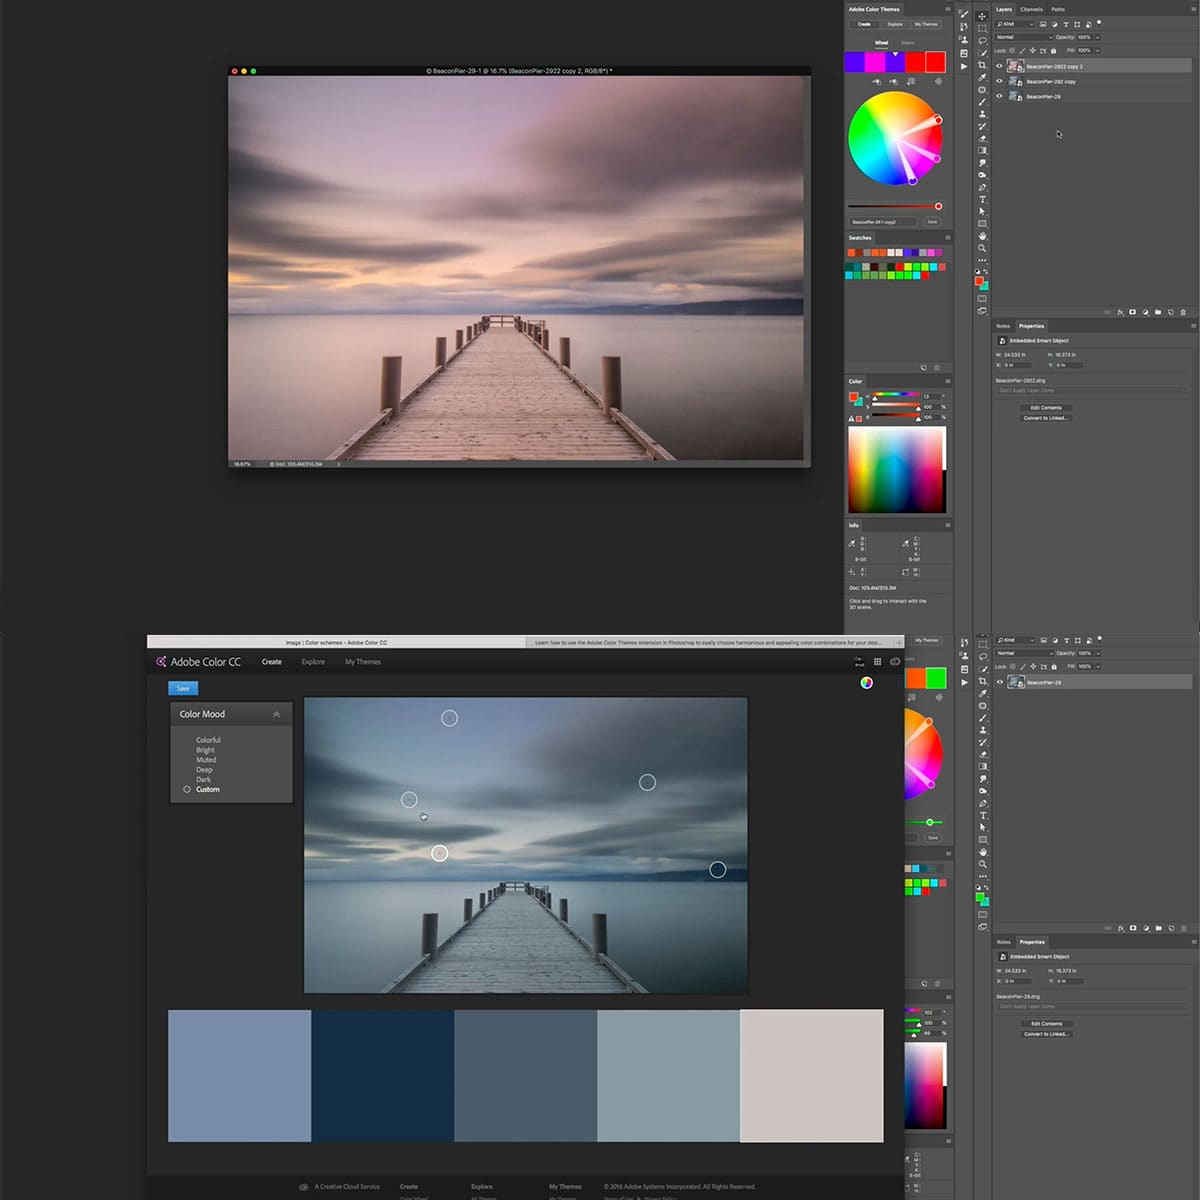
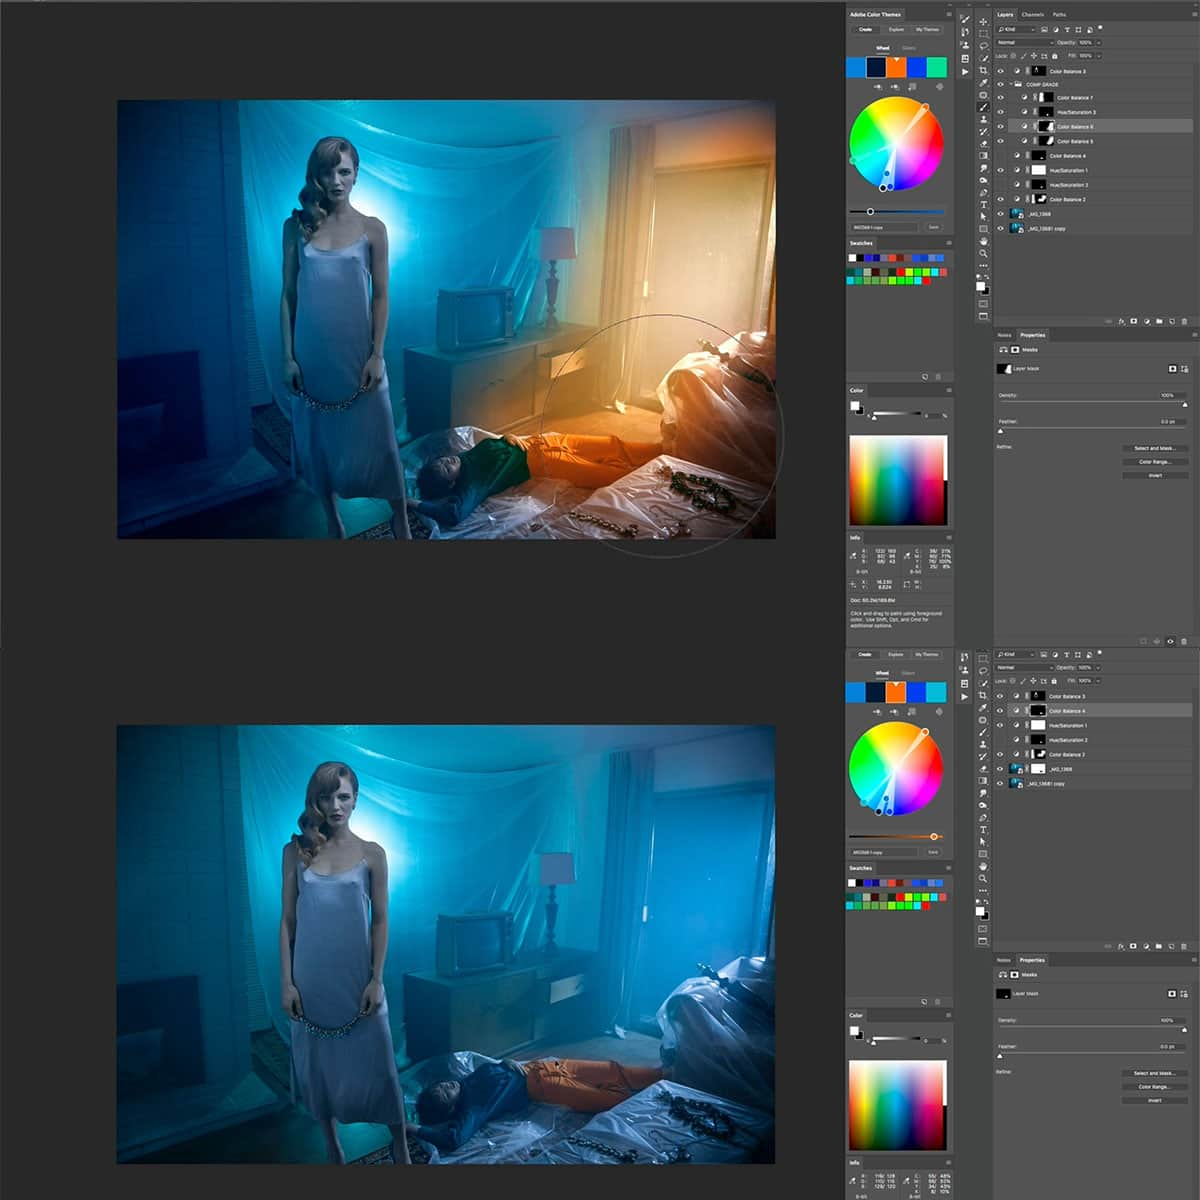
In addition to curves, working with smart objects and layers is another essential technique we use for advanced white balance adjustments. Smart objects preserve image data, allowing us to apply non-destructive edits and filters. By converting our image to a smart object and utilizing layers, we can experiment with different adjustments without altering the original image.
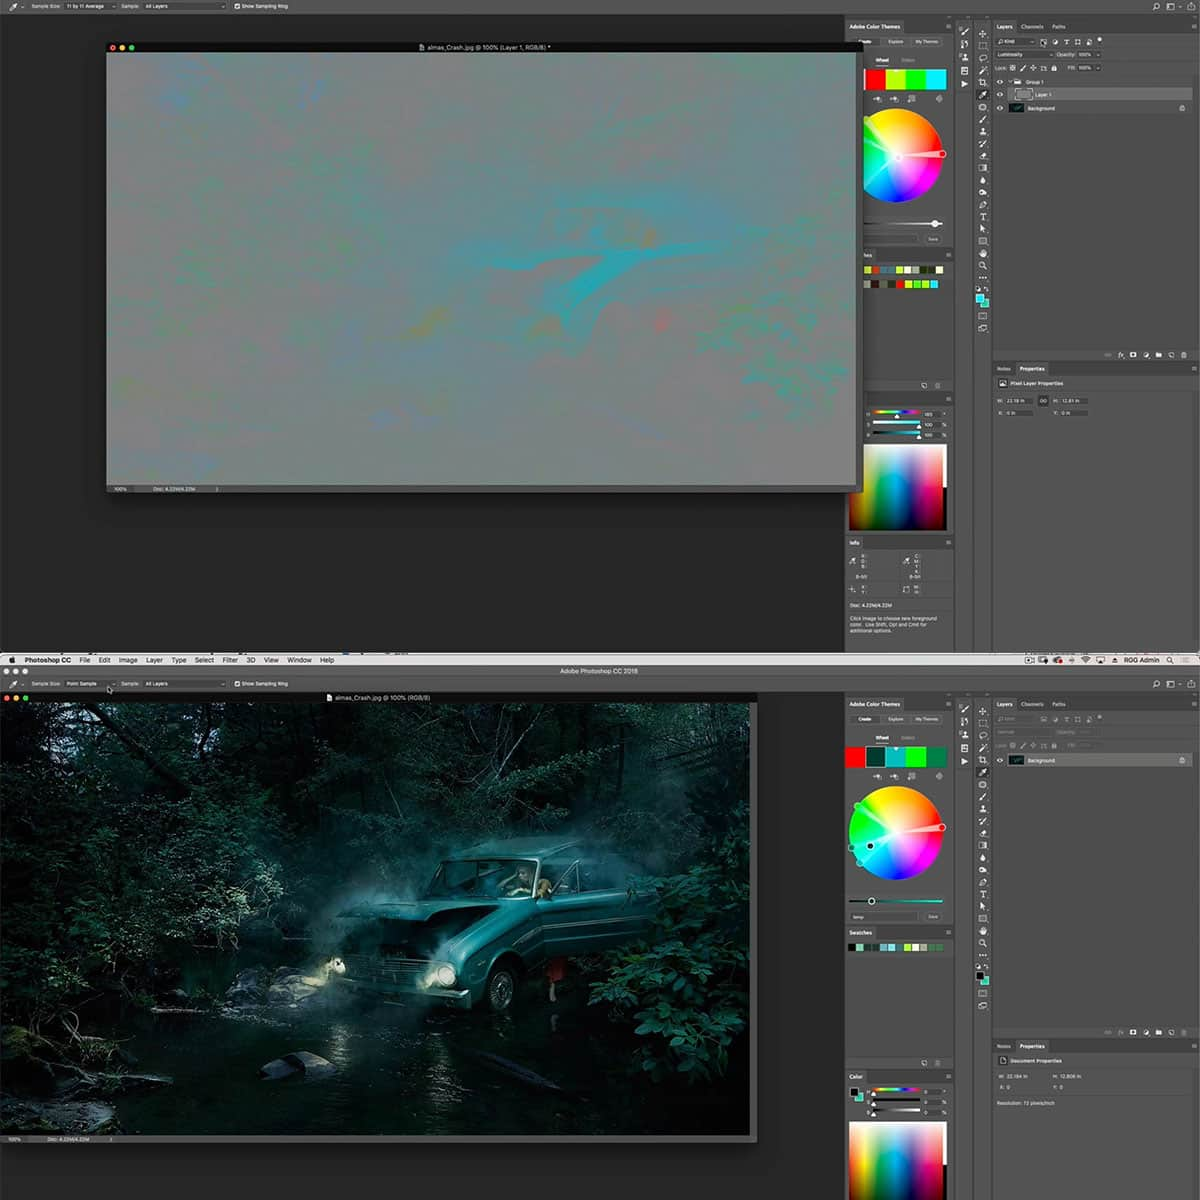
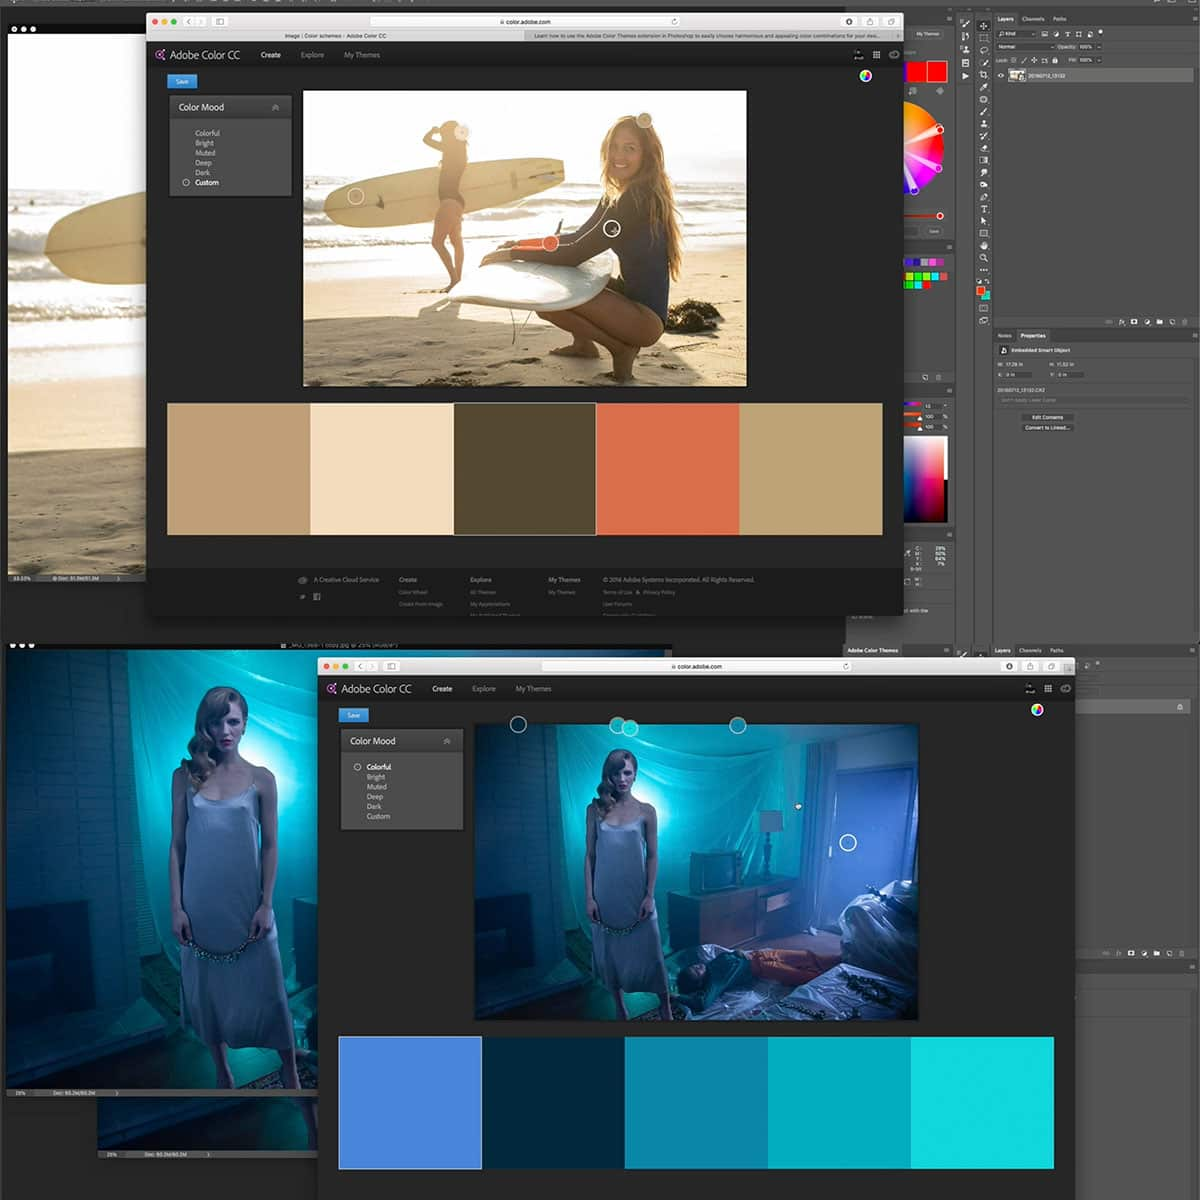
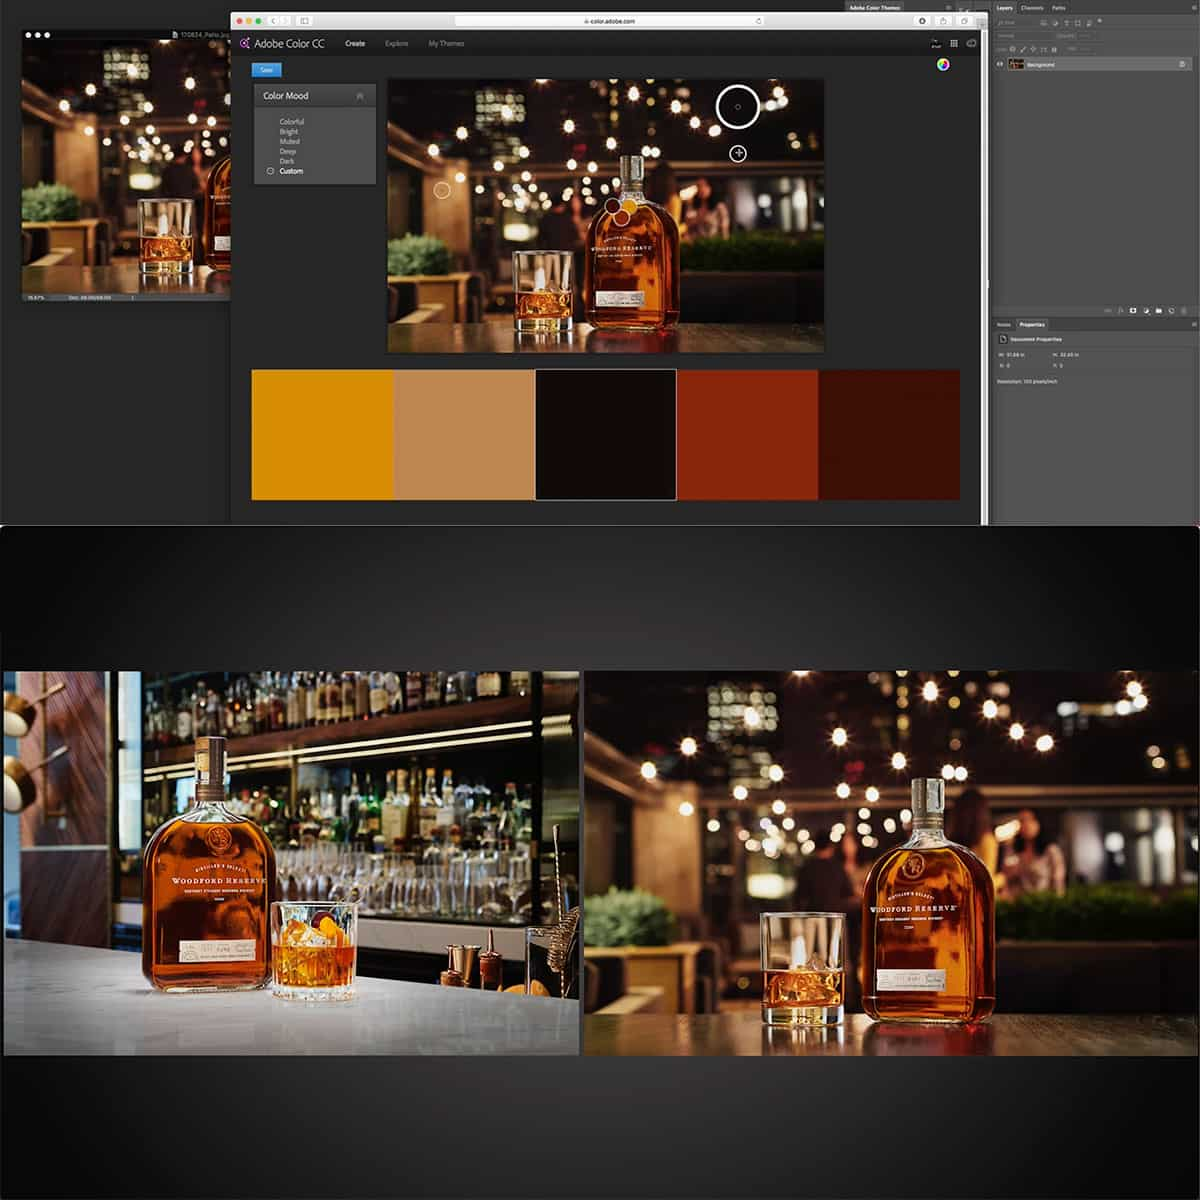
A gray card is an effective tool for ensuring accurate colors when shooting, but they can also be utilized when editing in Photoshop. By including a reference photo with the gray card in the scene, we can use the color sampler tool to set the custom white balance, resulting in a more accurate rendering of colors throughout the image.
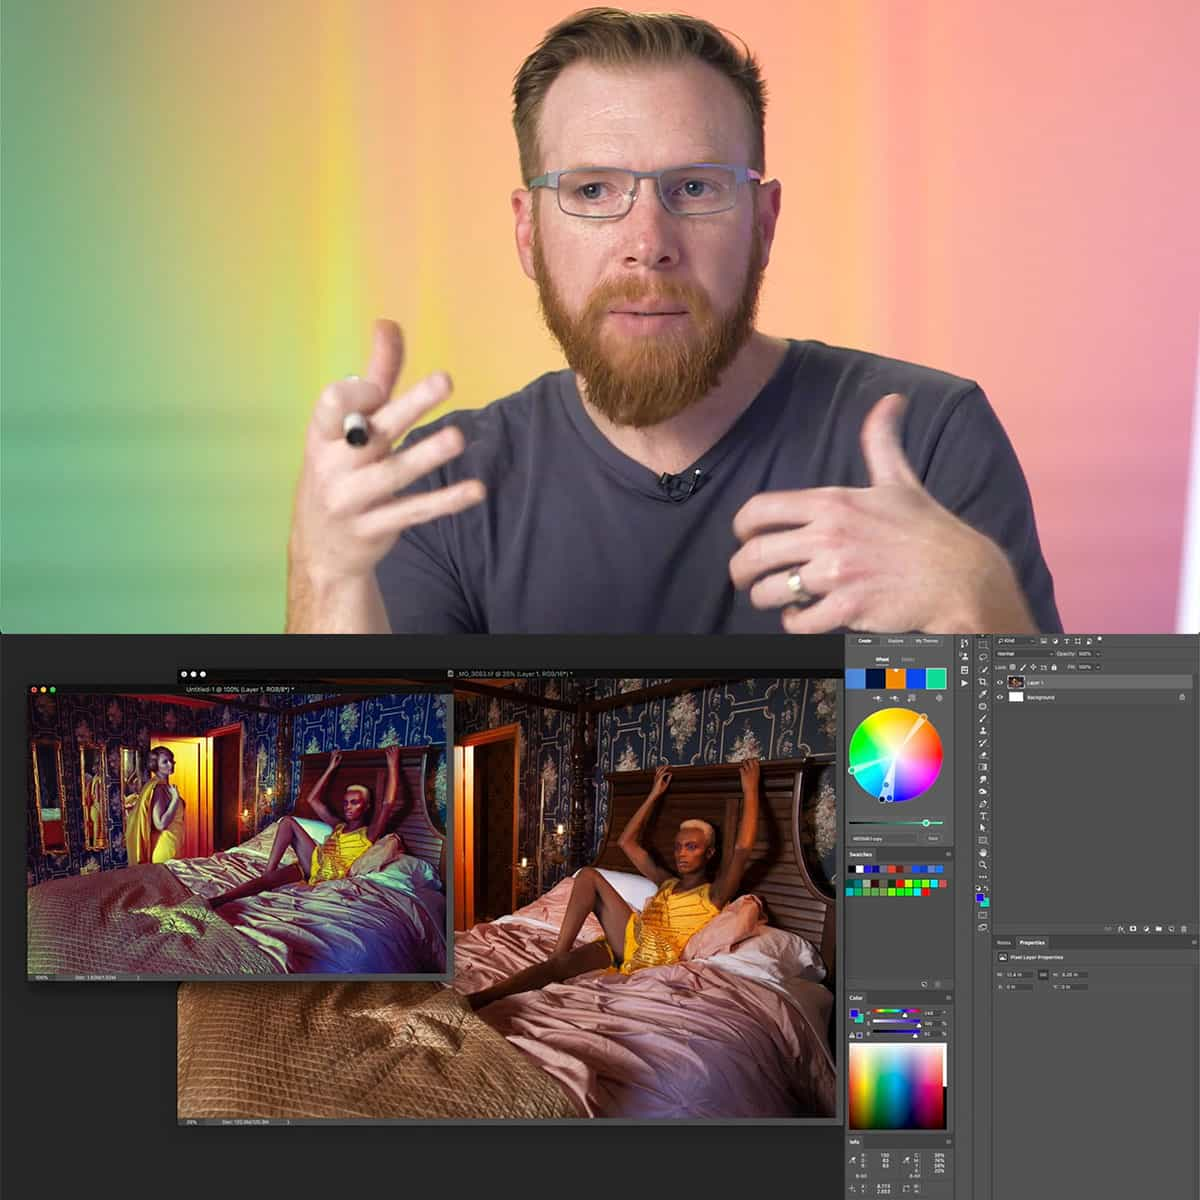
Lastly, it is important to consider the lighting conditions when working with white balance in Photoshop. For example, adjusting for tungsten lighting requires us to shift the color temperature towards blue to compensate for the warm, orange glow that this type of illumination can produce. While some adjustments can be made directly in Photoshop, using a program like Lightroom for white balance adjustments can be beneficial, thanks to its more intuitive interface for working with color temperature.
By incorporating these advanced techniques into our Photoshop workflow, we can create images with accurate color balance, producing professional-looking results.
Frequently Asked Questions
How can I adjust white balance in Camera Raw?
We can adjust white balance in Camera Raw using the Temperature and Tint sliders in the Basic panel. Dragging the Temperature slider left (cooler) or right (warmer) alters the color temperature, while the Tint slider adjusts the green-magenta balance.
What are the methods for correcting white balance in post-processing?
There are various methods to correct white balance in post-processing, such as using Levels, Curves, and Color Balance adjustment layers in Photoshop. Another approach involves using specialized software like Adobe Camera Raw or Lightroom for more precise control.
How does the temperature slider in Photoshop affect white balance?
The temperature slider in Photoshop affects white balance by adjusting the color temperature of the image. By shifting the slider, we can make an image appear warmer (more yellow) or cooler (more blue), depending on the desired result.
What are some efficient white balance Photoshop actions?
Efficient white balance Photoshop actions include the use of Auto Color adjustments and the Curves Adjustment Layer. These techniques provide an automatic way to balance the colors and improve the overall image quality.
Is there an AI-based white balance feature in Photoshop?
Currently, there isn't a specific AI-based feature for white balance in Photoshop. However, Adobe continuously updates its software, and we may see future advancements in white balance correction using AI technology.
How can I balance lighting while adjusting white balance in Photoshop?
Balancing lighting while adjusting white balance in Photoshop typically involves using multiple adjustment layers and masking techniques. We can create exposure or brightness adjustment layers to balance the lighting and use layer masks to apply these adjustments to specific areas of the image. Then, we can fine-tune the overall white balance using other adjustment layers like Levels or Curves.


