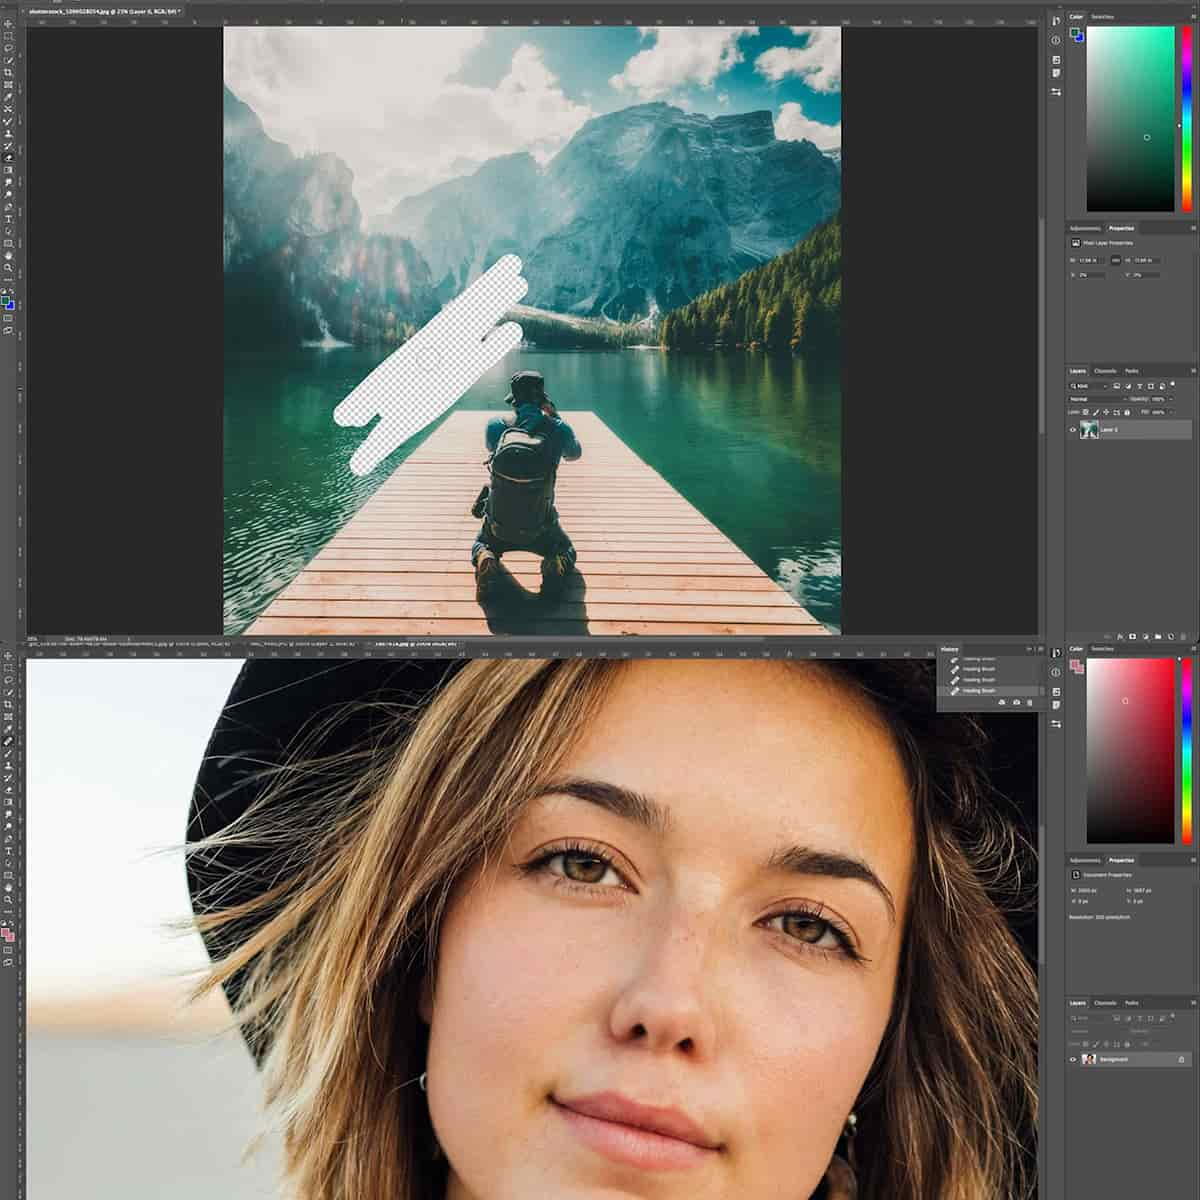
What Is RGB in Photoshop: A Comprehensive Guide for Beginners
In the world of digital image editing, a major component that contributes to the creation of stunning visuals is the proper management of color. One of the most widely used color modes in Photoshop, and in the digital world in general, is the RGB mode. It is a color model that stands for Red, Green, and Blue, which are the primary colors in additive color mixing.
RGB is crucial in Photoshop because it defines how colors are reproduced on screens and other digital devices. By understanding RGB and its significance, graphic designers, photographers, and artists can fully utilize Photoshop's capabilities to create visually appealing and accurate images. Besides RGB, Photoshop also allows working with other color modes like CMYK and Lab Color; however, RGB stands out due to its dominance in digital mediums.
Key Takeaways
- RGB mode in Photoshop is essential for accurate color representation in digital media.
- Understanding RGB and its importance helps in creating visually appealing images.
- Comparing RGB with other color modes like CMYK and Lab helps optimize the use of Photoshop features.
Understanding RGB and Its Importance in Photoshop
In Photoshop, RGB color mode is a crucial aspect to understand. The term RGB stands for red, green, and blue, which are the primary colors combined in various ways to produce other colors. Using the RGB model, we assign an intensity value to each pixel, creating a wide range of colors.
When working with images, we need to consider color channels. Photoshop's RGB color mode divides an image into its three separate color channels: red, green, and blue. Each channel has its own grayscale image that represents the intensity of that specific color.
Understanding these color channels is vital because it allows us to manipulate individual colors, thereby adjusting the image's brightness, saturation, and overall appearance. Changing the values of the RGB components directly affects the color and tonal range of the image.
Here's a quick reference table for color channels and their respective intensity values in 8-bits-per-channel images:
| Color Channel | Intensity Value Range | Representation |
|---|---|---|
| Red | 0-255 | 0 (no red) to 255 (full red) |
| Green | 0-255 | 0 (no green) to 255 (full green) |
| Blue | 0-255 | 0 (no blue) to 255 (full blue) |
Besides RGB, there are also other color modes available in Photoshop, such as CMYK, Lab Color, and Grayscale. However, RGB remains the most commonly used color mode, especially for digital images displayed on screens. It is essential to choose the appropriate color mode to ensure accurate color representation and smooth workflow.
Comparing RGB with Other Color Modes in Photoshop
In Photoshop, various color modes are available, and each has its own unique properties and uses. Let's briefly discuss the differences between these color modes.
RGB is the most common color mode, which stands for Red, Green, and Blue. It is used predominantly in digital media and displays, as it can create a wide variety of colors by combining different intensities of these three primary colors. RGB color mode is employed in Photoshop and other graphics software, computer monitors, digital cameras, and televisions. For more information on RGB color mode in Photoshop, you can check this link.
CMYK stands for Cyan, Magenta, Yellow, and Key (black) and is used mainly for print media. By combining different amounts of these colors, the CMYK color mode can produce a wide range of hues. When working with images that will be printed, such as on paper or other print materials, it is best to use CMYK color mode. To learn more about converting color modes in Photoshop, visit this Adobe guide.
Lab color mode is a device-independent color space. It is designed to provide a consistent representation of colors regardless of the device or medium in which they are displayed. This mode consists of three channels: L for lightness and a and b for the green-red and blue-yellow color components. You can find a brief explanation about choosing colors in Lab mode here.
Indexed Color mode is commonly used for images containing a limited number of colors, such as logos or illustrations. This mode reduces the number of colors in an image to a specified palette, reducing file size and making it suitable for formats like GIF.
Duotone mode is a grayscale image that uses one or more spot colors to add tints. It is often used in printing to give an image a unique tone or artistic effect.
Grayscale mode, as the name suggests, uses only grayscale values, providing a range from black to white with multiple shades of gray in between. For a detailed guide on converting images to grayscale and bitmap in Photoshop, you can refer to this article.
You can switch between or change color modes in the Color Settings dialog box in Photoshop.
Practical Application of RGB Mode in Photoshop
When working with images in Photoshop, it's essential to understand the RGB Color Mode and its components: red, green, and blue. These primary colors combine to create a vast array of colors that we see in everyday life. In Photoshop, each color channel (red, green, and blue) assigns an intensity value to the pixels, with 0 representing black and 255 representing white source.
By manipulating the individual color channels, we can make precise adjustments to the overall appearance of an image. One method of doing this is by selecting specific areas of the image, where we want to apply changes. Though selections, we can target and modify colors more accurately, leading to better image enhancements.
There are a variety of tools and techniques to apply adjustments efficiently, such as:
-
Adjustment Layers: These non-destructive layers allow us to make changes to the image without altering the original pixels. They can be fine-tuned, removed, or reordered, which offers continuous editing options.
-
Curves: We can influence the color balance and tonal range of an image with this powerful feature. By plotting control points on individual color channels, we can adjust the distribution of brightness values, creating a finer level of control while preserving image quality source.
-
Image adjustments: These editing options can directly modify the image's overall appearance by adjusting the levels, exposure, brightness, and contrast. They are more global but provide a solid starting point for color correction.
-
Color Balance adjustments: Understanding the relationship between red, green, and blue helps us determine color temperature and tint in an image. By fine-tuning these values, we can make an image appear warmer or cooler, creating a natural balance source.
In summary, the use of RGB Color Mode and its components are fundamental in Photoshop, allowing us to make precise adjustments and create visually appealing images. By mastering techniques like curves, adjustment layers, and selections, we can enhance our images with confidence and proficiency.
Navigating RGB Controls and Settings in Photoshop
Working with RGB colors in Photoshop is all about understanding the different settings and controls available to us. We'll explore the key aspects of RGB color mode, color settings, and color management in Photoshop, along with some helpful keyboard shortcuts.
In Photoshop, RGB color mode utilizes the combination of red, green, and blue to generate various colors. The values for each color range from 0 to 255, with rgb(0,0,0) being black and rgb(255,255,255) being white. Switching to RGB mode in Photoshop can be done by navigating to Image > Mode > RGB Color.
The color settings dialog box is our go-to place for customizing color management options. To access it, go to Edit > Color Settings and choose a preset that meets your workflow requirements. For most color-managed workflows, it is ideal to use a preset color setting that has been tested by Adobe, such as sRGB IEC61966-2.1.
Color management policies help ensure consistency in our projects. Under color management policies, make certain the setting is always set to Preserve Embedded Profiles to maintain the original document's color profile. This is especially crucial when working with multiple images that have differing profiles.
Color profiles play a vital role in managing the accuracy of colors within our projects. They contain information on how our devices interpret color, so embedding the right profile is crucial. We can apply color profiles to our documents by navigating to Edit > Assign Profile or Edit > Convert to Profile.
Lastly, mastering some keyboard shortcuts will speed up our workflow while working with RGB colors in Photoshop. One useful shortcut is to access the color picker by pressing Alt+Backspace (Windows) or Option+Delete (Mac). To toggle the visibility of color channels independently, press Ctrl+2, Ctrl+3, Ctrl+4 (Windows) or Cmd+2, Cmd+3, Cmd+4 (Mac) for red, green, and blue channels, respectively.
Advanced Techniques in RGB Mode
In Photoshop, we work extensively with the RGB (Red, Green, Blue) color mode. This mode uses the additive color system, where varying intensities of red, green, and blue light are combined to produce a wide array of colors. By using techniques like adjusting brightness, saturation, and applying various blending modes, we can achieve stunning results.
When working with brightness and saturation, adjustment layers are beneficial as they allow us to make non-destructive edits. Commonly used adjustment layers include Curves, Levels, and Hue/Saturation. By applying a curves adjustment, we can control the overall brightness and contrast of our image and target specific color channels.
Masks play a crucial role in selectively applying adjustments to specific areas of our image. By utilizing layer masks on our adjustment layers, we can control the intensity and extent of our adjustments. It's essential to understand how white, black, and gray values on masks affect the adjustments' visibility.
Blending modes help combine the color and luminosity of different layers. Different blending modes such as Multiply, Screen, Overlay, and Soft Light can achieve various effects when combined with adjustment layers. Experimenting with these modes and finding the most suitable one will enhance our overall image and provide the desired outcome.
Frequently Asked Questions
How does RGB color mode affect image quality?
In Photoshop, RGB color mode uses the combination of red, green, and blue to create a wide range of colors. This mode assigns an intensity value to each pixel, resulting in vibrant and accurate colors for on-screen display. Using high-quality RGB images ensures a visually appealing and detailed output.
What are the differences between RGB and CMYK in Photoshop?
RGB is intended for digital projects and offers a broader range of vibrant colors suitable for screens. On the other hand, CMYK color mode is used for print materials and focuses on accurate representation on paper by combining cyan, magenta, yellow, and black. The primary difference lies in their color ranges and intended usage.
When should I use RGB color mode in Photoshop?
You should use RGB color mode for digital projects, such as web design, app UI, and any other projects intended for screens. This mode provides a wide range of colors, ensuring accurate representation of your work on various devices like smartphones, tablets, and computer screens.
How to switch from CMYK to RGB in Photoshop?
Switching from CMYK to RGB in Photoshop is quite simple. First, open your image in Photoshop. Then, navigate to "Image" in the top menu, followed by "Mode," and select "RGB Color." The software will automatically convert your image from CMYK to RGB.
Why is RGB preferred for digital platforms?
RGB is preferred for digital platforms because it offers more vibrant colors and a wider color gamut that matches the way screens emit light. Digital devices create colors through the combination of red, green, and blue light, making RGB color mode an ideal choice for accurate color representation on these platforms.
How can I optimize RGB images for better color results?
To optimize RGB images, ensure that you work with high-quality source images and use the appropriate color settings for your project. Calibrate your monitor and experiment with Photoshop adjustment layers to fine-tune the color balance, brightness, and contrast. Additionally, choosing the right color profile, such as sRGB or Adobe RGB, can contribute to achieving better color results in your final output.


