
What Is Quick Mask In Photoshop: A Comprehensive Guide
Quick Mask in Photoshop is a powerful tool that allows users to create and edit selections with ease and precision. This feature is particularly helpful when working on intricate details, such as curved and straight edges, as it enables rapid selection of specific areas in an image.
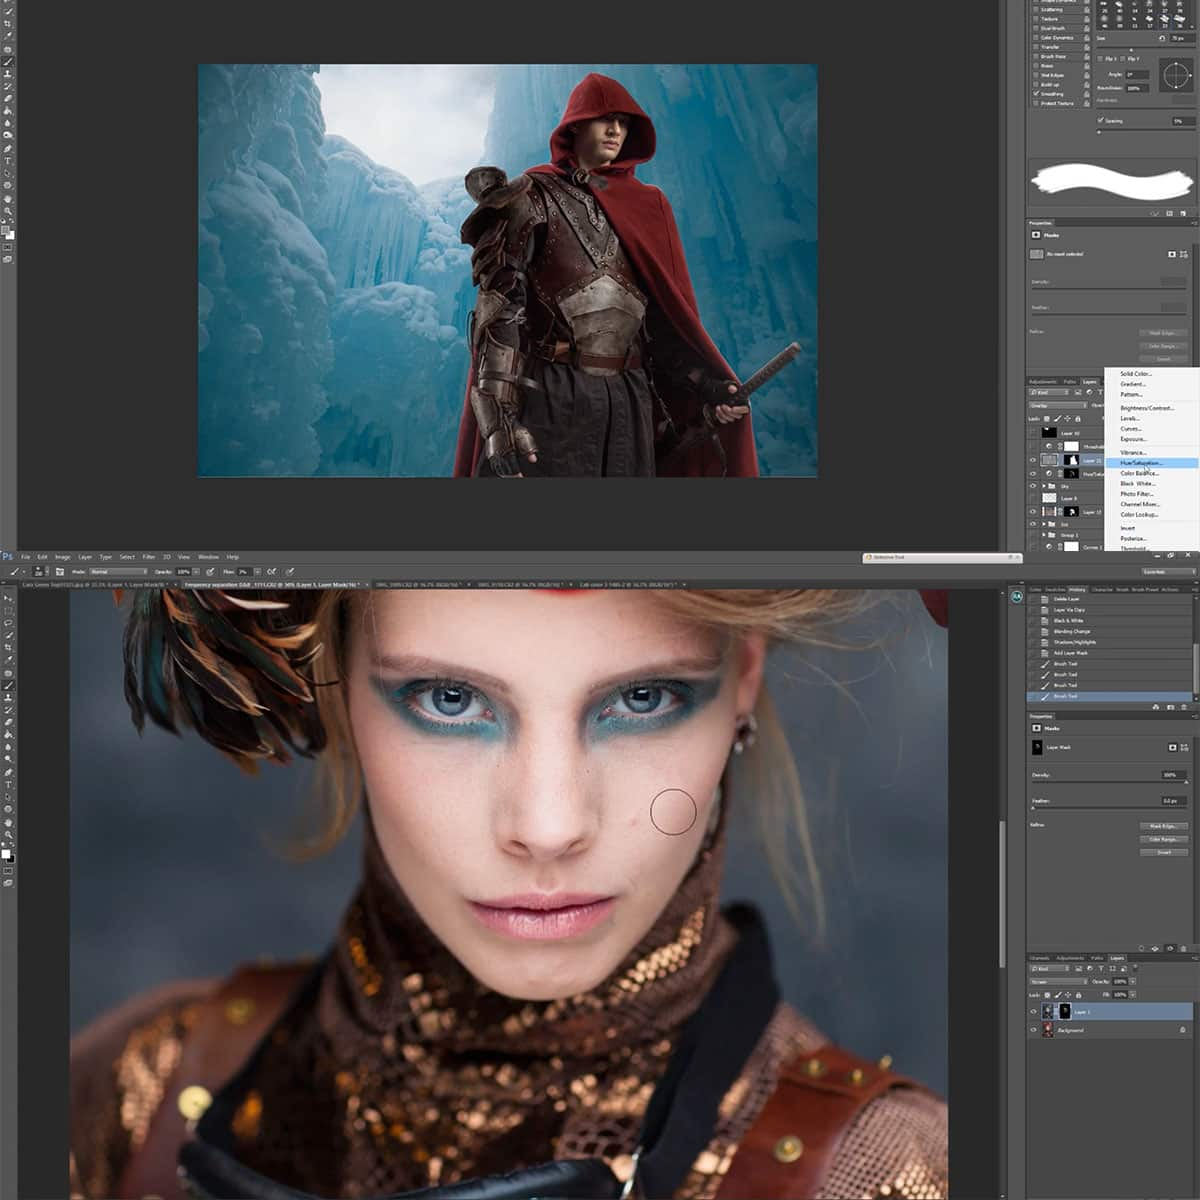
To use the Quick Mask tool, you simply switch between the standard and mask modes to make adjustments to your selections. It works by applying a semi-transparent red overlay on the image, which represents the selected areas. Refining the mask can be done by using the Brush tool, allowing you to create precise and detailed selections.
Key Takeaways
- Quick Mask is a versatile tool in Photoshop for creating and editing selections efficiently
- The tool works by applying a semi-transparent red overlay onto the image, representing selected areas
- Refining masks can be done with the Brush tool for precision and accuracy
Understanding Quick Mask in Photoshop
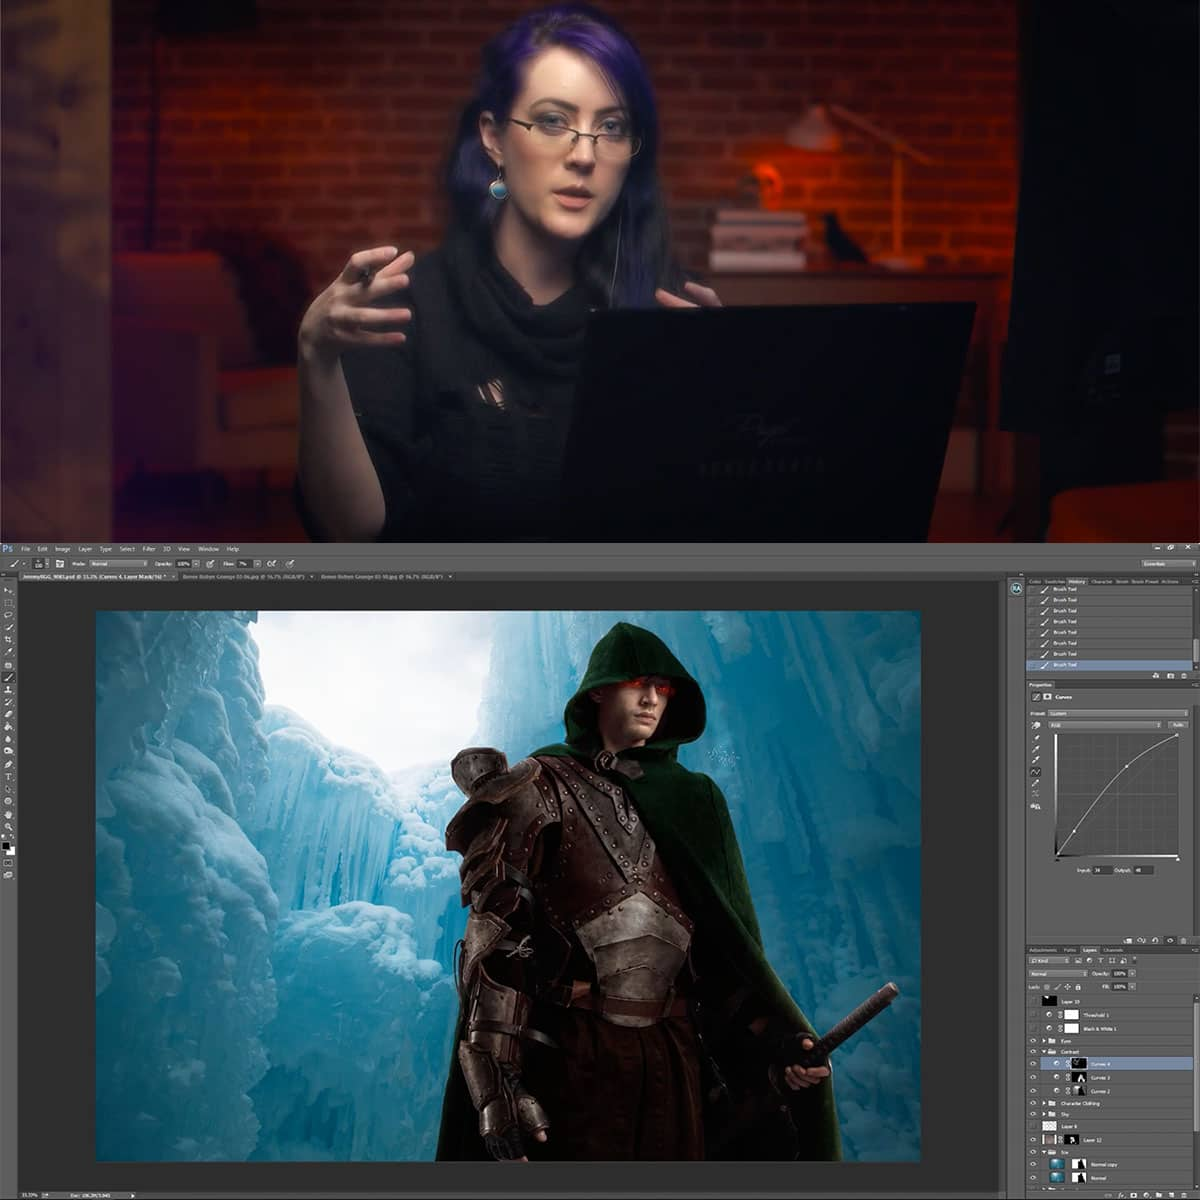
Quick Mask is a feature in Photoshop that allows us to create and refine selections in an image using a semi-transparent color overlay. To enable or disable Quick Mask Mode, simply press the "Q" key on your keyboard. This powerful tool helps users create precise selections, leading to professional-quality edits in their images. Let's dive into how to use Quick Mask and its various applications.
To use Quick Mask, first, ensure that the Quick Mask button is active at the bottom of the toolbar palette. Then, use any of the selection tools to create an initial selection or simply begin by painting with the Brush tool directly. The areas that are covered by the Quick Mask will display a semi-transparent red color to indicate the selected areas.
Here are some common use cases for Quick Mask in Photoshop:
- Refining complex selections: If you're struggling with creating a precise selection using other selection tools, Quick Mask can help you refine your selection.
- Non-destructive editing: Quick Mask allows you to make changes to your selection before making permanent alterations to your image, thus preserving the original image content.
- Visualizing selections: By displaying your selections in a semi-transparent color, you can better visualize the areas you are working on, ensuring accurate edits.
In conclusion, Quick Mask is a valuable tool in Photoshop that enables users to create precise selections and improve their image-editing skills. With a simple press of the "Q" key and the right techniques, you can unlock the full potential of this powerful feature. So go ahead and give it a try – you might just be amazed at the results you can achieve.
Working with Quick Mask and Selections
In Photoshop, quick mask mode is a useful tool for creating and modifying selections. When using the quick mask mode, the selected area is temporarily displayed with a semi-opaque red overlay. This makes it easier for us to identify and modify our selections.
We usually begin by making a selection using tools such as the Lasso or Quick Selection Tool. Then, we can press the 'Q' key on the keyboard or click on the quick mask icon located at the bottom of the tools panel to enter the quick mask mode. The current selection will now appear as a red area on the image.
The quick mask utilizes white and black colors to define the transparency of the mask. We can paint with black over any region we want to deselect, and conversely, paint with white to include that area back in the selection. Adjusting the opacity of our brush enables us to control the level of transparency added or subtracted from the mask, giving us precise control over our selections.
It's important to remember that selections in Photoshop relate to the active layer. When we create a selection and adjust it using quick mask mode, the changes only affect the current active layer. After making the desired adjustments to the mask, we can press 'Q' again to exit the quick mask mode and see our refined selection.
Using quick mask mode in combination with selections allows us to efficiently and accurately edit our images in Photoshop. By mastering these techniques, we can take our image editing skills to the next level. Here's a helpful tutorial on using Quick Masks.
Enhancing Images with Quick Mask
Quick Mask in Photoshop is a powerful feature that allows us to make temporary masks for precise image editing. We can use this tool to fine-tune selections and easily separate subjects from backgrounds or vice versa. To enable or disable Quick Mask Mode, simply press the "Q" keyboard shortcut.
When using the Quick Mask mode, our selected areas will be represented by a semi-transparent red color, making it easier to see the areas that we are working on. Furthermore, we can refine the mask using the Brush Tool, similar to how we would with a regular layer mask.
To enhance our images, we can use Quick Mask mode alongside other Photoshop features such as adjustments, filter, and actions. For example, we can apply a color overlay on the selected area or even use a clipping mask to blend an adjustment layer.
It's important to note that while using Quick Mask, the "marching ants" that often indicate a selection in Photoshop won't be visible. This makes it easier for us to focus on our editing process without being distracted by the marching ants.
In summary, Quick Mask mode is an indispensable tool for refining and editing images in Photoshop. By combining it with other features like layer masks, adjustments, and filters, we can achieve professional results in our image editing projects.
Advanced Techniques Using Quick Mask
Let's begin with utilizing Smart Objects. When working with Quick Mask, we can convert our layer into a Smart Object to ensure non-destructive editing. This allows for more efficient adjustments, such as applying filters or editing layer opacity while retaining the original layer information.
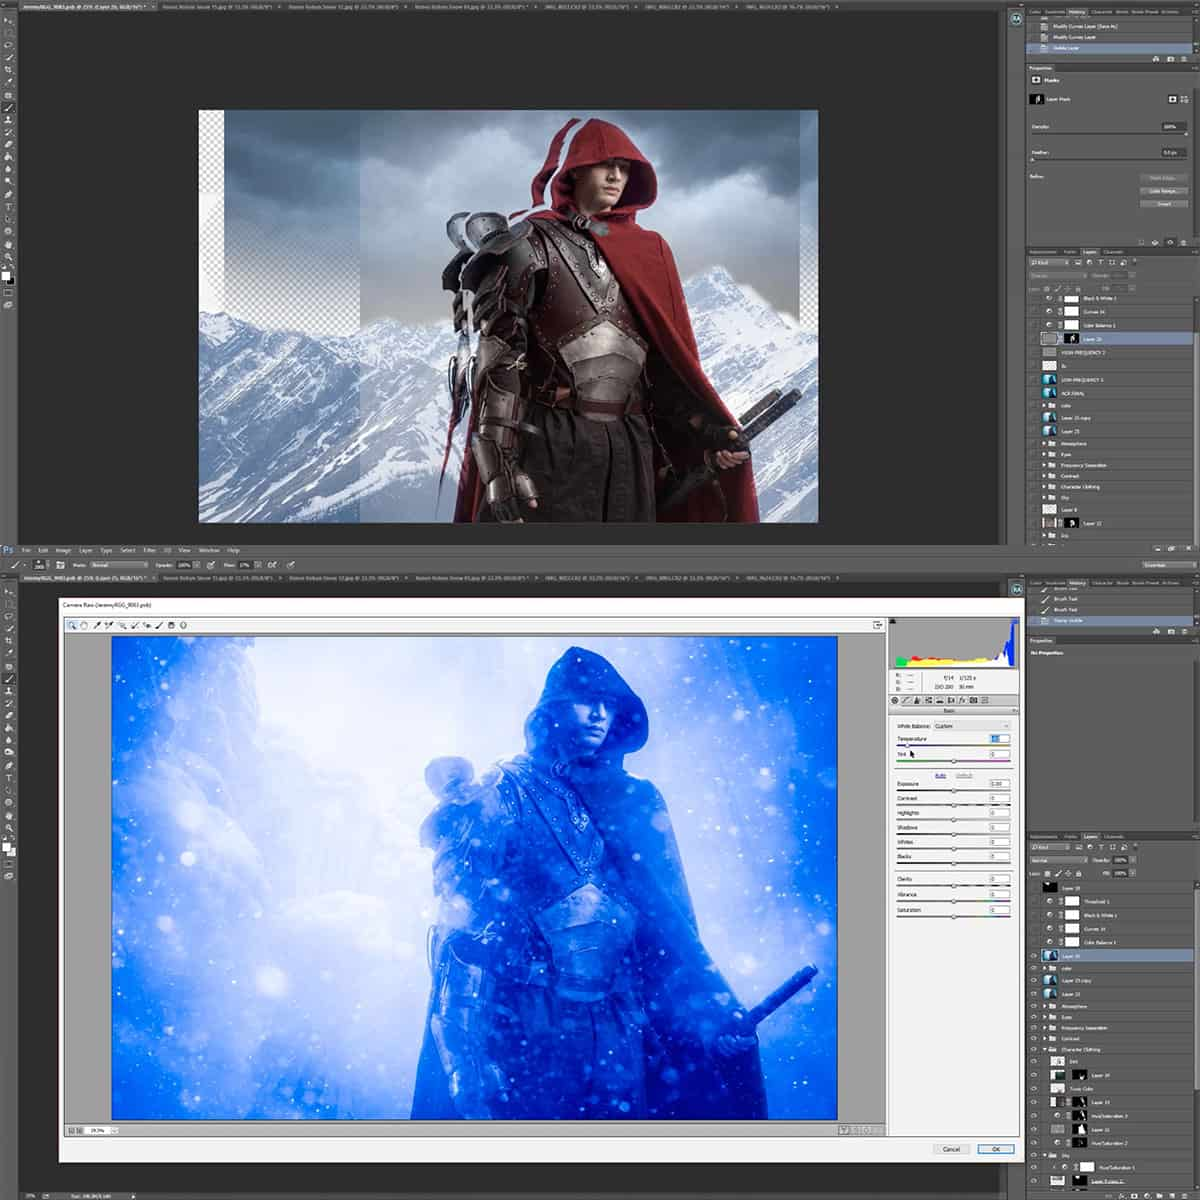
Next is integrating Camera Raw into our workflow. By combining Camera Raw filter and the Quick Mask, we can optimize the color and tonal adjustments in our image. Use the painting tools like the Brush Tool to create precise masks before applying the desired Camera Raw adjustments.
Speaking of painting tools, we can further enhance our masked areas with a variety of Painting Tools. For example, use the Brush Tool to paint directly on the mask with black, white, or gray shades for a smoother and controlled selection. Adjust the brush hardness and opacity to fine-tune the edges.
Gradients can also be used to create more natural-looking transitions in the masked areas. Apply a Gradient Tool directly to the Quick Mask to blend the selection edges seamlessly. This technique can be especially useful when editing landscape images or portraits with varying depth of field.
Vector Masks allow us to create clean, precise masks using shapes and paths. To achieve this, first, create a selection with the Quick Mask, then use the Paths panel to convert the selection into a Vector Mask. Modify the control points, handlebars, and curves to fine-tune the shape of the mask.
In conclusion, understanding these advanced Quick Mask techniques can significantly improve our Photoshop workflow. By incorporating Smart Objects, Camera Raw, Painting Tools, Gradients, and Vector Masks, we can create precise and complex selections for professional-grade editing.
Quick Mask and Adobe Suite Integration
Quick Mask is a helpful feature in Photoshop that allows users to create and modify selections visually. Entering Quick Mask mode is as simple as pressing "Q" on your keyboard, turning the selection into a colored overlay source. This mode enables better accuracy when making selections or applying filters and tools to specific areas.
Adobe products like Illustrator and Photoshop are designed to work well together. As a result, it is common to bring Illustrator artwork into Photoshop for further editing or manipulation. In these cases, Quick Mask can be a highly beneficial tool for fine-tuning selections and making precise adjustments to layered Illustrator files imported into Photoshop source.
Here is a brief overview of how Adobe Suite integration works with Quick Mask mode in Photoshop:
- Import Illustrator artwork into Photoshop
- Use Quick Mask to create and modify selections visually
- Apply filters and other adjustments without affecting the entire layer
- Easily switch between Photoshop and Illustrator for editing needs
It is important to consider Photoshop's system requirements when using features like Quick Mask, as they may affect the performance of your computer. Most modern systems meet Photoshop's minimum requirements, but if you plan to work extensively with Quick Mask and other advanced features, it is a good idea to ensure your hardware can handle it source.
In conclusion, we believe that Quick Mask is a powerful and efficient tool for professionals who work with Adobe Suite applications such as Photoshop and Illustrator. Its integration makes the editing process smoother, allowing users to create seamless and high-quality work.
Frequently Asked Questions
How does Quick Mask mode differ from Layer Mask?
Quick Mask mode allows us to create and modify selections by turning parts of an image into a semi-transparent red. We can refine the masks with common tools like the Brush Tool. On the other hand, Layer Masks are a non-destructive way to hide parts of an image or layer without erasing them. They are great for image compositing or targeting specific edits.
How to create a selection using Quick Mask?
To create a selection using Quick Mask, first, enter the Quick Mask mode by pressing 'Q' or selecting the Quick Mask button in the toolbar. Then, paint on the image with the Brush Tool, where you want to create the selection. When finished, press 'Q' again or click the button to exit Quick Mask, and your painted area will become the active selection.
What are the uses of Quick Mask in Photoshop?
Quick Mask is useful for making quick and precise selections within an image. It can be used to isolate a subject from the background, create composite images, or target specific areas for edits. By working with Quick Masks, you can control which parts of your image are affected by adjustments and filters while maintaining the original image data.
How to toggle Quick Mask mode on and off?
To toggle Quick Mask mode on, simply press 'Q' on your keyboard or click the Quick Mask button in the toolbar. To turn it off, press 'Q' again or click the button.
How to refine a selection using Quick Mask?
Once you have created a selection using Quick Mask, you can refine the selection by painting with the Brush Tool. Use a white brush to add to the selection or a black brush to subtract from it. You can adjust the brush size and opacity to make more precise changes.
How does Quick Mask compare in Photoshop and GIMP?
Quick Mask in both Photoshop and GIMP shares the same primary function: creating and refining selections. The difference lies in their interface and toolset. In Photoshop, the Quick Mask mode offers more advanced options, such as layer styles and adjustment layers, providing greater control for professional editing. GIMP, being an open-source software, might require additional plugins for some advanced features, but it still provides a capable Quick Mask tool for creating and refining selections.


