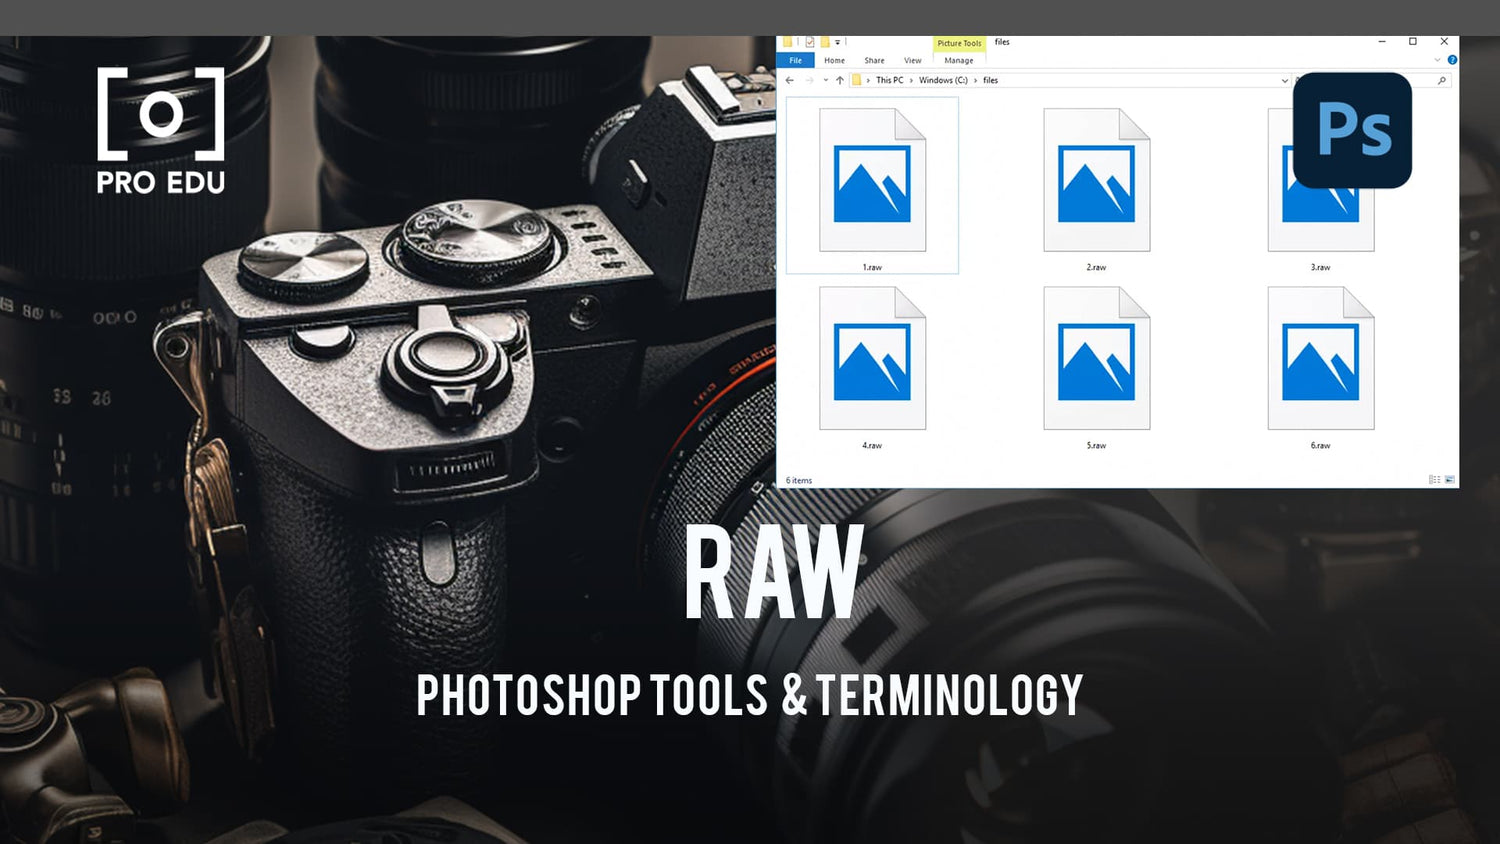
What is RAW in Photoshop: A Concise Explanation
RAW format is an uncompressed and unprocessed image file type captured by digital cameras or scanners. In the world of photography, shooting in RAW offers numerous advantages, such as preserving a high level of image detail and allowing for greater control during post-processing. Adobe Photoshop is a powerful tool for working with RAW files, and its built-in Adobe Camera RAW engine allows users to edit and transform their images from the RAW format into widely supported formats like JPEG.
When working with RAW files in Photoshop, users have access to a range of editing tools and features designed specifically for the format. By editing RAW images, we can adjust critical aspects such as exposure, contrast, white balance, and more without causing significant degradation of image quality. As photographers, incorporating RAW file management into our workflow enables us to harness the full potential of our captured data and achieve striking visual results.
Key Takeaways
- RAW files offer greater image detail and editing flexibility compared to JPEGs
- Adobe Photoshop, with its Camera RAW engine, is ideal for editing RAW images
- Implementing RAW file management in Adobe Photoshop can elevate the quality and impact of your photography.
RAW Versus JPEG in Photoshop
When working with images in Photoshop, we often encounter two popular file formats: RAW and JPEG. RAW files, sometimes referred to as digital negatives, are lossless and capture all the uncompressed data from a camera sensor. On the other hand, JPEG files are compressed, resulting in a smaller file size but with some loss of image quality.
As RAW photos allow for greater flexibility during post-processing, they are preferred by many professional photographers. This is because RAW files contain a wider color range and more levels of brightness, leading to more options for adjustments and corrections. Meanwhile, JPGs are more suitable for immediate use and sharing, as they require less storage space and can be easily opened by most software or devices.
Camera manufacturers often provide their own software for processing RAW files, but Photoshop offers a powerful alternative in the form of its Camera Raw plugin. When opening a RAW file in Photoshop, it automatically launches the Camera Raw interface, allowing us to make non-destructive adjustments to aspects like white balance, exposure, and sharpness before importing the image into Photoshop for further editing.
In contrast, JPEGs are processed with a lossy compression, which discards some of the original data to reduce file size. While this results in images that are more convenient for sharing and storage, the downside is that less information is available for editing. As a consequence, making significant adjustments to a JPEG can lead to a noticeable decrease in image quality.
To summarize, RAW files provide superior editing capabilities and flexibility due to their uncompressed nature, while JPEGs are more practical for sharing and everyday use due to their smaller size and compatibility.
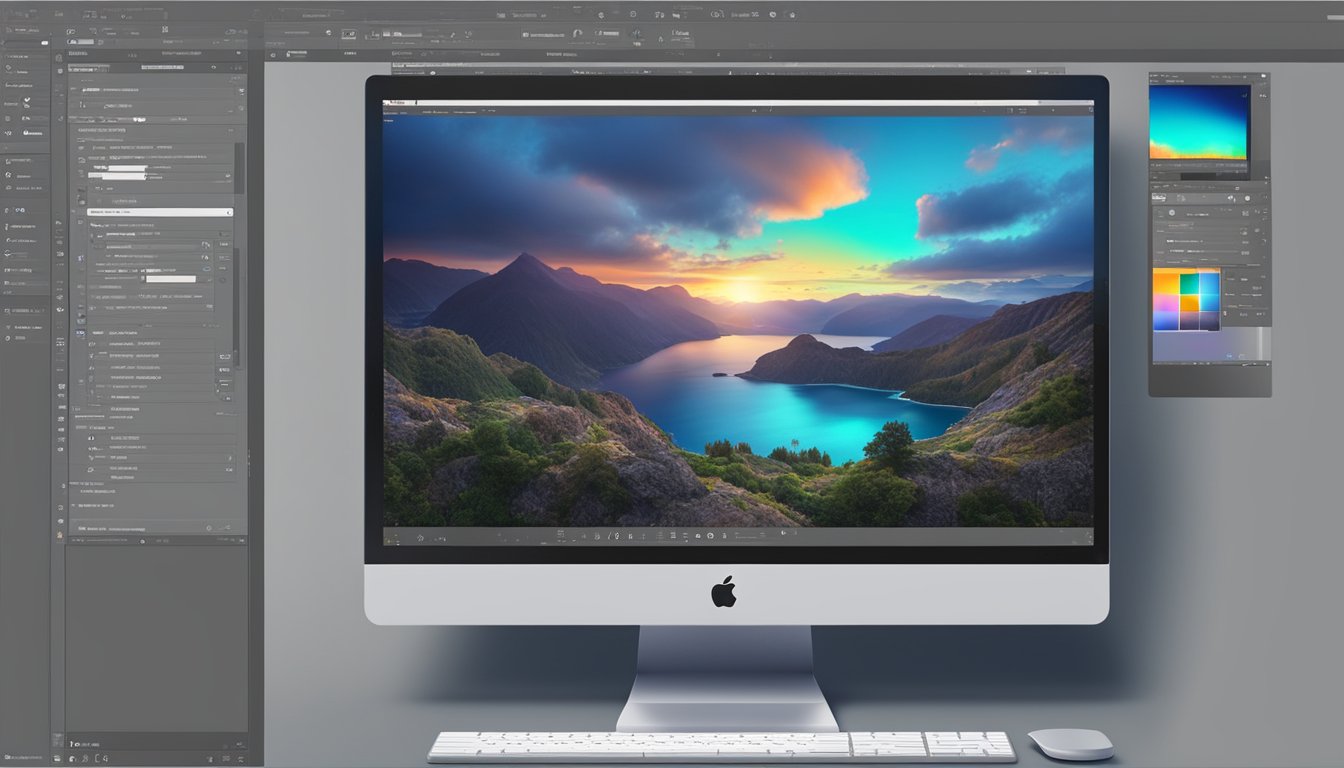
Editing Raw Files in Photoshop
Adobe Photoshop enhances the process of editing raw files by using the Camera Raw engine. This enables us to have great control over exposure, contrast, color, saturation, and brightness. In this section, we'll cover some basic and essential editing techniques.
Firstly, let's discuss adjusting the exposure and contrast of our image. We can navigate to Camera Raw and use the sliders to improve the overall balance and dynamic range of the photo. Fine-tuning exposure and contrast can drastically change the overall appearance of your image, so it's essential to experiment to achieve your desired look.
Another vital aspect of editing raw files is managing color and saturation. In Camera Raw, we have the opportunity to adjust the hue, saturation, and luminance of different colors using the color mixer. This feature allows us to create a unique color palette, ensuring our images are eye-catching and vibrant.
Adding effects like sharpening and noise reduction can also take our images to the next level. The detail panel in Camera Raw has sliders for both sharpening and noise reduction. By carefully tweaking these settings, we can create clean and crisp images with minimized noise and artifacts.
Next, let's talk about cropping and healing. The crop tool enables us to remove unwanted parts of the image, while the heal tool allows us to fix minor imperfections within the picture, maintaining a natural appearance.
Lastly, advanced techniques like using the curves adjustment and color grading can help us achieve a polished look in our images. Curves adjustments provide precise control over the tonal range, while color grading gives us the ability to add stylistic color tints to our photos.
In conclusion, Adobe Photoshop and Camera Raw offer a myriad of tools to effectively edit raw files. Whether adjusting exposure and contrast or experimenting with sharpening and color grading, we can give our images the perfect finishing touch.
Importing and Managing RAW Files
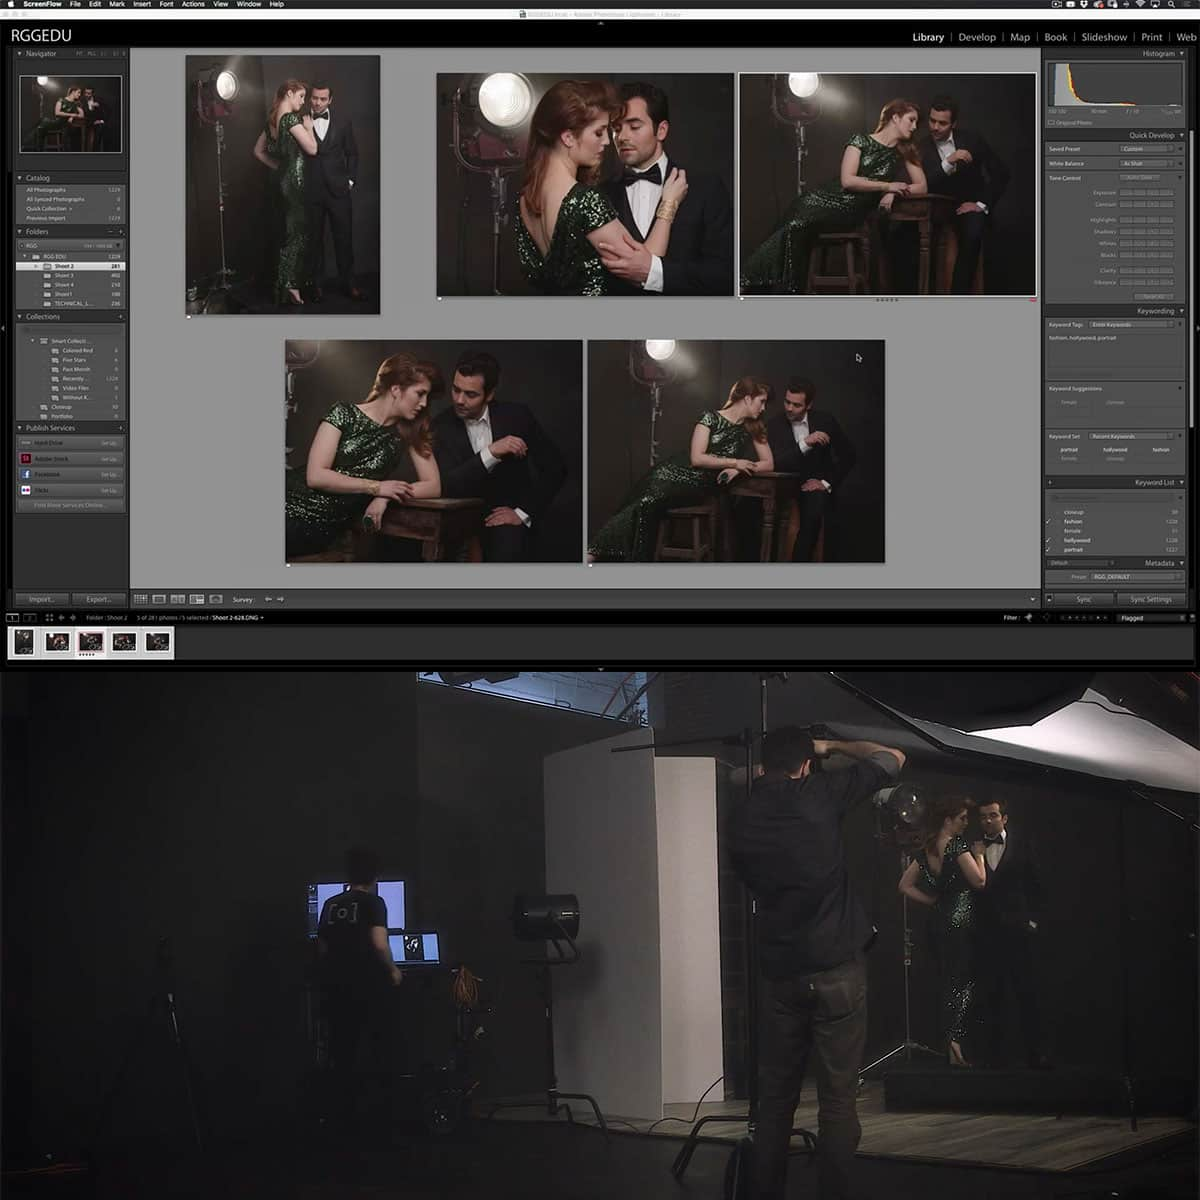
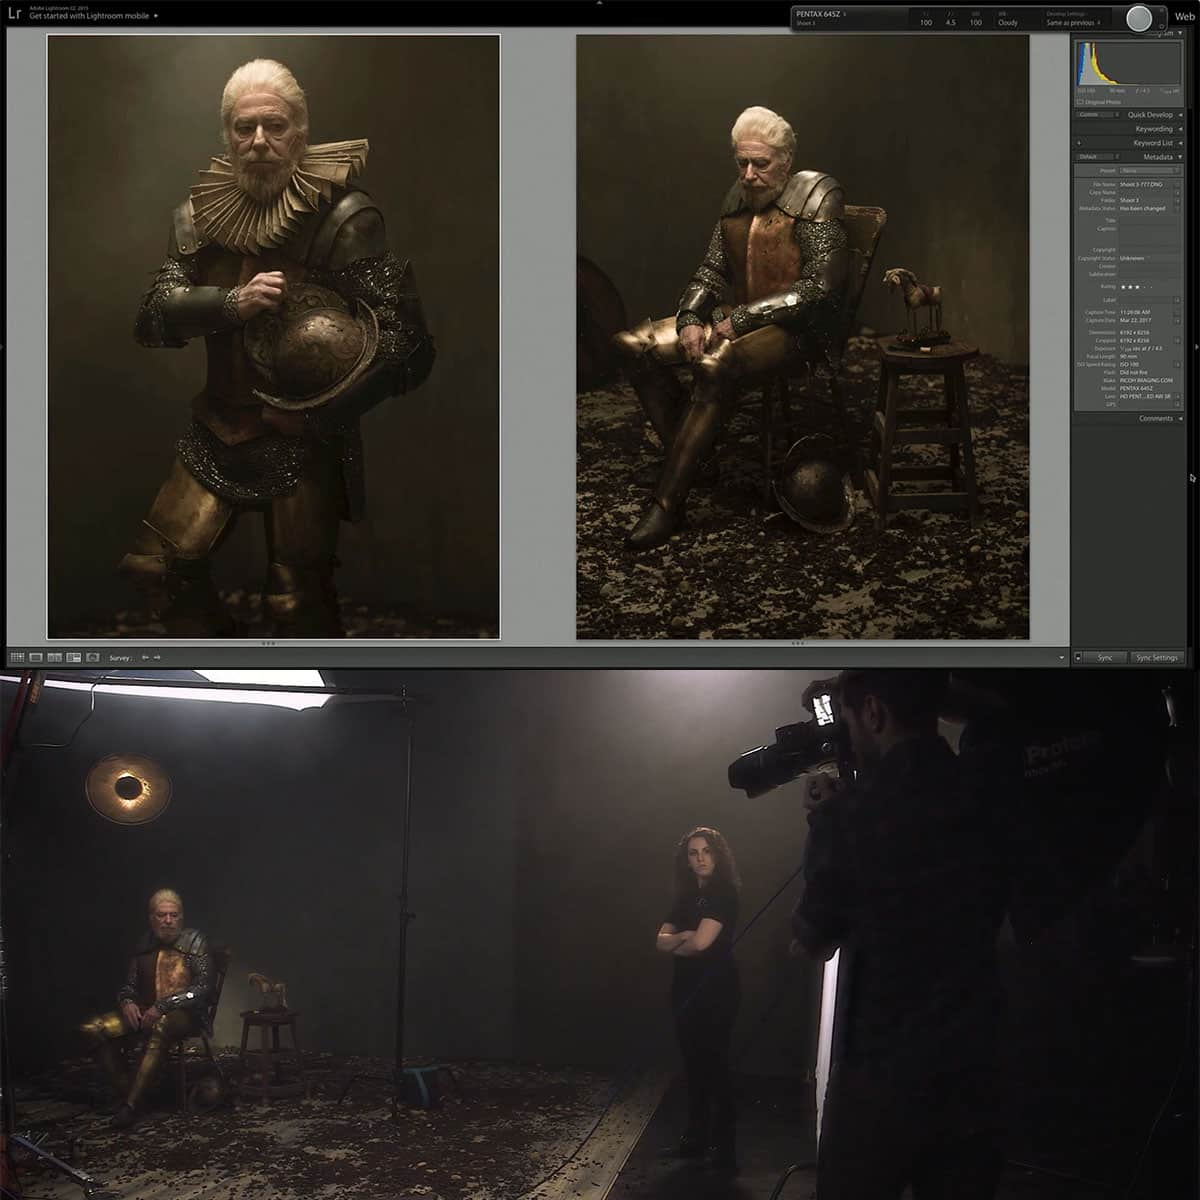
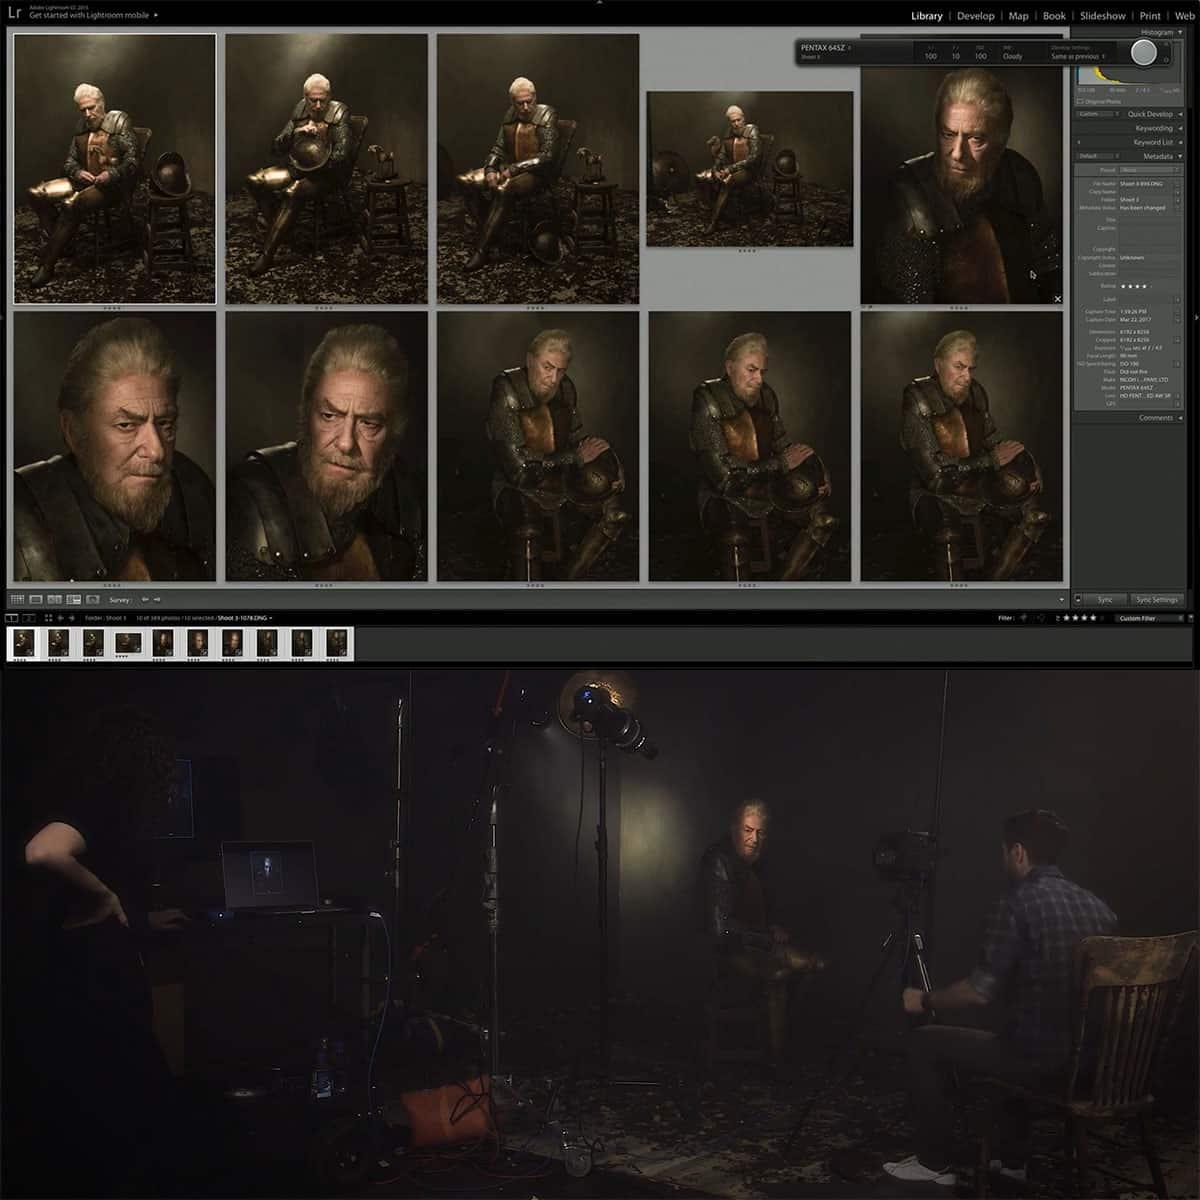
When working with RAW files in Photoshop, we first need to import them through Adobe Camera Raw or Adobe Bridge. We can open these files directly in Photoshop, and it will automatically launch the Camera Raw plugin for us. For better organization, we can also use Adobe Bridge, which allows for easier browsing and management of RAW files before opening them in Photoshop.
Once we have our RAW images imported, Adobe Camera Raw provides a comprehensive set of tools to edit and enhance the images. This includes options for adjusting exposure, contrast, white balance, and more. Additionally, we can apply various presets and synchronize settings across multiple images, which can save us significant editing time.
It's important to note that the edits we make in Adobe Camera Raw are non-destructive. It means that our original RAW files are never modified in the process. Instead, the changes we apply are stored in sidecar files or an online catalog if we are using Lightroom. This makes it easy to revert to original raw data any time or experiment with multiple adjustments without affecting the original files.
After editing our RAW images, we can save them in various file types such as JPEG, TIFF, or DNG, depending on our needs. It's also possible to save the settings we applied as a preset, which can be reused for other images in the future. This helps to maintain consistency across our photo collection and streamline our workflow.
By following these steps, we can efficiently import, manage, and edit our RAW files using Photoshop and Adobe Camera Raw, resulting in high-quality images that showcase our creative vision.
Advantages of Shooting in RAW
When we shoot in RAW, we can capture the highest level of quality in our images. With RAW format, our cameras record all of the data from the sensor, which leads to sharper and brighter images.
One significant advantage of shooting in RAW is the ability to preserve all the image data. This ensures that none of the valuable information captured by the camera sensor is lost during post-processing. By retaining all the data, we have greater control and flexibility when editing our images, allowing us to enhance them without causing any degradation in quality.
Another benefit to shooting in RAW is the ability to have a wider color range and depth, giving us more control over the final image. When adjusting colors and exposure in post-processing, we can achieve more accurate results, especially when working with highlights, shadows, and color saturation.
Shooting in RAW format also provides us with the experience of non-destructive editing. This means that we can make changes and experiment with our images without altering the original data. As a result, we can always revert to the original image and try different editing techniques without any loss in quality.
In conclusion, shooting in RAW offers numerous advantages for photographers, such as higher image quality, more significant control, and non-destructive editing options. By understanding and utilizing these benefits, we can elevate our photography skills and produce professional-looking images that stand out from the rest.
Advanced Techniques and Tips
When working with RAW files in Photoshop, there are numerous advanced techniques that can greatly enhance your post-processing experience. One such technique is adjusting the white balance. Since RAW files contain more data than JPEGs, we can easily fine-tune the white balance without degrading image quality source.
Another helpful tool in processing RAW files is Adobe Lightroom, which offers a wide range of editing capabilities and is designed specifically for working with RAW files from digital cameras. It can also work as a plug-in for Photoshop, providing even more flexibility while editing source.
In addition to Lightroom, there are other useful plug-ins such as the Camera Raw plug-in, and After Effects for advanced editing options. Many of these tools integrate seamlessly with Photoshop, allowing us to work on multiple aspects of our images simultaneously source.
When editing RAW files, it's essential to use sidecar files which store our changes separately from the original data, ensuring that we don't accidentally overwrite or damage the original file. This non-destructive approach keeps the RAW file intact while still allowing us to make adjustments and experiment source.
Manipulating geometry and preview adjustments can also help us achieve a more visually appealing result. We can intuitively access these options in Photoshop's Camera Raw window, allowing us to correct distortion, crop, and rotate our images while maintaining the highest level of quality.
Working with layers and smart objects in our RAW editing process allows us to be more precise and efficient with our workflows. By using a non-destructive approach like smart objects, we can easily go back and make any necessary adjustments to our images without losing data or quality source.
Finally, retouching is an essential aspect of editing RAW files in Photoshop. By utilizing tools like the Healing Brush tool, Spot Healing Brush tool, and Clone Stamp tool, we can ensure that our final images are free from imperfections while maintaining the high level of detail that RAW files are known for source.
Frequently Asked Questions
How does Adobe Camera Raw improve photo editing?
Adobe Camera Raw (ACR) is a powerful image-processing engine that allows us to convert RAW image files into usable formats like JPGs. By working with RAW files, we have a higher level of control over image adjustments, ensuring a non-destructive editing process source.
What are the benefits of using RAW files over JPEGs?
RAW files capture uncompressed and unprocessed image data, resulting in lossless quality with more editing flexibility. Compared to JPEGs, which discard some image data through compression, RAW files preserve all the information from each pixel source.
How can I open RAW images in Photoshop 2023?
Opening RAW images in Photoshop 2023 can be done through Adobe Camera Raw. To do this, simply open Photoshop and go to File > Open, then select your RAW file. ACR will be automatically launched, allowing you to make edits and adjustments to your RAW image before importing it into Photoshop for further edits.
What is the purpose of Photoshop's RAW editor?
Photoshop's RAW editor, known as Adobe Camera Raw, enables us to make non-destructive edits to RAW photos directly from our camera. This powerful tool helps retain the highest possible image quality while providing an extensive range of editing options source.
What are the key differences between Adobe Camera Raw and Lightroom?
Both Adobe Camera Raw and Lightroom allow us to process RAW images non-destructively. However, ACR is a plugin integrated within Photoshop, while Lightroom is a stand-alone software that also includes photo organization and management features. While both tools have similar capabilities, Lightroom offers a more comprehensive workflow solution, whereas ACR focuses on the RAW editing process.
Can I take RAW photos using an iPhone?
Yes, even iPhones can capture both RAW and JPG files, enabling you to take advantage of the benefits of RAW photography on your mobile device source.


