What Is An Alpha Channel In Photoshop?
In the realms of digital art and photo editing, mastering alpha channels is a game-changer for creatives and professionals alike. Consider an alpha channel in Photoshop as a secretive collaborator, working behind the scenes to control the transparency of an image.
It sits among the standard RGB (red, green, and blue) color channels, but its role is distinct; it manages which parts of the image are opaque, transparent, or somewhere in between. Harnessing the power of alpha channels allows us to save intricate selections and refine how different layers interact, offering a refined level of detail in compositing images.

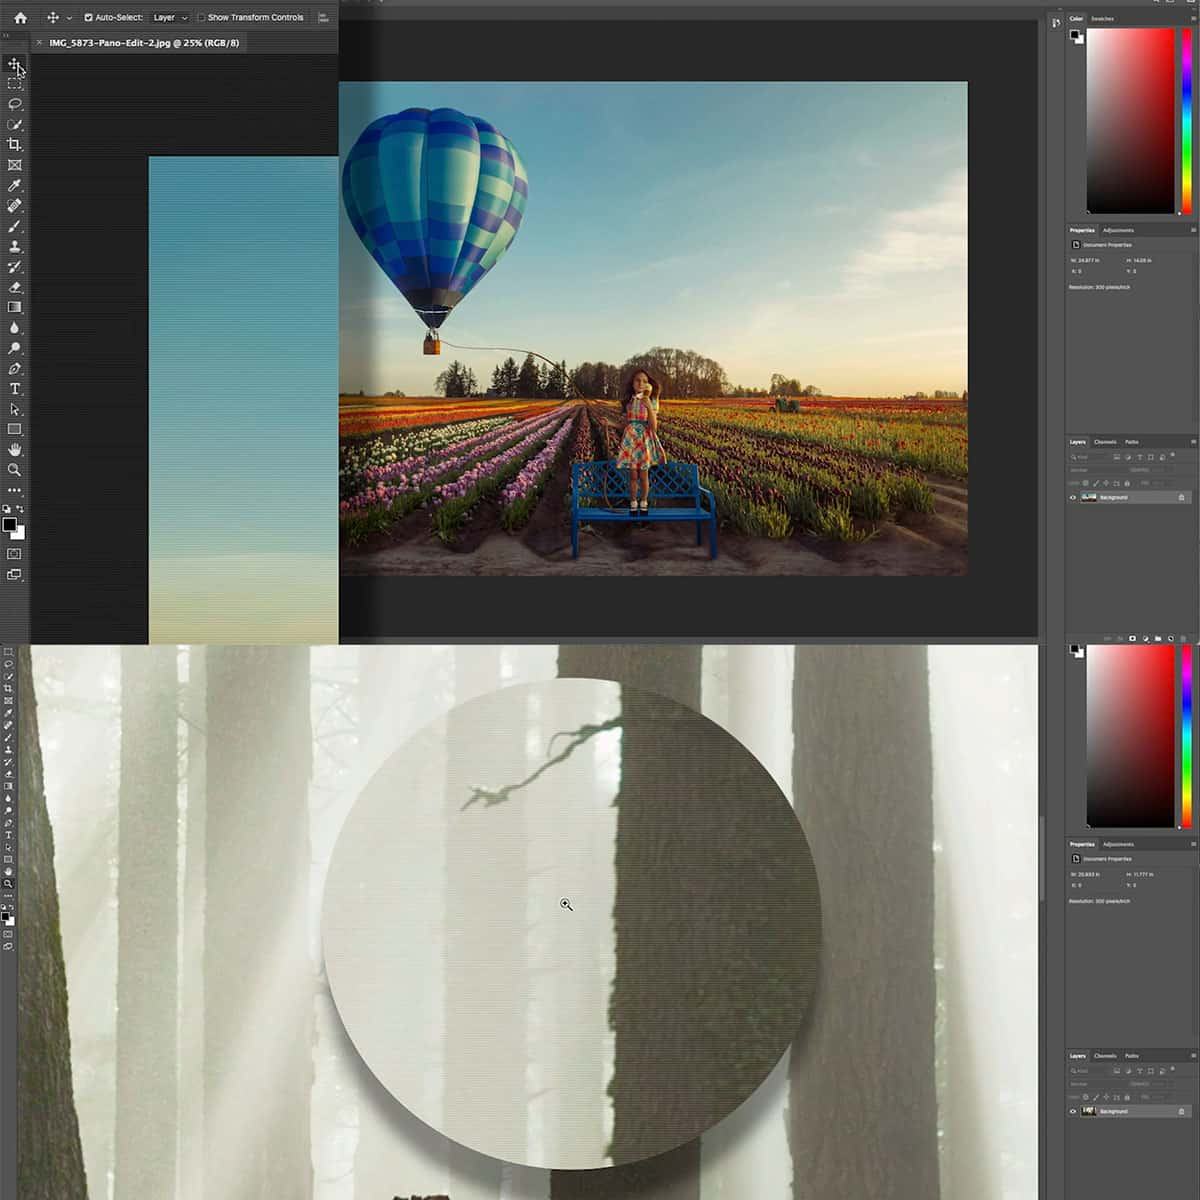
Taken from Reverse Compositing Course at PRO EDU.
The robustness of alpha channels extends to their flexibility; we can edit them, combine them with other images, or use them in various creative workflows, making them a pillar in the toolkit of visual professionals. By mastering the art of alpha channels, we enable a seamless blend of images, crafting visuals that would otherwise be challenging to achieve.
The potential doesn't end with static images, as the film industry frequently employs these channels for visual effects and integrating CG with live footage. For those looking to dip their toes or deepen their understanding of alpha channels, PRO EDU tutorials are an excellent resource, offering step-by-step guidance in cultivating this crucial Photoshop skill.
Key Takeaways
- Alpha channels are essential for managing image transparency and complex selections in Photoshop.
- The flexibility of alpha channels allows for advanced image compositing and editing techniques.
- PRO EDU tutorials provide comprehensive guidance for those seeking to learn and apply alpha channel techniques.
Understanding Alpha Channels in Photoshop
Alpha channels are a cornerstone in Photoshop that enable us to precisely control transparency and craft complex composites. They're integral to unleashing the full creative potential of layering and manipulating images.
The Basics of Alpha Channels
At its core, an alpha channel is a special type of channel that stores selections and transparency information for an image. Unlike the standard red, green, and blue color channels that define an image's color information, an alpha channel is dedicated to determining which parts of an image are opaque, transparent, or semi-transparent.
In Photoshop, you can find the alpha channel housed in the Channels panel or Channels tab, which also displays the color channels for your image.
How Alpha Channels Work with RGB
When we think about Photoshop's color model, RGB is the base where images have red, green, and blue channels to create all the colors we see. An alpha channel adds another dimension – it works alongside these color channels to support alpha channels for transparency. You can create an alpha channel with the 'New Channel' button at the bottom of the Channels panel, then use brushes or selections to define transparent areas.
When you save the alpha channel, it appears alongside the RGB channels, so you can easily edit the alpha channel anytime to refine how transparency is applied in your composition. This becomes invaluable when combining multiple layers or creating intricate cut-outs, as it allows a seamless blend between images.
Working with Alpha Channels
Alpha channels in Photoshop are powerful tools that allow us to manipulate images in a non-destructive manner. They enable us to create and store selections that include transparency, which can be particularly useful for complex editing tasks.
Creating a New Alpha Channel
To begin working with alpha channels, creating a new channel is our first step. We can do this easily within the Channels panel. By clicking the "New Channel" button, a new alpha channel is added to our list. We often use this for crafting transparent areas or isolating elements without affecting the other channels.
Saving Selections as Alpha Channels
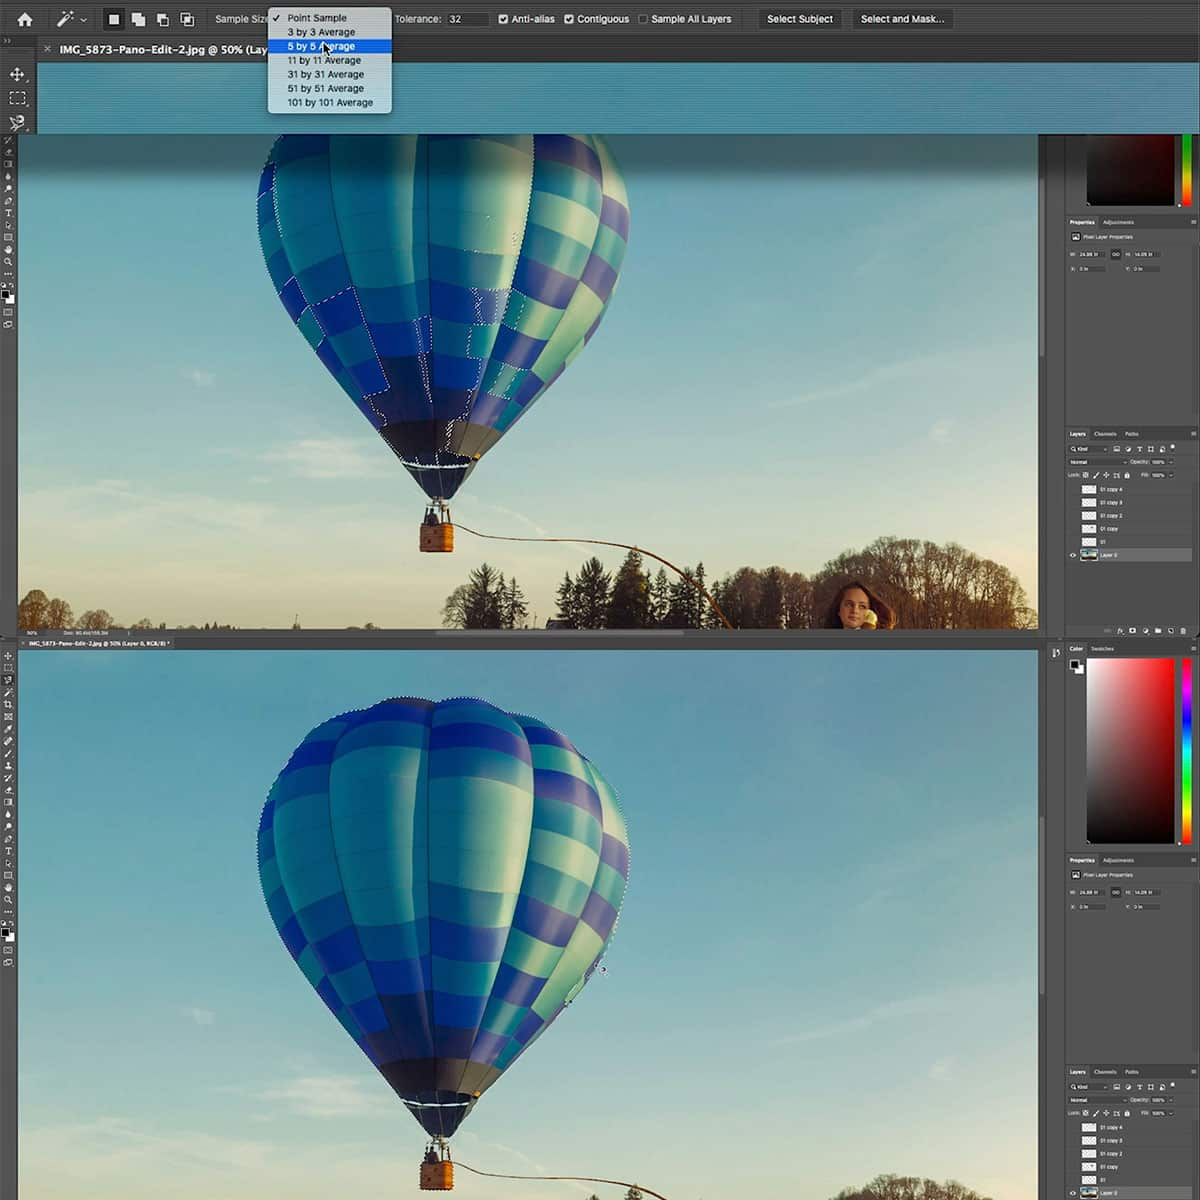
When selecting areas of our image, the Quick Selection Tool is indispensable for its intuitive ability to outline exact regions. But what about when we need that selection later? We can save a selection we've made by going to the "Select" menu and choosing "Save Selection." This stores our selection as an alpha channel, ensuring that our precise work can be reused.
Editing and Manipulating Alpha Channels
After saving our selections as alpha channels, editing them is much like working on a regular layer. We can use tools like brushes or erasers to refine our mask. It's like cutting a select window through our image—we can show or hide parts as needed. If we're blending or compositing images, a well-edited alpha channel acts much like a layer mask, controlling visibility with finesse.
Through these techniques, we can handle complex visual tasks more efficiently in Photoshop, bolstering our creative workflow and enabling higher quality results.
Practical Applications for Alpha Channels
Alpha channels are a powerful tool in Adobe Photoshop that can greatly enhance your projects, enabling non-destructive edits and complex compositing. An alpha channel helps manage transparency and can store selections, making intricate edits more straightforward.
Utilizing Alpha Channels for Compositing
Compositing is the process of combining multiple images or elements to create a single cohesive image. One of the primary uses of alpha channels is to store transparency information for compositing.
For example, let's say we have an image with a subject on a plain background. We can create a selection around the subject and save this selection as a separate alpha channel. This new alpha channel will appear at the bottom of the channels list. The saved transparency information allows us to seamlessly integrate the subject into another image or modify the background without affecting the subject.
When working with the alpha channel, the black and white areas represent the transparent and opaque areas, respectively. This makes it easier to visualize and edit the transparency information.
Alpha Channels in Advanced Editing Techniques
Alpha channels can be used for various advanced editing techniques such as masking, adjustments, and filters.
For example, when masking intricate elements like hair or fur, the alpha channel can be used to store a high-quality selection, making it easier to integrate the subject into a new background.
Another practical application is when fine-tuning adjustments, like curves or exposure, to specific image areas. The alpha channel can be used to create a precise selection that captures the desired area for adjustment. This way, you can selectively enhance the image without affecting the whole composition.
In summary, alpha channels are essential tools in Photoshop for improving our compositing and advanced editing techniques by providing a versatile method of managing and editing transparency data.
Managing Channels and Selections
In Photoshop, the power of alpha channels lies in their ability to store selections for advanced editing. We'll guide you through managing these channels to enhance your compositions effectively.
Navigating the Channels Panel
The Channels Panel can be accessed by going to the main menu and clicking on Window > Channels. This panel shows the RGB color channels along with the additional alpha channels that store transparency information. You can make a channel visible or hidden by clicking the eye icon beside it. This allows us to work on specific channels or view the effects of our edits on individual channels.
It's important to familiarize ourselves with the bottom of the Channels Panel, as it contains essential functions like the New Channel button and options for loading or saving selections based on the active channel.
Efficient Selection Techniques with Channels
One useful technique we often employ when working with channels is to use the Quick Selection Tool for creating precise selections. This tool can be activated by pressing the W key or selecting it from the toolbar. After making an initial selection, we can refine it further by adding or subtracting areas to/from the selection. It's also helpful to switch between channels to see which one provides the best contrast for making an accurate selection.
Here's a step-by-step process for creating an efficient selection using channels:
- Examine the various channels and identify which one offers the best contrast for our desired selection.
- Duplicate that channel.
- Use the Quick Selection Tool to make an initial selection.
- Refine the selection by adding or subtracting areas using the same tool.
- Load the selection back into our main image.
By following these steps, we can create accurate selections that can be stored and transferred as alpha channels for better control over our Photoshop editing process.
Frequently Asked Questions
In Photoshop, alpha channels are crucial for creating and storing selections, managing transparency, and allowing detailed edits without affecting other elements of the image. As pro users of Photoshop, we've often used alpha channels to refine our work and make complex edits simpler. Let's tackle some common questions we encounter about alpha channels in Photoshop.
How does one create an alpha channel based on transparency in Photoshop?
We often create an alpha channel based on the transparency of a given image in Photoshop. To do this, first ensure that the image has a transparency layer. Then, press Ctrl/Cmd + click the layer thumbnail to select the transparent areas. After that, go to the Channels panel and click on "Save selection as channel". This action will create an alpha channel based on the transparency details here.
Can you explain the process to remove an alpha channel from a PNG in Photoshop?
To remove an alpha channel from a PNG in Photoshop, first, open the PNG file with an existing alpha channel. Next, navigate to the Channels panel where you will find the alpha channel thumbnail. Click on it to select the channel, then drag it to the trash icon at the bottom of the panel or use the panel options to delete it. Finally, save the PNG file without the alpha channel removal process explained here.
What differentiates channels from layers within Photoshop?
Channels differ from layers in Photoshop as they represent the color information of the image, while layers are used to separate different elements and edits in a non-destructive way. Channels generally represent the red, green, and blue (RGB) or cyan, magenta, yellow, and black (CMYK) components of an image. Alpha channels are an additional type of channel that helps us create and store masks and selections more details here.
What are the steps for exporting a mask as a PNG with transparency in Photoshop?
To export a mask as a PNG with transparency in Photoshop, first, create the mask by either painting on an alpha channel or making a selection and saving it to an alpha channel. Next, Ctrl/Cmd + click the alpha channel thumbnail to make a selection. Go to the Layers panel, where a new layer should be created and filled with the desired color or pattern. After that, deselect the selection and hide other layers. Finally, go to File > Save As and choose PNG as the format, making sure the transparency option is enabled steps found here.
How can you resolve issues when an alpha channel is not functioning correctly in Photoshop?
If an alpha channel isn't functioning correctly in Photoshop, we can try several troubleshooting steps. First, ensure that the alpha channel is properly created with the required transparency or mask applied. Secondly, double-check if the blending mode or opacity of the related layer is suitable for the intended effect. Also, consider whether any applied filters or adjustments might be affecting the alpha channel functioning troubleshooting guide available here.
What is the maximum number of alpha channels allowed in a Photoshop image?
The maximum number of alpha channels allowed in a Photoshop image depends on the file format and the available memory in your computer. Most file formats, such as PSD and TIFF, can store multiple alpha channels. However, the maximum limit varies, and as you add more alpha channels, your file size will increase and may affect application performance Adobe Help.


