Underexposure in Photography: Transforming Obstacles into Artistic Possibilities
In photography, underexposure occurs when an image receives less light than necessary, resulting in a darker-than-intended photo. It can often lead to loss of detail in the shadow areas and is usually caused by factors like fast shutter speed, small aperture, or low ISO setting. While underexposure may be considered a hurdle by many, it also presents creative opportunities for photographers who know how to tap into its potential.
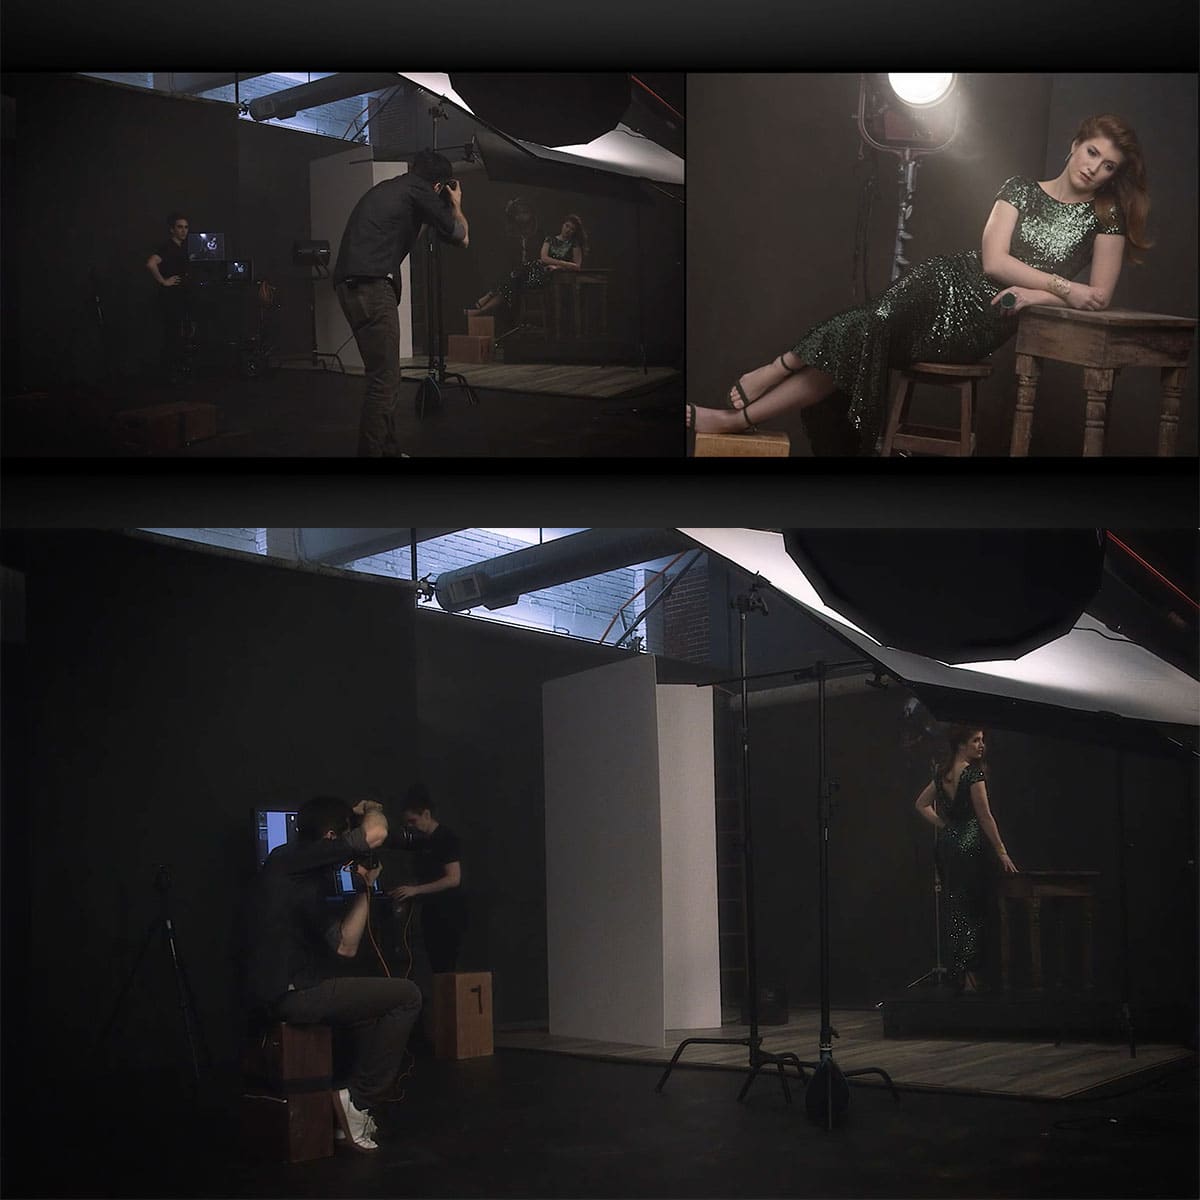
One way to harness underexposure as a creative tool is by deliberately using it to create dramatic and moody images. This technique can emphasize certain elements of a photograph and imbue it with a sense of mystery. It's important, however, to understand the technical aspects of underexposing an image and the post-processing techniques required to achieve a desired outcome.
Key Takeaways
- Underexposure in photography can be turned into a creative opportunity
- Deliberate underexposure can create dramatic and moody images
- Understanding technical aspects and post-processing techniques is vital for effectively using underexposure
Understanding Underexposure in Photography
Underexposure in photography occurs when an image receives less light than necessary, resulting in a darker photo. Often, this is due to factors such as a fast shutter speed, small aperture, or low ISO setting. When our photos are underexposed, we may lose detail in the shadows and overall image quality. However, we can turn these challenges into creative opportunities.
Firstly, let's acknowledge the role of the three main factors - aperture, shutter speed, and ISO sensitivity - in governing the brightness of our images. A smaller aperture (higher f-stop number), a faster shutter speed, or a lower ISO value can all contribute to underexposure. To leverage these settings, we need to understand their individual functions and the trade-offs involved in adjusting them.
- Aperture: A smaller aperture allows less light to enter the camera, but it increases the depth of field in our photos. This can add depth and context to our images by keeping more elements in focus.
- Shutter Speed: A faster shutter speed reduces the amount of light hitting the sensor but can freeze motion and minimize camera shake. This is useful in capturing sharp images in dynamic settings, such as sports photography.
- ISO Sensitivity: A lower ISO value decreases the sensor's sensitivity to light. While this results in darker images, it also reduces image noise, which can enhance the overall quality of the photograph.
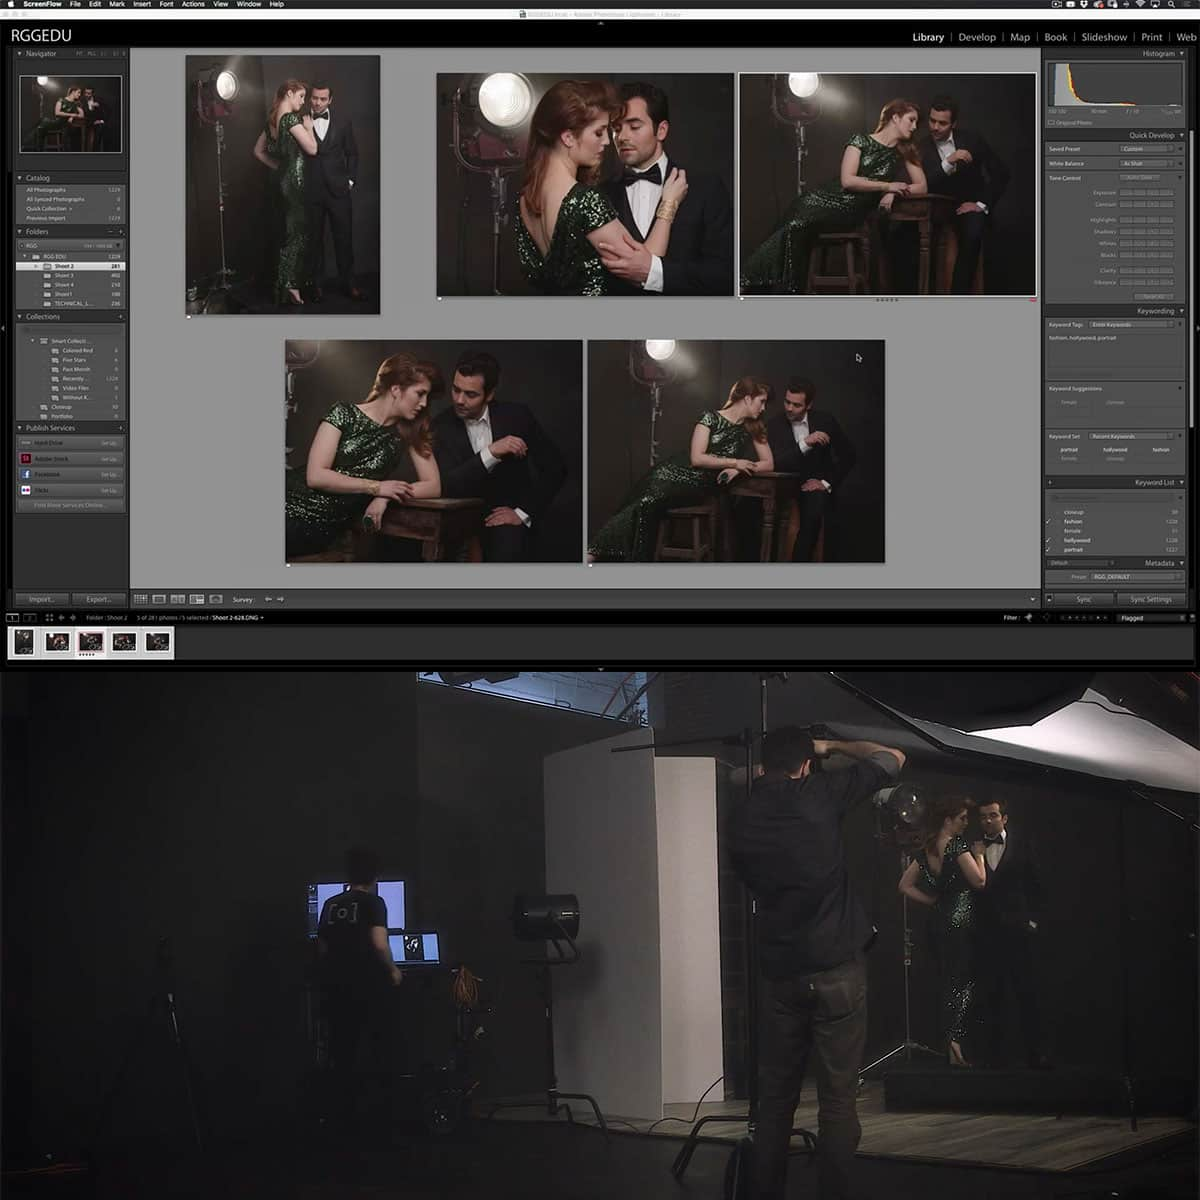
By striking a balance between these three settings, we can create underexposed photos with intention, opening up new artistic opportunities. Additionally, post-processing tools like Adobe Lightroom and Capture One can further help us enhance and creatively manipulate underexposed images.
In conclusion, underexposure can present challenges in photography, but by understanding its causes and learning how to manage camera settings, we can turn these challenges into creative opportunities for unique and impactful images.
Implications of Underexposure
When dealing with underexposed images, we often encounter a loss of detail in the shadow areas. This occurs because the amount of light hitting the camera sensor is insufficient, resulting in a darker than intended final image. Underexposure can be caused by factors such as a fast shutter speed, small aperture, or low ISO setting1.
In contrast to overexposure, where the image has too much brightness and washed out colors, underexposure might initially seem like a negative. However, we can turn these challenges into creative opportunities. By intentionally manipulating brightness, contrast, and color, we can produce captivating and dramatic photographs.
For example, we can use underexposure to emphasize certain elements in an image by creating a moody or mysterious atmosphere. This can be particularly effective in low light situations or when we want to emphasize shapes and lines against dark backgrounds.
Additionally, it is worth noting that some post-processing techniques can help us recover details from underexposed images. Programs like Photoshop and Lightroom offer essential tools for adjusting exposure and brightness levels, as well as recovering details in the shadows2.
In conclusion, while underexposure can be seen as a challenge, by adjusting our perspective, we can harness its potential for creating unique, visually striking photographs.
Turning Underexposure Into Creative Opportunities
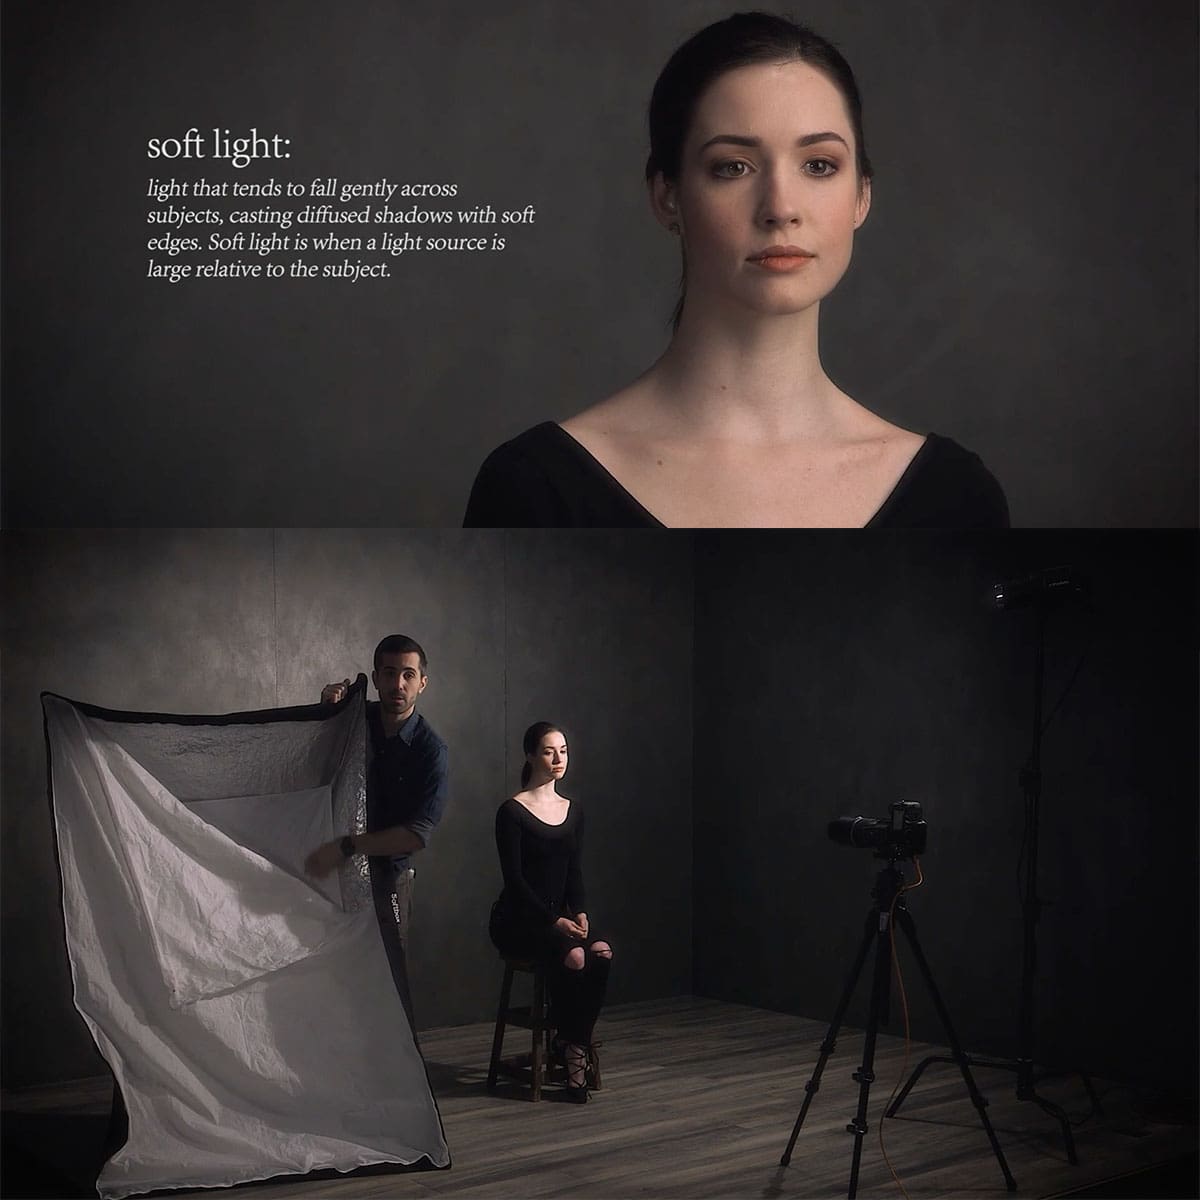
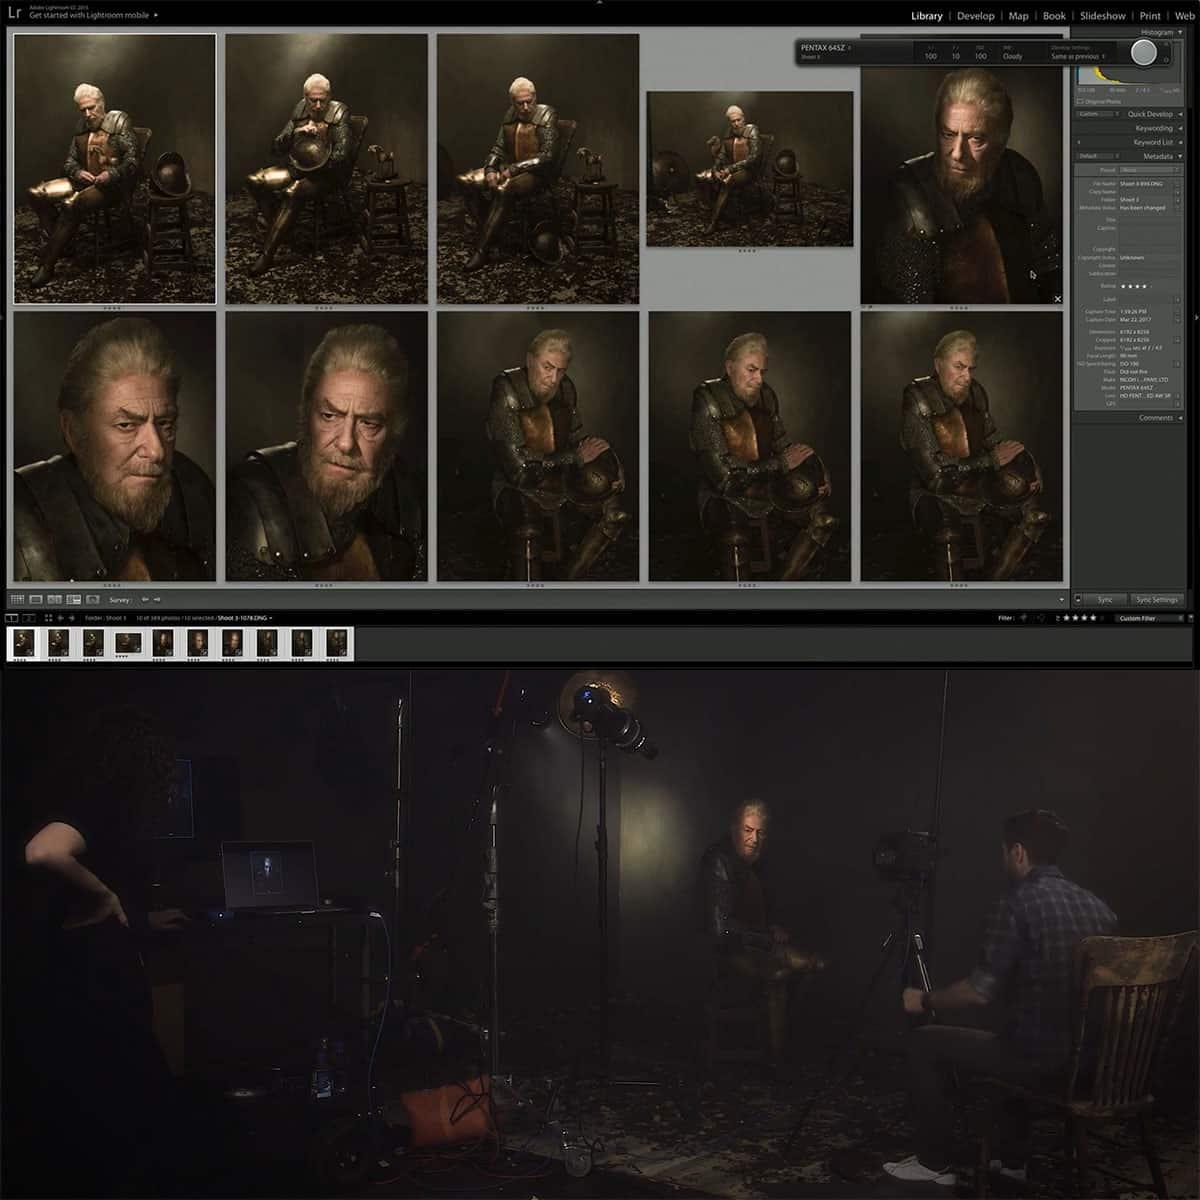
Underexposing photos can often lead to unique results that highlight certain aspects of composition and mood. By deliberately underexposing an image, we can draw attention to specific elements of the photograph, such as shadows or prominent subjects, and create a sense of drama or mystery.
By manipulating shadows, we can emphasize interesting shapes and patterns within our subject matter. In certain situations, underexposure can also help us preserve details in brighter background areas of the scene, adding more contrast and depth to our photographs.
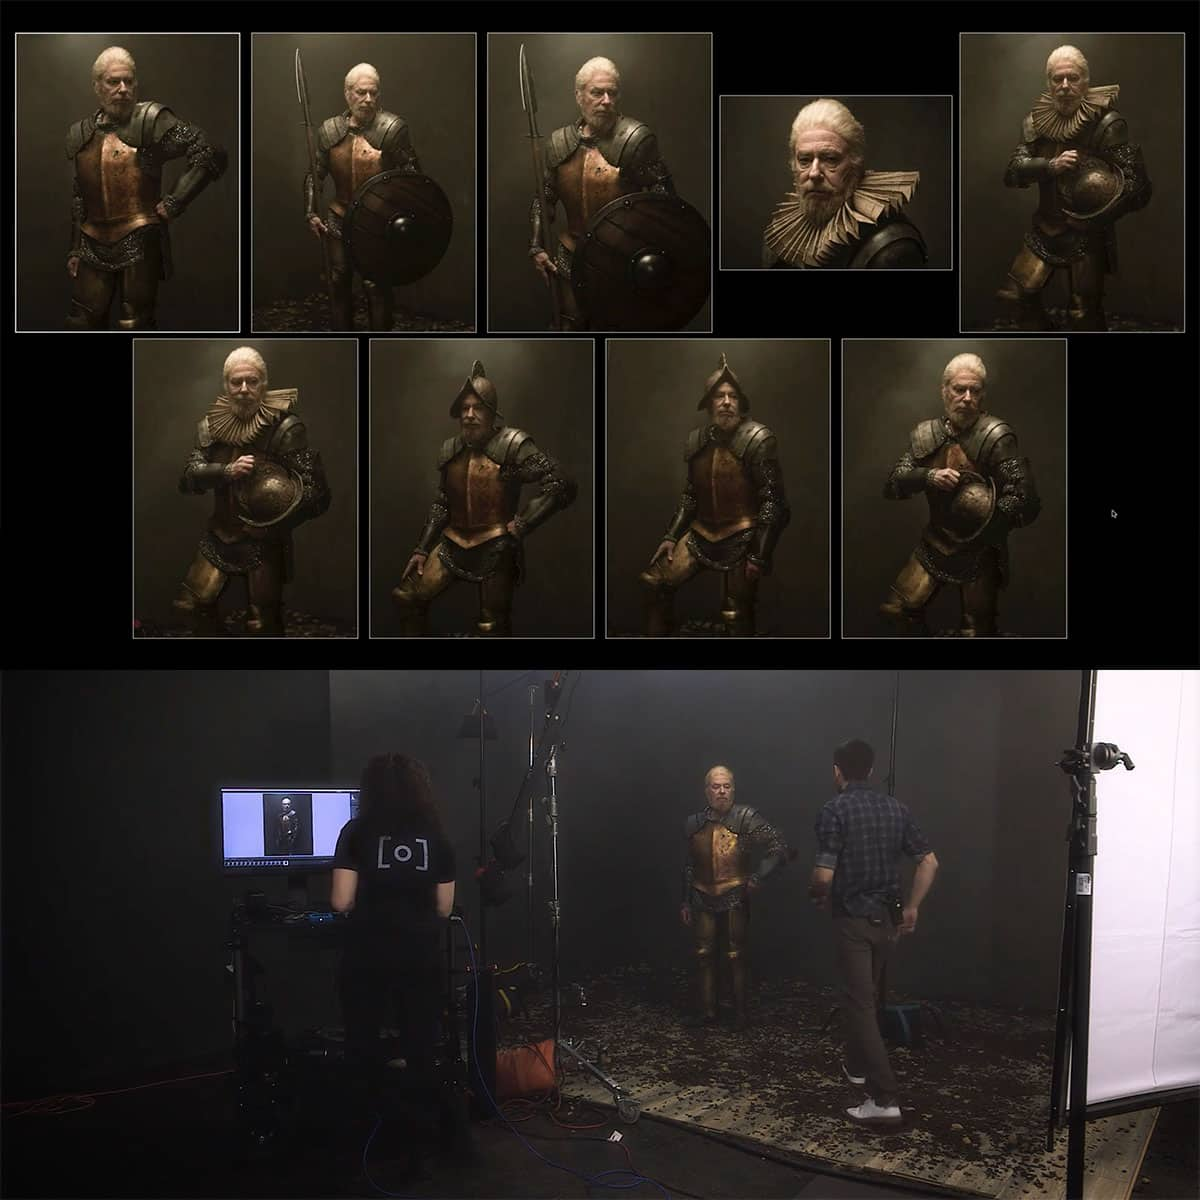
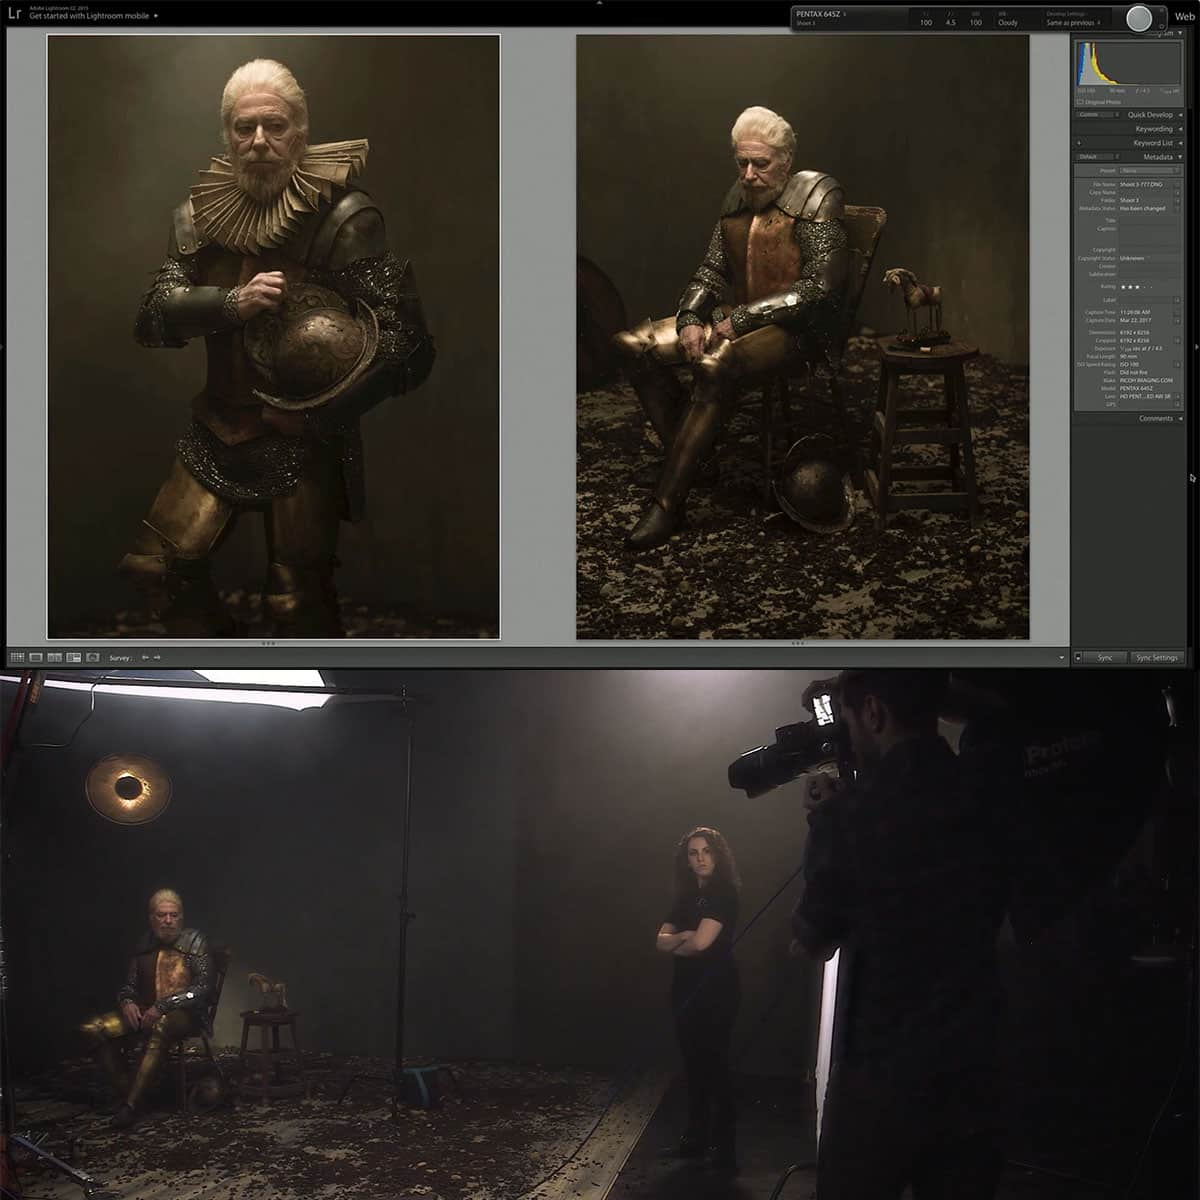
Working with underexposed photos can also inspire us to think more about the story we want to convey through our photography. Darker, moodier images are often well-suited for conveying emotions such as sadness, solitude, or even suspense, and underexposure can serve as a powerful tool to help us express these emotional narratives.
In conclusion, when faced with underexposed images, we can leverage them to our advantage by using their inherent qualities to create more visually compelling and emotive photographs. From emphasizing shadows to communicating mood, we have a host of creative opportunities at our disposal when exploring the world of underexposure in photography.
Technical Aspects of Underexposure
In underexposure, our photos appear darker than intended, with details hidden in the shadows. This happens when not enough light reaches the camera's sensor, which is usually a result of incorrect settings within the exposure triangle1. The exposure triangle consists of three elements that directly influence the brightness in an image: aperture, shutter speed, and ISO sensitivity3.
Let's discuss how these components relate to underexposure. The camera's aperture controls the amount of light entering the lens. A smaller aperture, denoted by a higher f-number, allows less light to pass through the lens3. When shooting in low light conditions, using a smaller aperture can contribute to underexposure.
Shutter speed is another factor to consider. Fast shutter speeds allow less light to reach the sensor due to the shorter time the sensor is exposed to light2. If you use a fast shutter speed in insufficient lighting conditions, the result is often an underexposed image.
Lastly, ISO sensitivity can impact underexposure. A low ISO setting means the camera's sensor is less sensitive to light. When using low ISO settings in dim situations, the image will likely be underexposed2.
To avoid underexposure, we need to strike a balance between aperture, shutter speed, and ISO settings. Adjusting these settings to allow more light to enter the camera will help achieve a properly exposed image. But, remember that underexposure is not always a bad thing. It can also provide us with creative opportunities to manipulate light and shadows in our photography. So, don't be afraid to experiment and embrace the challenges that underexposure can offer.
Post-Processing Underexposed Images
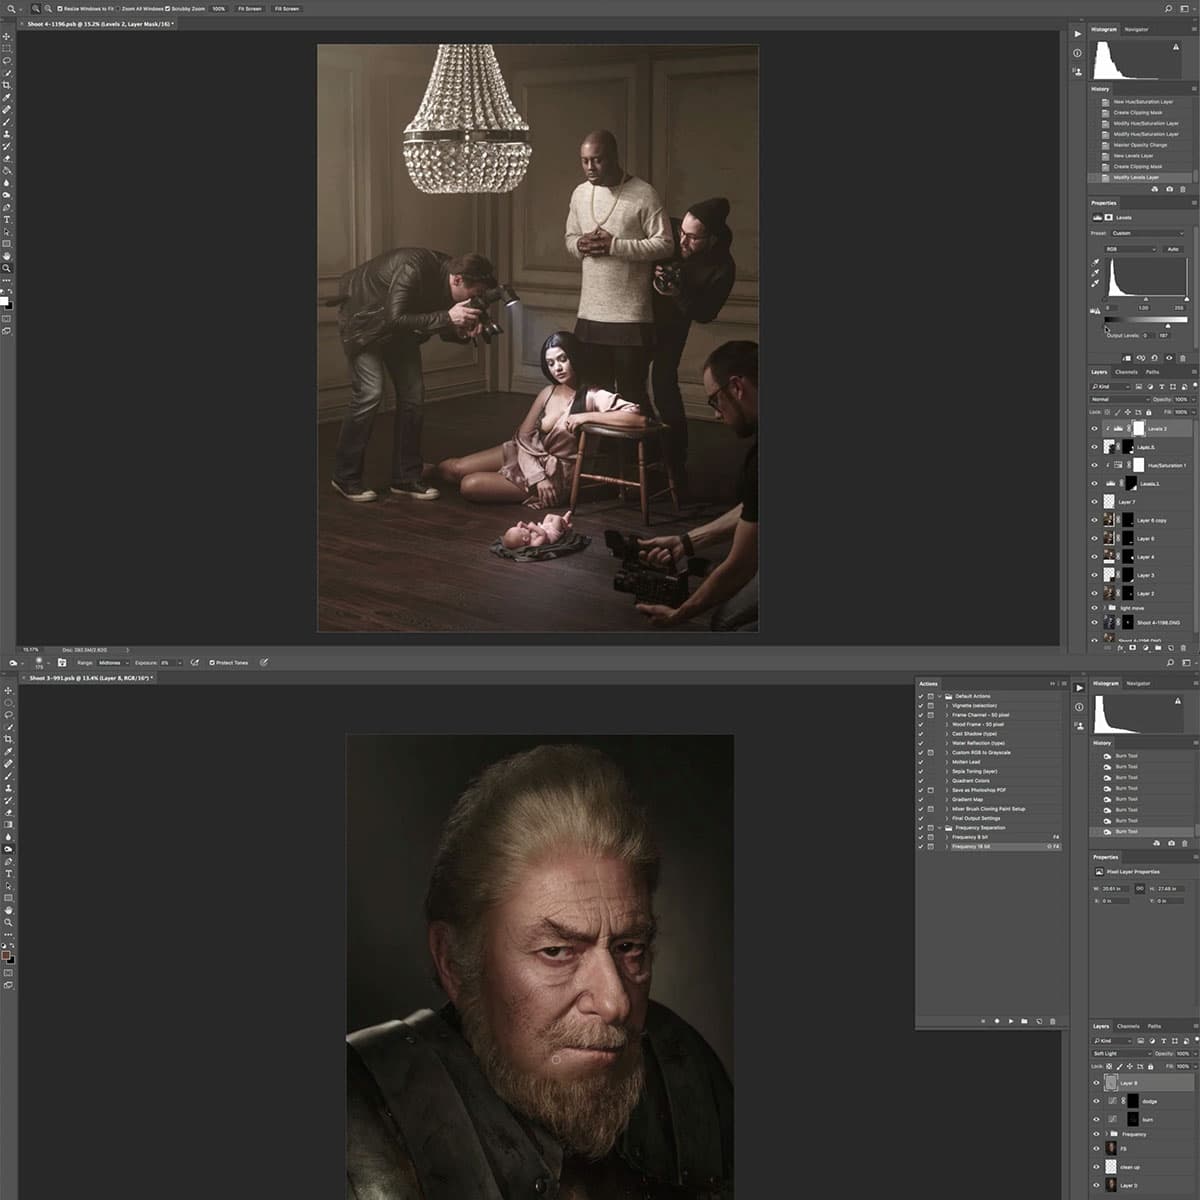
When dealing with underexposed images, post-processing becomes an essential creative opportunity. With modern tools like Adobe Lightroom and Adobe Photoshop, we can bring underexposed photos back to life. We'll cover key post-processing steps to improve underexposed images and maximize their visual appeal.
First, it's crucial to take advantage of the RAW image format, as it provides the most image data and higher dynamic range. This additional detail gives us more latitude when editing images and makes it easier to recover lost information. If our image is a JPEG, don't worry, we can still apply some adjustments, but the results may be not as impressive.
In Lightroom, starting with the Exposure slider is a good choice as it makes photo-wide adjustments to brightness. We might also consider opening the aperture with a lower f-stop, which will allow more light into the camera, resulting in brighter images. Slowing down the shutter speed can also help, as it allows more light to reach the camera sensor.
It's essential to maintain a balance when adjusting underexposed images. Overcorrecting exposure can lead to a loss of detail or introduce noise. We should be cautious with our adjustments and pay careful attention to the image's overall appearance.
In cases where the underexposure affects specific areas of the image, we can use local adjustment tools like the Adjustment Brush or the Graduated Filter in Lightroom. These tools let us target specific areas of the photo and make more precise corrections.
With these techniques in our arsenal, we can successfully transform underexposed images into visually striking works of art while preserving the original intent behind our photography.
Frequently Asked Questions
What is the effect of underexposure on a photo?
Underexposure causes a photo to appear darker than it should, resulting in loss of detail in the shadow areas. This happens when not enough light reaches the camera's sensor, causing objects or subjects in the image to blend together in the dark areas or shadows ^3^.
How can underexposure be used creatively in photography?
Underexposure can be used deliberately to create mood and atmosphere, or to focus on specific aspects of a scene while keeping others in shadow. Seeking out high dynamic range scenes, where you might choose to bring out details in bright areas and let other parts remain dark, can add depth and interest to your images ^2^.
What are the common challenges of underexposed photographs?
The main challenge with underexposed photographs is the loss of detail in shadow areas. Dark images are often more difficult to edit in post-processing, so it's essential to capture the right balance of light and shadow during shooting. Additionally, underexposed images may appear noisy or grainy, particularly when you attempt to lighten them during editing.
How to deal with harsh shadows caused by underexposure?
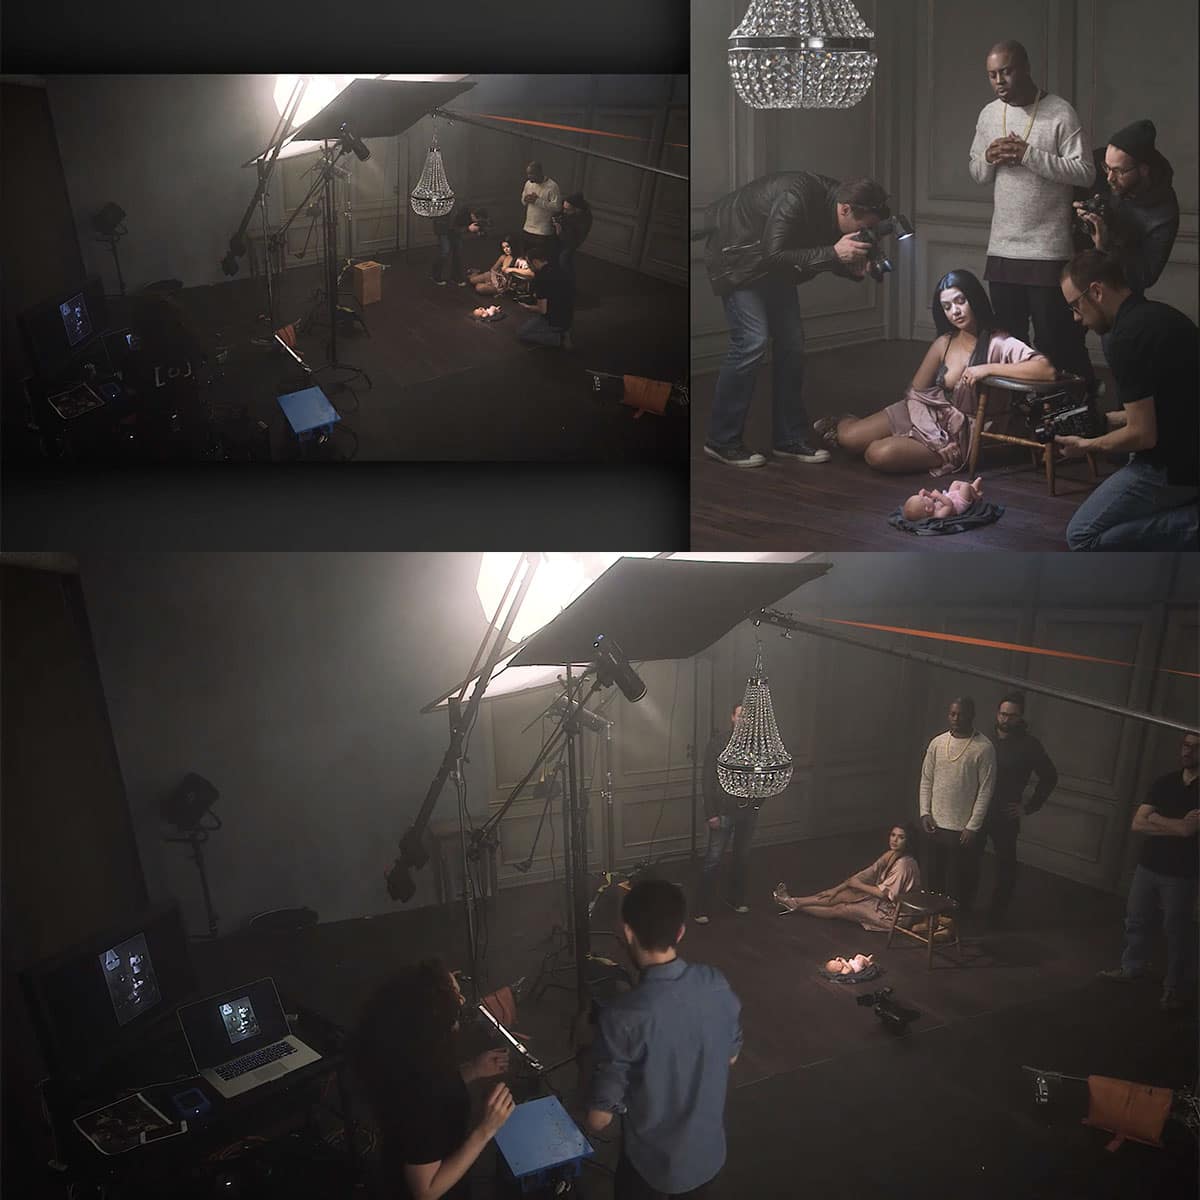
To deal with harsh shadows in underexposed photos, you can use multiple techniques, such as using natural reflectors (e.g., light-colored walls) or employing artificial lighting equipment to fill in dark areas. Alternatively, you can blend multiple exposures or use HDR (High Dynamic Range) techniques during post-processing to bring out more detail in shadow regions^2^.
What techniques can help avoid underexposing film?
To avoid underexposing film, ensure you balance shutter speed, aperture, and ISO settings to achieve the correct exposure. It's advisable to use a medium to high aperture for more light entering the camera, and be mindful of the exposure time needed for your shot3(https://academy.wedio.com/underexposure-in-photography/). Additionally, using a light meter or your camera's built-in exposure meter can help you determine the proper exposure settings.
How can correct exposure be determined and achieved?
Correct exposure can be determined by understanding the relationship between aperture, shutter speed, and ISO. Experimentation, practice, and the use of in-camera exposure tools, such as histograms or built-in exposure meters, can assist you in finding the ideal exposure. Additionally, pay attention to your shooting environment and the quality of light available (e.g., natural or artificial) to make informed adjustments to your camera settings.


