ND Filter Guide: Elevate Your Photos with Precision and Control
Neutral Density (ND) filters are essential tools for photographers seeking more control over their images. These filters enable photographers to manage the amount of light entering the camera lens, allowing for creative effects and precise exposure adjustments. By understanding the technical aspects of ND filters, photographers can enhance their photography and achieve their desired results.
Using ND filters effectively requires the ability to select the appropriate filter for different types of shots. Proper maintenance and troubleshooting are also crucial to ensure the longevity and performance of these filters. Armed with the knowledge of how to use and care for ND filters, photographers can unlock their full creative potential.
Key Takeaways
- ND filters provide greater control over exposure and creative effects in photography.
- Selecting the right ND filter for different shots is essential for optimal results.
- Proper maintenance and troubleshooting help to ensure the performance and longevity of ND filters.
Understanding ND Filters
What is an ND Filter?
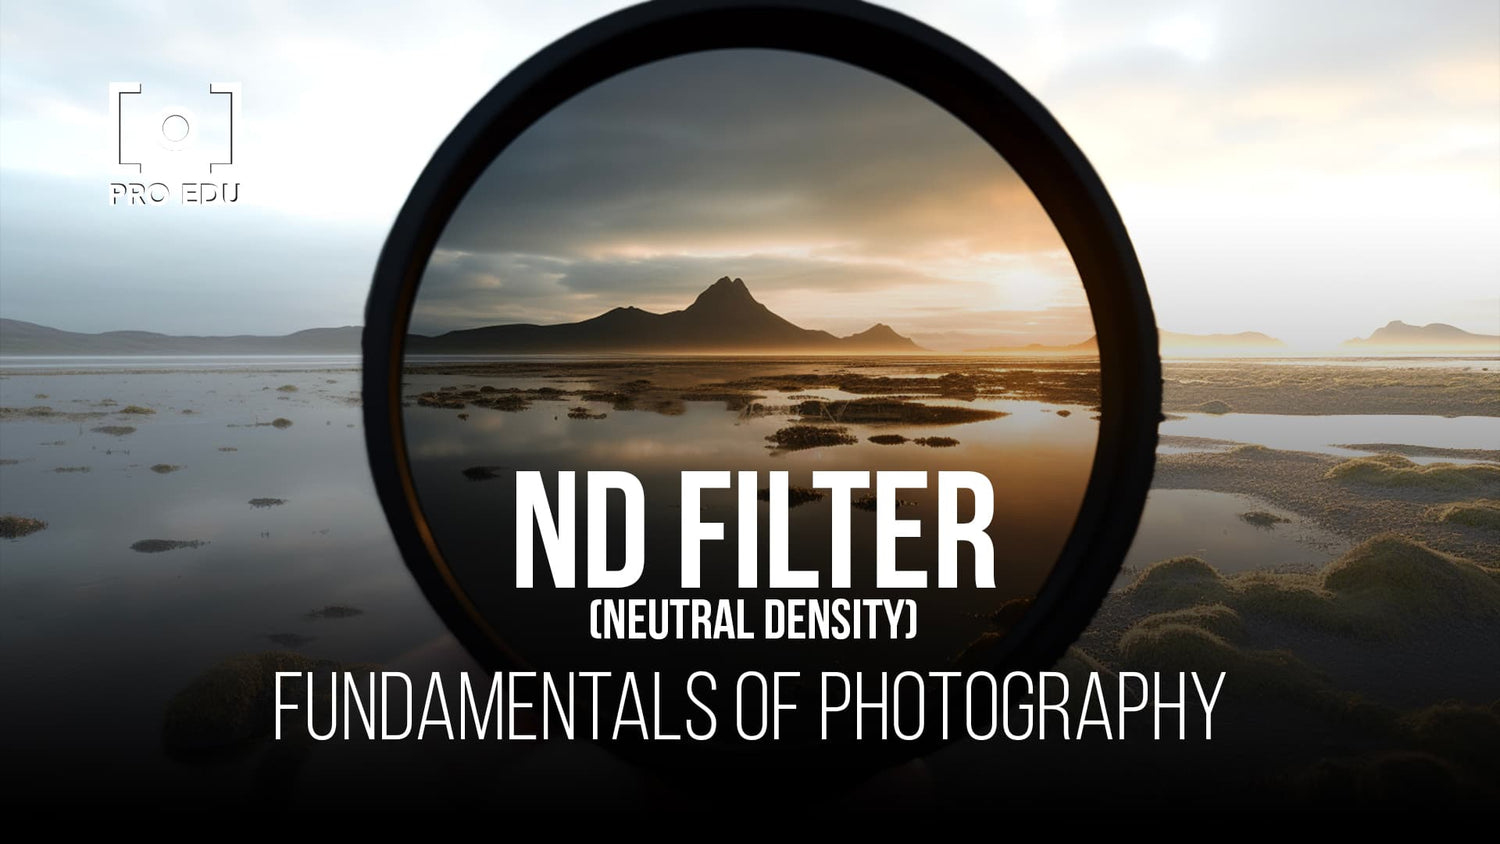
An ND filter, or neutral-density filter, is a lens attachment that reduces the amount of light entering the camera without affecting color balance. Think of them as sunglasses for your camera, allowing for better exposure control in various lighting conditions.
Types of ND Filters
There are several types of ND filters available, catering to different needs. Fixed ND filters have a static level of light reduction and come in various strengths. Variable ND filters, on the other hand, allow for adjustable levels of light reduction by rotating the filter. This flexibility makes them popular among photographers and videographers alike.
How Do ND Filters Work?
ND filters work by using layers of neutral-density coating to reduce the amount of light entering the lens without altering the color. The strength of an ND filter is measured in stops, which indicate the amount of light reduction. For example, a 3-stop ND filter allows 1/8th of the light to pass through, while a 6-stop ND filter only allows 1/64th of the light.
Benefits of Using ND Filters
Using ND filters opens up a world of creative possibilities. One key advantage is the ability to use longer exposures while maintaining optimal aperture settings. This results in capturing motion blur in waterfalls, clouds, and other moving elements. Additionally, ND filters allow for wider apertures in bright conditions, enabling better depth of field control and subject isolation in portraits or filmmaking.
In summary, ND filters serve as a valuable tool for photographers and filmmakers who want to better control the exposure and retain creative flexibility in their work.
Technical Aspects of ND Filters
Controlling Exposure with ND Filters
ND filters help us manage the amount of light entering the camera lens without altering color balance. By controlling exposure, we can achieve various creative effects, such as using slower shutter speeds or larger apertures. For example, we can capture motion blur in bright light by using a lower shutter speed to compensate for the brightness reduced by the ND filter.
Understanding Filter Strength
The strength of an ND filter is measured in stops of light reduction and is sometimes also expressed as the ND factor or optical density. ND filters come in different strengths, such as 1-stop (ND2), 2-stop (ND4), or even 10-stop (ND1024) filters. The higher the ND factor, the darker the filter, and the more exposure reduction it provides.
Impact on Depth of Field
One of the main benefits of using an ND filter is the ability to increase the aperture size while maintaining a desired exposure, resulting in a shallower depth of field. This helps us create selective focus effects in bright conditions without overexposing the image. By using a larger aperture, we can intentionally blur the background while keeping the subject in focus, enabling more control over the depth of field in our photos.
In summary, ND filters provide photographers with greater control over exposure, filter strength, and depth of field, allowing for a wide range of creative possibilities in various lighting conditions. By mastering these technical aspects, we can truly enhance our photography skills.
Using ND Filters for Different Shots
Creating Motion Blur with ND Filters
Using an ND filter, we can create stunning motion blur effects in our photos. By reducing the amount of light entering the camera, we can utilize longer shutter speeds to capture the movement of objects like waterfalls or fast-moving vehicles. This technique allows us to emphasize movement and create eye-catching images.
With long exposures, ND filters enable us to emphasize the fluidity of the scene without overexposing the shot. As we experiment with different exposure times and ND filter densities, we will be able to fine-tune the level of motion blur desired.
Using ND Filters for Landscape Photography
In landscape photography, ND filters provide a great level of control over our images. By allowing us to use wider apertures and longer exposures, we can achieve greater depth of field and more dramatic skies. This can be especially impactful in scenes with moving clouds or flowing water.
Moreover, using ND filters, we can balance the light in high-contrast environments, such as sunsets or shadowed landscapes. This helps retain details in both the highlights and shadows of our images.
ND Filters in Video Shooting
In video shooting, ND filters play a crucial role in maintaining a consistent exposure and nailing the shot. This is particularly important when shooting outdoors or in changing lighting conditions. The filters allow us to achieve a cinematic depth of field by opening up the aperture without overexposing the scene.
ND filters also help in maintaining the shutter speed rule for a more natural motion blur in video footage. By fine-tuning the amount of light that enters the camera, we can achieve professional-quality results in a variety of challenging shooting situations.
Choosing and Maintaining ND Filters
Choosing the Right ND Filter
When selecting an ND filter, consider the type of photography you'll be doing. Landscape photographers can benefit from a high-density ND filter. For portrait photography, a lighter ND filter is ideal. Make sure to choose the right size for your lens, and consider using a filter holder for added ease of use.
Quality of ND Filters
The quality of the ND filter's glass directly impacts the final image. High-quality glass should not affect the color of your photos, while poorly-made glass can lead to color cast issues. Opting for a multicoated glass filter can help reduce reflections and flares, improving your images' overall quality.
- Good: High-quality glass, no color cast
- Okay: Average glass, minor color cast
- Poor: Low-quality glass, noticeable color cast
Considering Brands
When it comes to ND filter brands, there is a range of options available. Some popular brand names include Lee Filters, Hoya, and B+W. While we can't guarantee a specific brand's performance, sticking with reputable manufacturers will typically lead to a higher-quality product. Research reviews and recommendations to find the best option for your needs.
*Note: Remember to always clean and store your filters properly to ensure their longevity and best performance.
Common Issues and Troubleshooting
Dealing with Color Shifts
One issue that photographers may encounter when using ND filters is the presence of color shifts. These shifts may occur when the filter introduces an unintended color cast to the image, altering its overall appearance. To fix this problem, we suggest adjusting the white balance settings in your camera or using photo editing software to correct the colors in post-processing. Using a high-quality ND filter can also help minimize color shifts, so investing in a good filter is crucial.
Understanding Vignetting and How to Eliminate
Vignetting is another issue that may arise with the use of ND filters. It refers to the darkening of the corners of an image, caused by either the filter itself or the lens. Here are some methods to eliminate or reduce vignetting:
- Use a slim filter design that reduces the likelihood of vignetting
- Remove any unnecessary lens hoods or accessories that may contribute to the issue
- Adjust your camera settings for optimal aperture and focal length, as they can affect the occurrence of vignetting
For more information about vignetting and minimizing its effect on your images, check out this guide.
Autofocus Issues with ND Filters
Lastly, using ND filters can sometimes cause autofocus issues, as the reduced light entering the lens can make it difficult for the camera's autofocus system to detect and lock onto subjects. Here are a few tips to overcome autofocus issues when using ND filters:
- Switch to manual focus mode and use focus peaking, if available, to help you achieve accurate focus.
- Prefocus the lens before attaching the ND filter, then switch to manual mode to maintain the focus setting.
- Use a brighter and less dense ND filter when possible, as they tend to cause fewer autofocus problems.
Remember that practice and familiarity with your camera and ND filters will help you overcome these common issues and enhance your photography skills.
Frequently Asked Questions
What are the main benefits of using an ND filter in photography?
Using an ND filter can significantly enhance your photography by allowing for slower shutter speeds, which helps create motion blur and the appearance of smooth, silky water in landscape images. ND filters can also be used to decrease depth of field, enabling you to isolate subjects in portraits or eliminate distractions in the background.
How do different ND filter stops affect exposure?
ND filters are available in various degrees of light-stopping power known as 'stops.' Each stop represents a halving of light entering the camera. For example, a 2-stop ND filter allows only 25% of the incoming light, while a 4-stop filter reduces the light to just 6.25%. This reduction in light enables you to use longer shutter speeds or larger apertures, depending on your creative vision for the shot.
What factors should be considered when choosing an ND filter?
When selecting an ND filter, consider factors such as filter strength (stops), size to fit your lens, optical quality, and price. Ensure the filter you choose is compatible with your specific camera and lens setup. Additionally, it is useful to invest in high-quality filters to avoid potential issues with color casts or image sharpness.
Can ND filters be used effectively for drone photography?
Yes, ND filters can be highly effective in drone photography. They allow you to control the shutter speed to avoid overexposure and achieve smooth motion blur, resulting in more cinematic footage. There are specific ND filter sets designed for popular drone models like the DJI Phantom and Mavic series.
Do ND filters impact image sharpness or quality?
High-quality ND filters should not negatively impact image sharpness or quality. Cheap or low-quality filters might introduce color casts, reflections, or uneven darkening, which could compromise image quality. Always invest in reputable brands and models to ensure optimal performance and minimal issues.
When is it optimal to use an ND filter in bright sunlight?
An ND filter is beneficial in bright sunlight when you need to decrease the camera shutter speed to create motion blur, or when you want to use a larger aperture for a shallow depth of field. By reducing the light entering the camera, ND filters enable you to achieve your desired settings without risking overexposure in extremely bright conditions.


