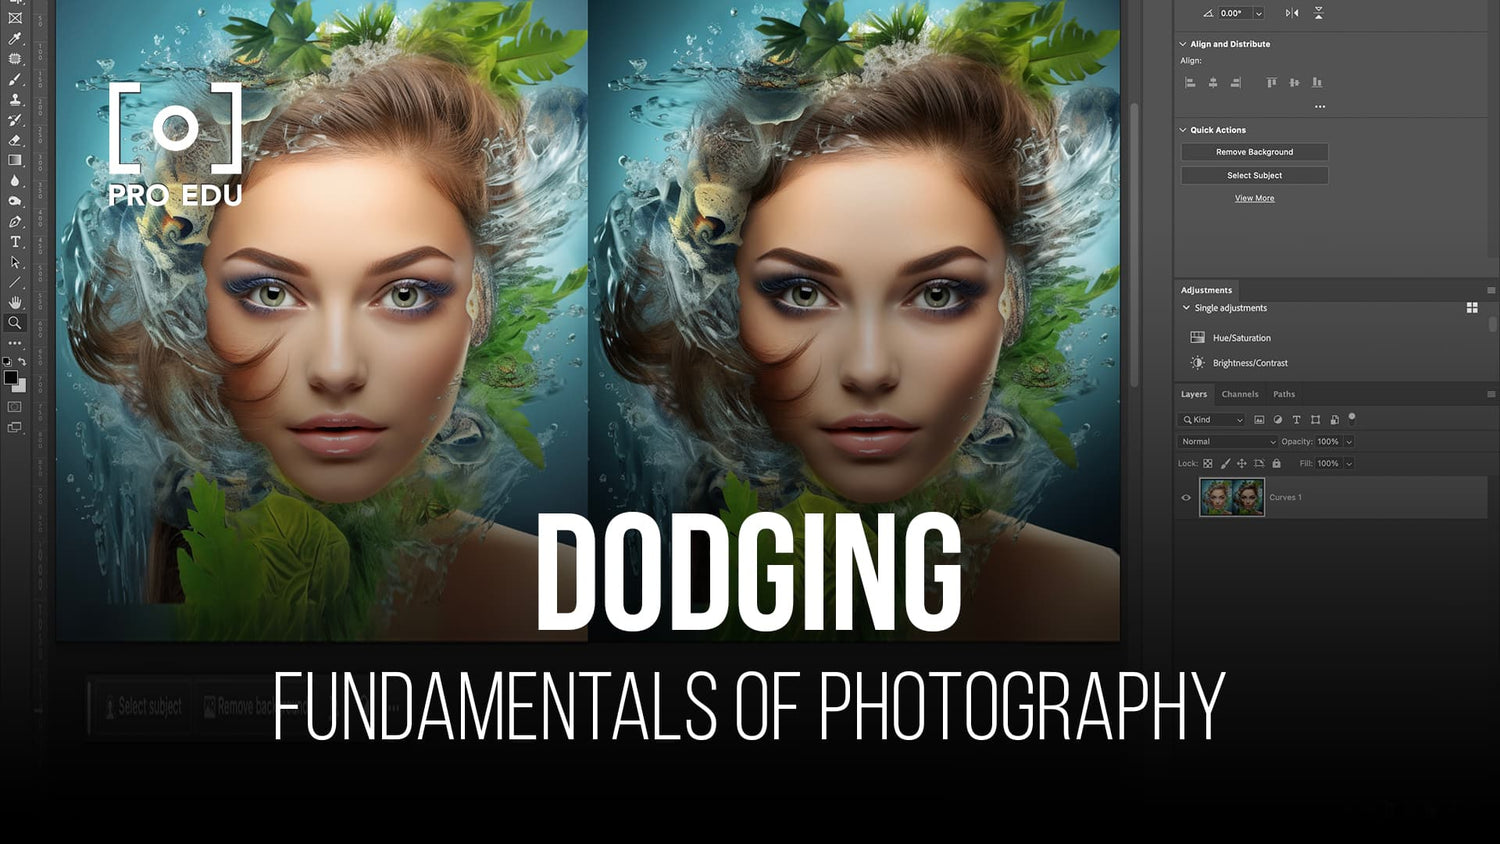
Mastering the Art of Dodging in Photo Editing: Essential Techniques for Enhanced Images
Mastering the art of dodging in photo editing is a fundamental skill for photographers at all levels. Dodging is part of the duo "dodging and burning," which are two photo editing techniques that adjust the lighting and exposure of an image. By understanding and practicing these techniques, you can enhance your photos and create a more dynamic visual impact.
Dodging specifically refers to the process of lightening certain areas of an image to draw attention to them or to correct uneven lighting. It has its roots in traditional film photography, but today, photo editing software like Photoshop has taken this technique to a new level of precision and customization. While dodging can be used on its own, combining it with burning (the darkening of specific areas) will provide you with maximum control over your image's appearance.
Key Takeaways
- Dodging and burning are fundamental photo editing techniques that enhance lighting and exposure.
- Photo editing software like Photoshop provides advanced tools and precision for dodging and burning.
- Combining dodging with burning enables greater control over an image's overall appearance.
Understanding Dodging and Burning
In the world of photo editing, dodging and burning are essential techniques for skilled photographers. To begin with, dodging is the process of lightening specific areas of an image, while burning is the act of darkening specific areas. We use these techniques to create contrast and balance in our photographs, ultimately enhancing the overall image quality.
When using dodging and burning, our primary focus is on the image's highlights and shadows. By manipulating these elements, we can emphasize or de-emphasize certain aspects of the photo. While dodging focuses on brightening the highlights, burning works to darken the shadows. This helps us create a sense of depth and texture, bringing the image to life.
The dodge and burn technique has its roots in the traditional darkroom process. However, modern photo editing software now allows for even greater control and precision with these tools. When applied correctly, this technique will add the desired contrast, intensity, and lighting effects to our photographs.
In sum, mastering the art of dodging and burning will significantly improve our skill set as photographers and photo editors. Practicing these techniques will allow us to elevate our work and produce high-quality, visually stunning images. Ultimately, understanding and applying dodging and burning is crucial for every photographer who seeks to create engaging and dynamic photographs.
Tools for Dodging and Burning
In our experience, mastering the art of dodging and burning in photo editing has become much easier with tools available in software like Photoshop and Lightroom. Let's discuss some of the most useful tools and techniques for dodging and burning in these applications.
In Photoshop, the primary tools for dodging and burning are the Dodge and Burn tools themselves. These are found within the toolbar and are designated by icons that look like a hand holding a darkened curve (burn) and a hand with a white lollipop (dodge). You can select these tools and then adjust the brush size, hardness, and exposure to control the intensity of the effect.
Aside from using the dedicated dodge and burn tools, you can also utilize the Brush tool on a new layer with blending modes like "Soft Light" or "Overlay." This technique allows for more flexibility and non-destructive editing, as you can always delete or modify the layer if needed. To further enhance control, use a layer mask on the new layer and paint with black or white to reveal or hide the dodging and burning effects.
Moving on to Lightroom, the process is a bit different, but the principles remain the same. Instead of using specific dodge and burn tools, you can take advantage of the Adjustment Brush tool and Radial Filter to selectively brighten or darken areas of your image. With the Adjustment Brush tool, you can paint directly onto your photo with customized settings for exposure, contrast, and other adjustments. The Radial Filter, on the other hand, allows you to create a circular or elliptical selection and apply adjustments within or outside of that area.
By using these tools and techniques effectively in Photoshop and Lightroom, we can master the art of dodging and burning to create striking and well-balanced photographs.
Practical Techniques of Dodging and Burning
When it comes to dodging and burning, we have several techniques that can help you master the art of creating dramatic and well-defined photos. To begin with, let's explore the different tools available in popular photo editing software like Photoshop.
One of the most basic tools for dodging and burning is the Dodge and Burn Tool itself, which can be adjusted for working on different tonal ranges like shadows, midtones, and highlights. Additionally, the Soft Light Layer method involves creating a blank layer set to "Soft Light" mode, then using a brush to paint in the desired dodge and burn areas.
Another more advanced approach is using Curves and Levels adjustments to selectively alter the brightness and contrast in specific areas. This allows for even more precision and control over the dodge and burn process. As we work on these techniques, it's essential to pay attention to the image's texture and color to ensure a natural and seamless look.
To enhance the colors in your photograph, we can also adjust the color saturation while dodging and burning. This can be achieved by using separate adjustment layers for saturation and luminosity. This process ensures that the dodging and burning won't affect the color balance in the image, maintaining a harmonious result.
Finally, an effective technique for achieving greater depth and drama is Luminosity Dodge & Burn with Luminance Blending. This method involves creating a black and white luminosity mask and using it to selectively dodge and burn specific areas of the photograph. By targeting specific tonal ranges, you can create a powerful sense of depth and drama in your images.
In summary, mastering different dodging and burning techniques is crucial for elevating both the artistic impact and overall quality of your photographs. By experimenting with these methods and paying close attention to the details, you can achieve stunning results and bring your artistic vision to life.
Professional Applications of Dodging and Burning
In the world of professional photography and photo retouching, dodging and burning are essential techniques for enhancing images. Both landscape and portrait photographers utilize these methods to create stunning results.
Dodging and burning improves the sense of drama and clarity in images by selectively lightening and darkening areas. This is especially useful when working on photos with complex lighting scenarios. Many photo editing software packages offer presets for quick and simple adjustments.
Professionals such as photographers and retouchers often use more advanced techniques like frequency separation for dodging and burning. This allows them to maintain the natural skin texture while adding depth and dimension to their images.
In conclusion, mastering dodging and burning is an essential skill for professionals working in photo editing and retouching. Its applications in various areas like landscape and portrait photography make it a valuable tool for producing high-quality images with depth, dimension and drama.
Advanced Dodging and Burning Techniques
In this section, we will explore some advanced techniques for dodging and burning to improve our photo editing skills. Learning these methods will allow us to create more striking and well-balanced images.
One essential tool for advanced dodging and burning is using layers and layer masks in our photo editing software. By creating a separate layer for dodging and burning, we can apply adjustments without affecting the original image. To control the intensity of our adjustments, we can adjust the blend mode and opacity of the layers. A helpful blend mode to use is Soft Light, which allows us to brighten or darken specific areas of the image subtlety.
Utilizing a Curves Adjustment Layer is another technique for effective dodging and burning. This method allows us to modify the contrast in our images, add depth, and create a more dynamic photograph. By using custom layer masks for both dodge and burn, we can target specific areas of the image with precision and control.
When working on our images, it's crucial to consider the size of our brush and its impact on the detail within the image. A smaller brush size will facilitate intricate editing, whereas a larger brush size is suitable for broader adjustments. Remember to adjust the brush hardness and opacity settings to achieve the desired effect.
Don't forget that dodging and burning techniques can apply to both black-and-white as well as color images. Practicing these techniques on different types of images helps us further enhance our editing abilities. Programs such as Lightroom Classic even offer specialized dodging and burning tools within their Develop module.
Now that we have explored some advanced dodging and burning techniques, it's essential to practice and refine our skills. With practice and experience, our ability to bring depth, contrast, and focus to our images will vastly improve.
Frequently Asked Questions
What are the best techniques for dodging in photo editing?
There are various effective techniques for dodging in photo editing, such as using the Dodge tool in Photoshop and the adjustment brush in Lightroom. An important tip for achieving natural results is to use a soft-edged brush with low opacity, gradually building up the effect. Remember, practice makes perfect, so experiment to find the method that works best for you.
How does dodging compare to burning in photography?
Dodging and burning are complementary techniques in photography. While dodging is used to selectively brighten areas of an image, burning does the opposite by darkening specific areas. Both techniques help guide the viewer's eye through an image and enhance the subject's contrast, creating a more dynamic and visually appealing final result.
What is the purpose of the Dodge tool in Photoshop?
The Dodge tool in Photoshop is specifically designed to lighten specific areas of an image by selectively increasing the exposure. It's a powerful tool for enhancing details and highlights, particularly when used with care and precision. Like with any other tool, less is more, so be cautious not to overuse the effect or create unnatural halos.
How can you effectively use dodging and burning in black and white photography?
In black and white photography, dodging and burning can be particularly effective, as they help to emphasize texture, form, and contrast. Adjusting the brightness and darkness of various areas can draw the viewer's eye towards the subject and create a greater sense of depth. To achieve the best results, use a subtle approach and focus on enhancing the mid-tones and shadows, rather than the highlights.
How does dodging and burning affect the final image in photography?
When used correctly, dodging and burning can significantly enhance a photograph by guiding the viewer's eye, adding depth, and emphasizing key elements. These techniques can improve the overall contrast, brightness, and tonality of an image, making it more visually striking. However, it's essential to use them judiciously to avoid over-processing and creating unnatural artifacts.
What are some alternatives to the Dodge and Burn tools in photo editing?
There are several alternatives to the traditional Dodge and Burn tools in photo editing. Some popular options include the adjustment brush in Lightroom, layer masking in Photoshop, and other software like Luminar AI and Luminar 4 that offer their own dodging and burning tools. Additionally, some photographers prefer to use external plug-ins and add-ons for further control and customization.


