
Key Light in Photography: Mastering Subject Contour and Appearance
Photography is an art form that relies heavily on the proper use of lighting techniques. One of the most crucial lighting elements every photographer needs to master is the key light. Key lighting plays a fundamental role in shaping the look and feel of your subject, highlighting their features, and setting the mood for a shot.
Understanding the importance of key light in photography, as well as practical approaches to its setup, helps photographers create stunning images with the desired depth, contrast, and emotion. By incorporating shadows and varying degrees of contrast, photographers can use key light to generate a wide array of visual effects and evoke specific emotions in their portraiture work.
Key Takeaways
- Mastering key light is essential for shaping a subject's appearance and setting the mood in a photograph
- Proper key light setup helps create depth and a desired level of contrast in the image
- Incorporating shadows allows for a wide range of visual effects and emotional responses in portrait photography
Understanding Key Light and Its Fundamental Role in Photography
Interpreting the Key Light Significance
The key light is the primary light source in photography and holds a position of paramount importance. It serves as the main source of illumination in your setup, defining the overall mood and feel of the image. A key light is not any specific type of light, but rather, it's how the light is used that determines its significance in photography.
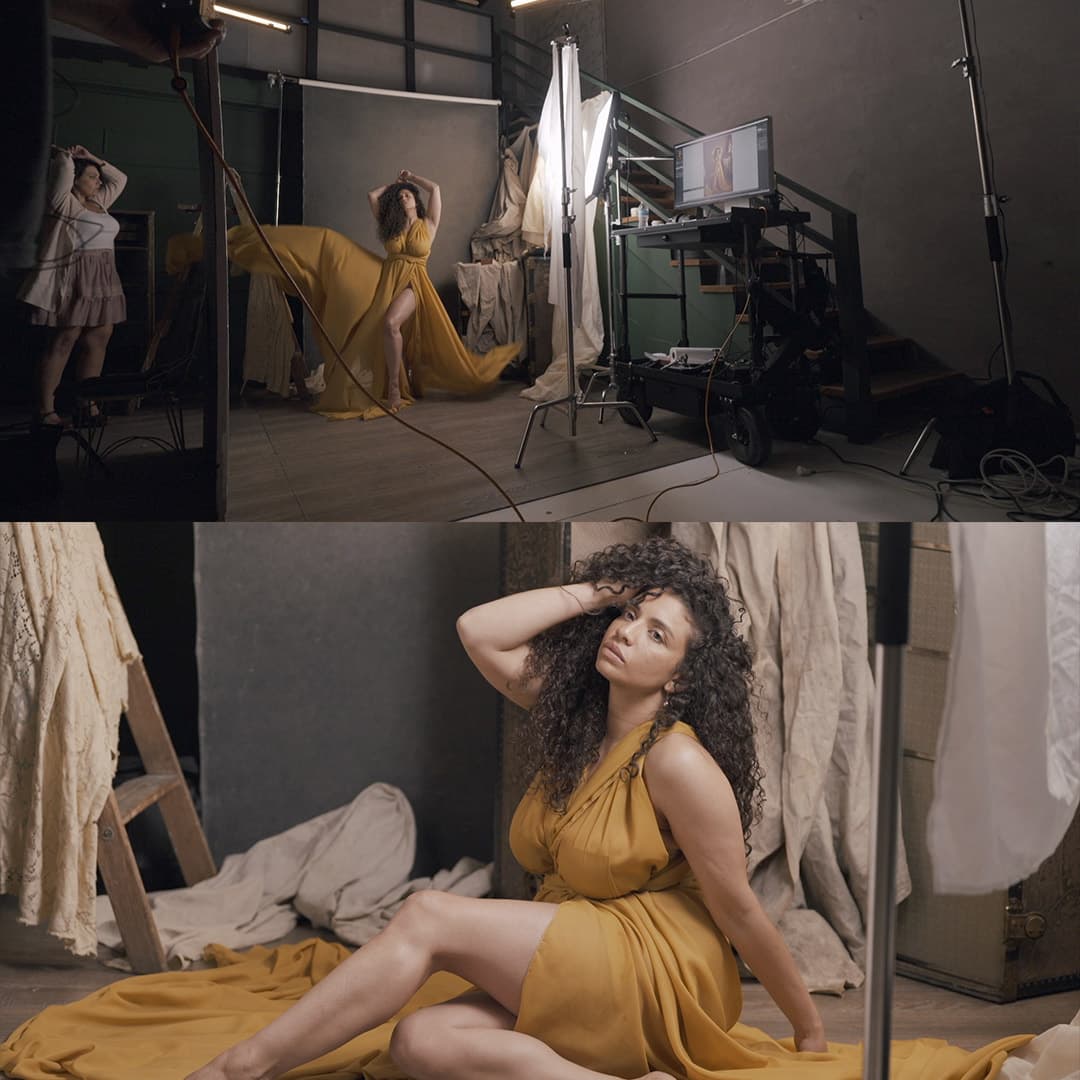
In portrait photography, for example, the key light is often positioned at a 45-degree angle to the subject. This placement casts defining shadows that add depth and dimension to the face source. By adjusting the angle, intensity, and softness of the key light, we can control the appearance and mood of our subject, ranging from bright and cheerful to mysterious and dramatic.
Impacts of Key Light on Photography
Apart from defining the subject's look, the key light plays a crucial role in shaping the overall aesthetic of the image. As the primary light source interacting with our subject, it guides and shapes everything within the frame source. Its influence on the shot is significant, as it can drastically change the feel of an image or scene.
For instance, using a soft key light creates more diffused shadows, conveying a gentle, flattering, and natural feel. On the other hand, a hard key light generates sharp, well-defined shadows, which can be used to create a more dramatic or stylized portrait. Additionally, changing the brightness of the key light allows us to manage the amount of contrast within the image.
Throughout our work in photography, understanding and mastering the use of key light is crucial for shaping the look of our subjects and crafting engaging, evocative images.
Practical Approaches to Key Light Setup
Natural vs Artificial Key Lighting
When it comes to key lighting, we can use either natural or artificial light. Natural light typically comes from the sun, which can be diffused through clouds, reflected off surfaces, or directly utilized as the key light. On the other hand, artificial light involves using light-emitting devices like LED lights, flashguns, or studio lights. Both have their pros and cons, so choosing between them depends on the desired effect, available resources, and the shooting environment.
Evaluating the Direction and Intensity
The direction and intensity of the key light play a significant role in shaping the subject's look. To achieve the best results, we need to examine the angle, height, and distance of the light source. Some commonly used setups include:
- Frontal lighting: Placing the key light at a 0-degree angle to the subject reduces shadows and provides even illumination.
- Side lighting: Key light at a 90-degree angle creates dramatic shadows and highlights, emphasizing textures and shapes.
- Backlighting: Positioning the key light behind the subject produces a silhouette effect, adding depth and contrast.
By adjusting the intensity, we control the brightness and overall mood of the image. A strong, focused key light creates a high-contrast scene, while a softer, diffused light results in a more even distribution of illumination.
Effect of Color Temperature
The key light's color temperature also influences the subject's appearance and the photograph's ambiance. Color temperature is measured in Kelvins (K), with lower values representing warmer (orange) tones and higher values indicating cooler (blue) tones. Some examples of color temperatures are:
| Light Source | Color Temperature (K) |
|---|---|
| Candle Flame | 1500 - 1900K |
| Incandescent Bulbs | 2500 - 3000K |
| Sunrise or Sunset | 3000 - 4000K |
| Direct Sunlight | 4800 - 6500K |
| Overcast Sky | 6500 - 8000K |
| Shade / Heavy Cloud | 9000 - 10000K |
By understanding the effect of color temperature, we can either match the key light to the environment's natural color cast or introduce a contrasting color to establish a particular mood or feeling.
Incorporating Shadows and Contrast
Designing Depth and Form with Shadows
We can enhance the depth and form of our subjects by strategically using shadows in our key light photography. As mentioned in this guide, a fast shutter speed, wide aperture, and low ISO can result in deep, defined shadows, where strong and bright beams of light juxtapose with darkness. By controlling the angle and intensity of light, we can create a sense of three-dimensionality in our images.
To emphasize specific features of a subject, consider positioning the key light off to one side, as this can create a more sculpted effect. Combining this with a reflector or secondary light source opposite the key light helps in reducing harsh shadows, thus achieving a balance between light and shadow.
Importance of Lighting Ratios
Understanding and controlling lighting ratios is essential to create the desired contrast in our photography. Lighting ratio refers to the difference in intensity between the key light and fill light or the shadowed areas. Ratios can range from 1:1 (little or no contrast) to 8:1 or higher (dramatic contrast).
The choice of lighting ratio depends on the intended mood or emotion for the image. For instance, a lower ratio (1:1 or 2:1) creates a softer, even look appropriate for a calm atmosphere. On the other hand, a higher ratio (4:1, 8:1, or more) emphasizes contrast and is often used to convey a darker, more dramatic mood, as discussed in this article.
By mastering the use of shadows, contrast, depth, and form, and paying attention to lighting ratios, we can shape our subject's look and enhance our key light photography.
Key Light Application in Portrait Photography
Exploiting Different Lighting Setups
In portrait photography, the key light serves as the primary source of illumination that defines the overall mood and feel of the portrait. It is typically positioned at a 45-degree angle to the subject, creating shadows that add depth and dimension to the face. Adjusting the key light's position can make a significant difference to the outcome.
Another aspect to consider is the intensity of the key light. By controlling the intensity, we can change the degree of shadows and highlights, directly affecting the contrast and mood in the portrait. Combining key light with other lighting sources like fill lights and hair lights, we can create a balanced and professional look in our images.
Mastering Portraiture through Light Shaping
Light shaping in portrait photography is an essential skill that helps us achieve various creative results by modifying the key light's output. As photographers, we need to have a good understanding of different key light patterns, such as split lighting, Rembrandt lighting, and butterfly lighting, to create the desired lighting setups for our portraits.
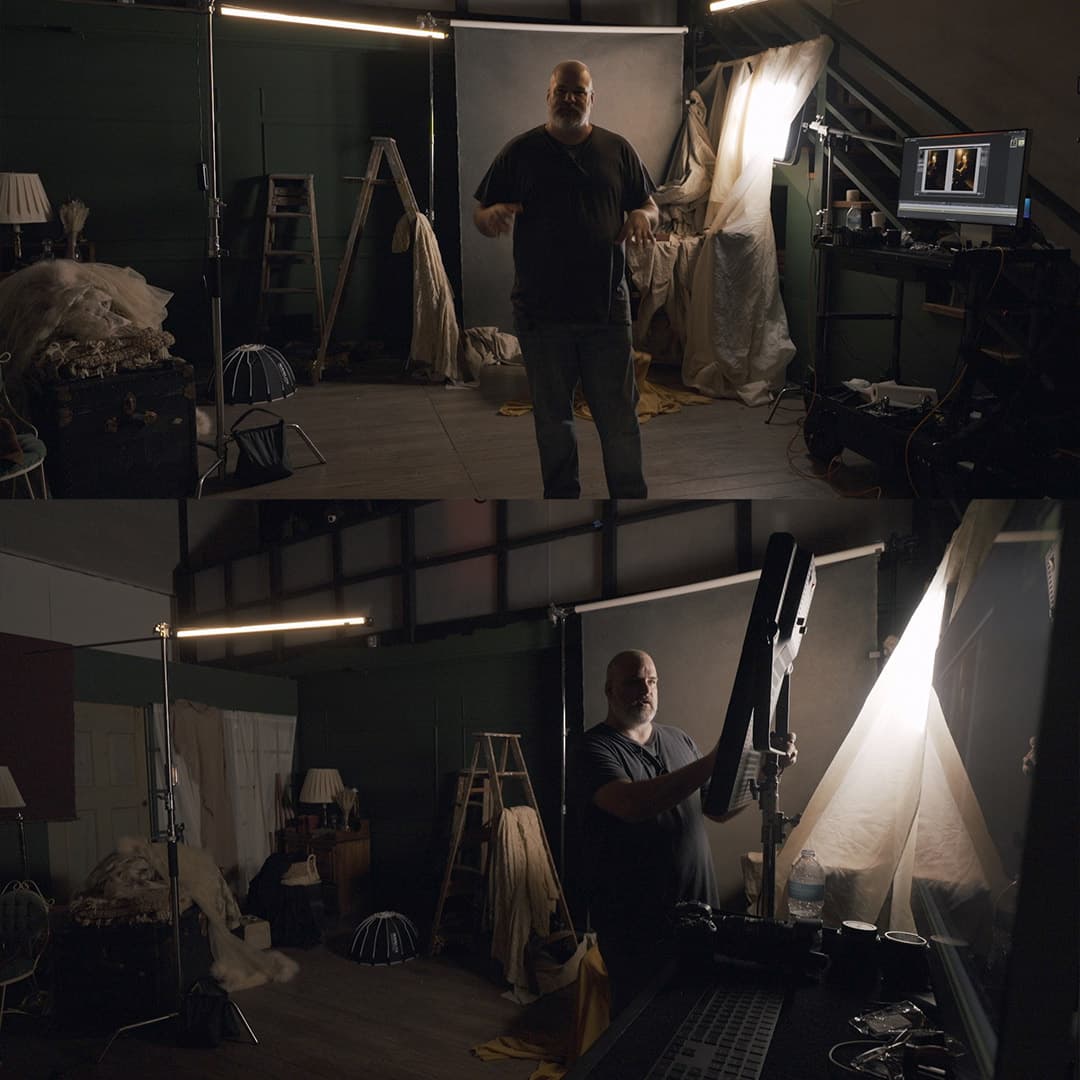
One way to shape the key light is by using light modifiers, like softboxes, umbrellas, and grids. These tools allow us to control the direction, quality, and spread of the light. For example, softboxes create a soft, even light that is flattering in portraits, while grids help focus the light on specific parts of the subject's face. Familiarity with these light shaping tools is crucial for mastering portraiture.
By combining different lighting setups and mastering light shaping techniques, we can achieve a wide range of looks and styles in our portrait photography. With practice and experimentation, we can unlock our creativity and consistently capture beautiful, professional portraits for our clients.
Common Key Lighting Techniques
Three-Point Lighting
Three-point lighting is a foundational technique in portrait photography that uses a key light, fill light, and backlight. The key light is the primary light source that shapes and highlights the subject's face. Our fill light helps to reduce shadows caused by the key light, while the backlight separates the subject from the background, adding depth and definition.
Low-Key and High-Key Lighting
Low-key lighting emphasizes mood, drama, and contrast by using a single key light and minimal fill light, resulting in dark shadows and a darker overall tone. On the other hand, high-key lighting creates bright, even, and minimal shadows by using a well-lit background and multiple light sources, such as key and fill lights, to reduce contrast. Experimenting with these two techniques can produce striking and emotional results.
Rembrandt, Butterfly, and Loop Lighting
Rembrandt lighting is characterized by creating a small triangle of light on the cheek opposite the key light, resulting in dramatic and dynamic portraits. While butterfly lighting is named for the butterfly-shaped shadow it casts under the subject's nose, it's created by placing the key light directly above the subject's face, emphasizing cheekbones and jawline. Loop lighting, on the other hand, creates a small shadow to the side of the subject's nose by positioning the key light slightly off to one side and above the subject. These three techniques offer different ways to shape and illuminate your subject's face in a portrait session.
Frequently Asked Questions
What are the different lighting angles used in photography?
In photography, lighting angles are critical for shaping the subject's look. Some common lighting angles include flat, loop, Rembrandt, and butterfly lighting. Each of these is used to create different effects and moods in the final image.
How do you create the loop lighting effect?
To achieve loop lighting, position the key light slightly to the side and above the subject's face. This will cast a small shadow that loops down, creating a shape similar to a facial contour, hence the name.
Which are the best lights for portrait photography?
The best lights for portrait photography are often soft and diffused. LED lights, strobes, and natural light can all be effective, depending on the desired look. Diffusing these light sources with softboxes or umbrellas can produce a softer, more flattering effect.
What role does fill light play in the 3-point lighting setup?
In a 3-point lighting setup, the fill light is the secondary light source that balances the key light by reducing shadows on the subject's face. It is typically placed on the opposite side of the key light, with lower intensity to prevent overpowering the main light.
How can you create a light pattern on a wall?
Creating a light pattern on a wall can be achieved by using a technique called gobo projection. A gobo (short for "goes between optics") is a stencil or metal cutout placed between the light source and the wall. The pattern of the gobo will be cast onto the wall, creating a unique backdrop or effect.
What are the key characteristics of Rembrandt lighting?
Rembrandt lighting, named after the painter, is a technique that creates a triangle of light on the subject's cheek. This is achieved by placing the key light at a high angle and to the side of the subject, causing the shadow of the nose to combine with the shadow beneath the cheekbone. This lighting pattern adds depth and drama, often used in fine art and portrait photography.


