AV Mode in Photography: Mastering Aperture Value Control
AV mode, also known as Aperture Priority mode, is a popular camera setting that allows photographers to control the aperture value while the camera automatically adjusts the shutter speed. By having control over the aperture, photographers can manipulate the depth of field in their images. This enables them to create various effects and styles, from a shallow depth of field that brings attention to a subject, to a deep depth of field that maintains sharp focus throughout the scene.
In order to effectively use AV mode, it is crucial to understand how aperture affects the image. Aperture refers to the size of the opening in the camera lens, which determines the amount of light that enters the camera. When using AV mode, photographers can select the desired aperture value, or f-number, to create the desired depth of field and style in their photos.
Key Takeaways
- AV mode allows you to control aperture while the camera adjusts shutter speed automatically.
- Controlling aperture value influences depth of field and focus in your images.
- Knowledge of aperture effects will aid in achieving various photography styles.
Understanding Aperture and AV Mode
Aperture is the opening in a lens through which light passes to enter the camera, and can be understood by considering how our eyes work when moving between bright and dark environments 1. The Aperture Value (AV) Mode or Aperture Priority Mode (A Mode) on a camera allows us to control this aperture setting, adjusting the depth-of-field while the camera automatically configures the shutter speed 2.
To change the aperture in AV Mode, we adjust the f-number on our camera. A lower f-number corresponds to a larger aperture opening, while a higher f-number results in a smaller aperture opening 3. This has a direct impact on the depth-of-field in our photos.
For example, using a lower f-number creates a shallow depth-of-field, where the background and foreground are blurred, making the subject stand out. On the other hand, using a higher f-number results in a deep depth-of-field, with more elements of the image appearing sharper and in focus.
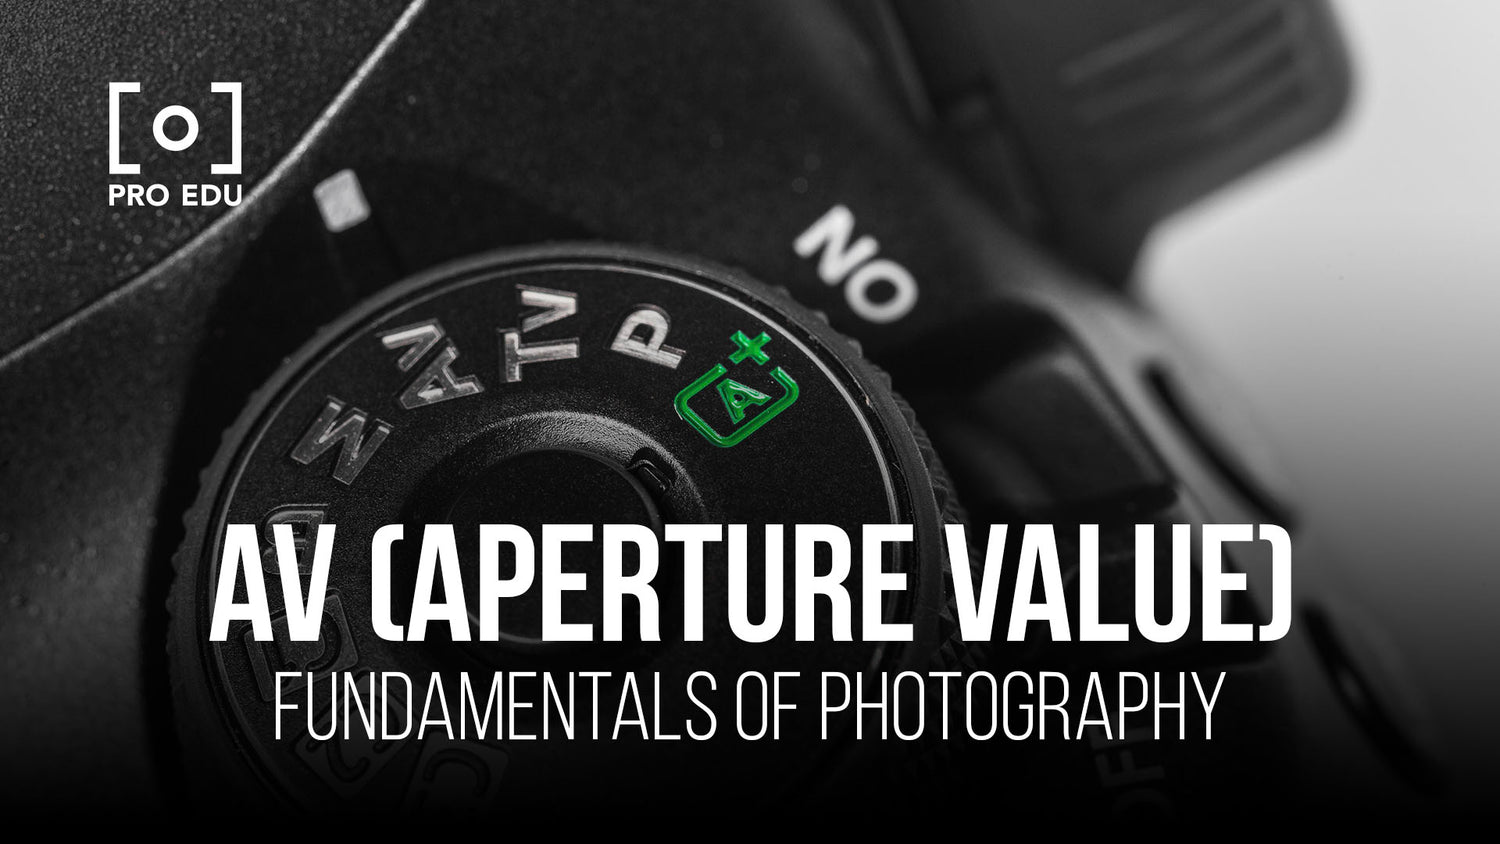
It's essential to practice using different f-number values in AV Mode to become comfortable with how aperture affects our images. By experimenting with these settings, we can better understand the power of controlling aperture and enhance our photography skills. To select AV or A mode, simply turn the mode dial on our camera to the appropriate position 4.
Influence of Aperture on Focus and Depth of Field
Achieving Blur and Sharpness
In photography, controlling the aperture allows us to manipulate the focus and depth of field in an image. When using a wide aperture (represented by a smaller f-stop number like f/1.4 or f/2.8), we create a shallow depth of field. In this scenario, only a small portion of our image—often the subject—remains sharply focused, while the background and foreground gently blend into a pleasing blur 1.
When we set the aperture to a small setting (e.g., f/11, f/16, f/22), it will diminish the amount of light let into the camera, but it will also result in greater depth of field 4. This means that both the subject in the foreground and the background will appear sharp and in focus, providing a clearer overall image.
Understanding Depth of Field
The term depth of field refers to how much of our image is in focus, from the foreground to the background 2. It plays a crucial role in drawing attention to our subject and giving our images a professional look. To better illustrate the concept of depth of field, consider the following table:
| Aperture Setting | Depth of Field Result |
|---|---|
| Wide (e.g., f/1.4, f/2.8) | Shallow (subject in focus, background blur) |
| Narrow (e.g., f/11, f/16, f/22) | Greater (foreground and background sharp) |
Using the Aperture Priority mode (often labeled "A" or "Av" on cameras) allows us to prioritize control over aperture settings while the camera adjusts other settings, such as shutter speed, automatically5. This mode is useful for photographers who want to take creative control of the depth of field in their images, ensuring the desired parts of the image are either sharp or out-of-focus.
Effects of Aperture on Photography Styles
Landscape Photography
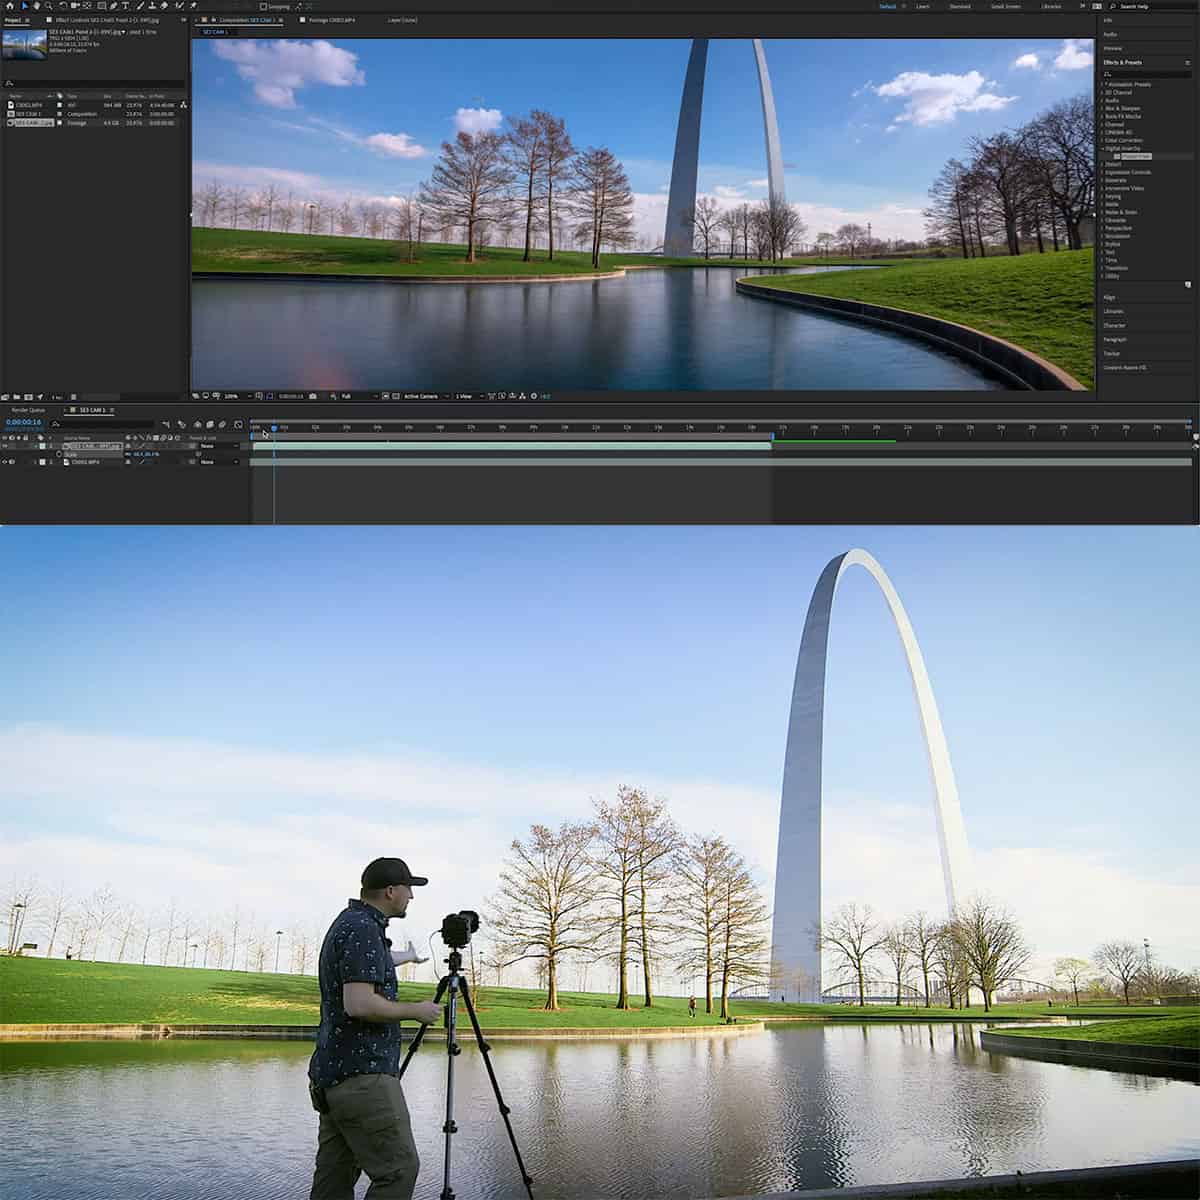
In landscape photography, capturing vast scenes and a wide depth of field is often the goal. Using a narrower aperture setting, such as f/8 to f/16, allows for greater depth of field, ensuring that both foreground and background elements remain sharp. Most DSLR and mirrorless cameras, including popular models from Canon, have an Aperture Priority mode (Av mode) that helps photographers easily control the aperture settings.
Portrait Photography
The main focus of portrait photography is the subject, so manipulating aperture value to create bokeh can enhance the photo's aesthetic appeal. We suggest using wider aperture settings, which are typically between f/1.4 to f/4, depending on the lens. This will create a shallow depth of field, allowing the subject to remain in sharp focus while blurring the background. On a zoom lens, using the longer focal length can enhance the bokeh effect in portrait photography.
Macro Photography
For macro photography, the subject tends to be up close and finely detailed. It is crucial to obtain optimal sharpness, and using a smaller aperture (higher f-stop value) can help. However, due to the close proximity of the lens to the subject, the depth of field is very narrow even at smaller apertures. Tip: in macro photography, you can even use an aperture of f/8 or higher depending on the subject and desired depth of field. Equipped with Av mode, Canon cameras offer greater control over the aperture settings for macro photography.
It is also important to note that using smaller apertures may require more light or a slower shutter speed due to reduced light entering the camera. A tripod could help in these situations to minimize camera shake and ensure sharp, high-quality images.
Arbitrary Lighting and Aperture Adjustment
In challenging lighting conditions, the aperture priority mode, or Av mode, can be an essential tool in our photography. Aperture priority mode allows us to control the depth of field while the camera adjusts other settings, such as shutter speed and ISO, to achieve proper exposure. We've gathered information on how Av mode functions in various camera brands from sources like Photography Life and EOS Magazine.
When shooting in rapidly changing light, we often need to adjust aperture value quickly. Aperture priority mode helps us accomplish this because it automatically adjusts the shutter speed and ISO based on the manually selected aperture. To give an example, if we set our aperture to f/8 for maximum depth of field and suddenly find ourselves in darker lighting conditions, the camera will automatically adjust the shutter speed and ISO accordingly.
However, there are times when we might want more control over the exposure in aperture priority mode, especially when shooting in drastically varying lighting conditions. That's when exposure compensation comes into play. Exposure compensation allows us to adjust the exposure up or down in increments (usually of 1/3 or 1/2 stops) to achieve our desired brightness level.
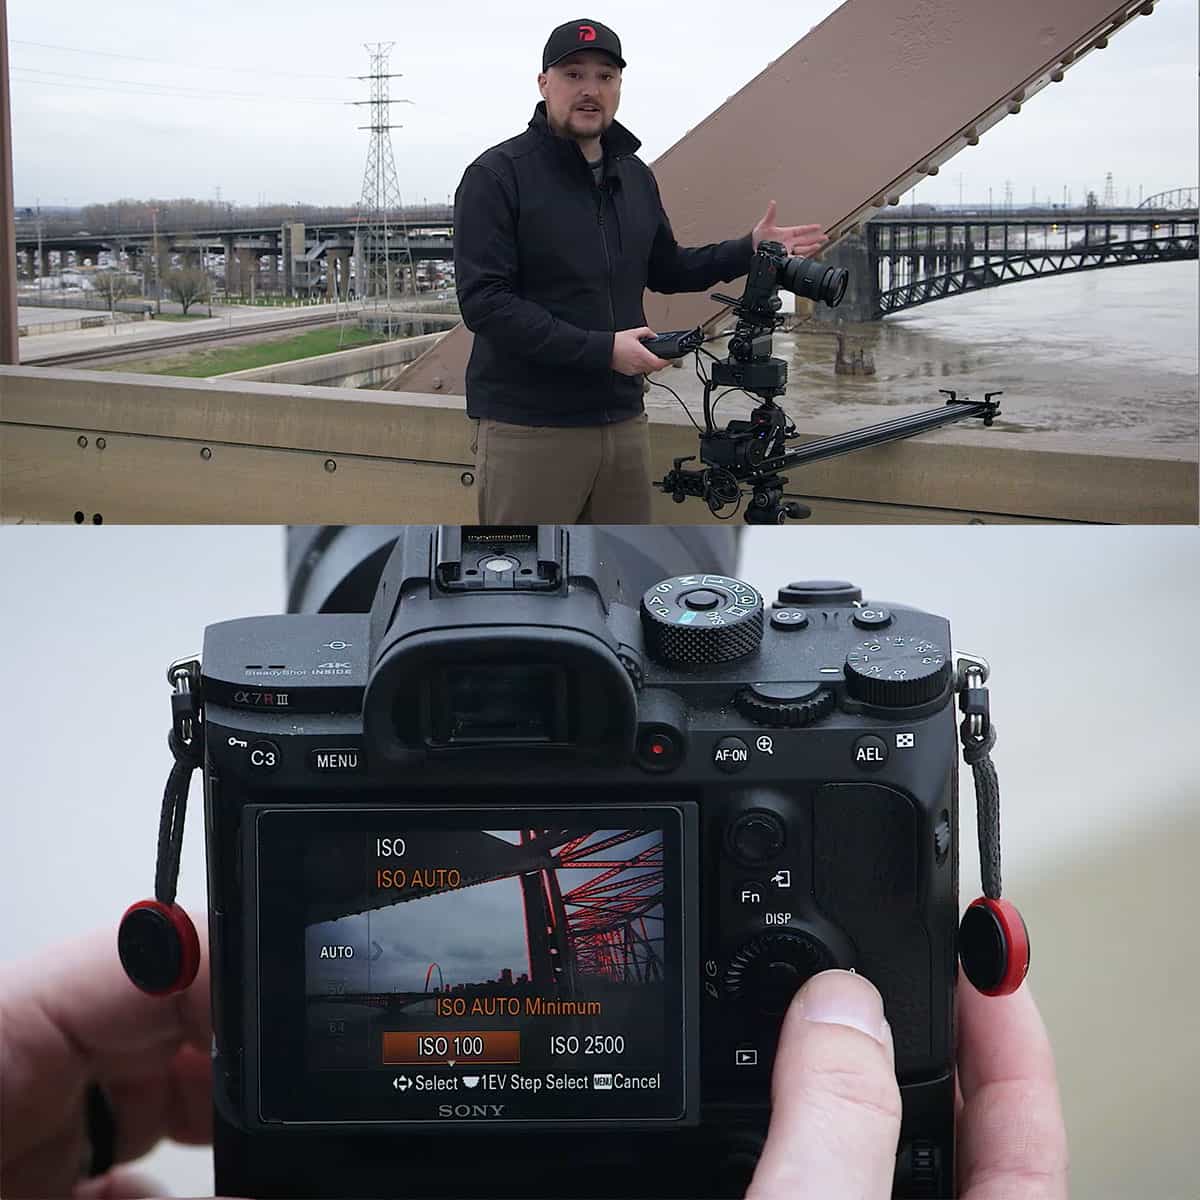
While shooting with aperture priority mode, we can also manually set our ISO to a specific value, such as ISO 100, to avoid excessive noise in our images. By manually setting a low ISO, we ensure the camera will not increase the ISO when facing low light conditions, which can introduce noise. However, be aware that the exposure may become longer, which can lead to camera shake or motion blur in certain situations.
In conclusion, understanding and utilizing aperture priority mode is crucial for any photographer dealing with arbitrary lighting situations. By using Av mode paired with exposure compensation and manual ISO, we gain control and flexibility in our photography, allowing us to create visually appealing images in even the most challenging lighting conditions.
Choosing the Right Equipment and Handling Techniques
When it comes to photography, selecting the appropriate equipment is crucial for achieving the desired result. For those looking to prioritize aperture value, we highly recommend using a DSLR or SLR camera, such as those manufactured by Nikon or Canon. These cameras allow easy access to Av mode (for Canon) or A mode (for Nikon), enabling users to have full control over the aperture settings1.
The choice of lens plays a significant role in aperture control as well. Lenses come in different varieties, such as prime lenses and zoom lenses. While prime lenses have a fixed focal length, zoom lenses offer a range of focal lengths that can be adjusted. In addition to these, there are lenses with various maximum apertures from f/4 to f/16 or beyond4.
When shooting in Av or A mode, it's important to familiarize oneself with the concept of f-stops. These are numerical representations of the various aperture settings, with smaller f-stop numbers corresponding to larger apertures and larger f-stop numbers to smaller apertures2. For instance, an f-stop of f/4 will produce a more shallow depth of field compared to f/16.
In addition to the lens and camera, handling techniques must also be considered when shooting in aperture priority mode. Setting the correct ISO value is crucial for maintaining a proper exposure, especially in low-light situations. Utilizing Auto ISO can help alleviate some of the challenges associated with finding the right exposure5. Additionally, using a tripod or other stabilization methods can help maintain sharpness in your images.
In summary, choosing the right equipment and mastering proper handling techniques are both essential for getting the most out of aperture priority mode in photography. Experimenting with different lenses, f-stops, and ISO values will ultimately lead you to find the perfect combination for your specific goals and creative vision3.
Frequently Asked Questions
What are the benefits of using AV mode in photography?
Using AV mode in photography allows us to control the depth of field in our photos. By setting the aperture value manually, we can decide how much of our image remains in focus, giving us creative control over our images.
How does AV mode differ from other shooting modes?
In AV mode, we set the aperture value and the camera automatically adjusts the shutter speed to achieve the correct exposure. In other modes, such as Manual or Shutter Priority, we need to control both the aperture and shutter speed ourselves, or the camera automatically controls both settings.
Which cameras are best suited for AV mode?
Most modern cameras, including Canon and Nikon digital SLR cameras are well-suited for AV mode. The mode allows photographers to easily control aperture value and achieve desired depth of field effects in their photos.
Can I control the shutter speed in AV mode?
While in AV mode, the camera will automatically adjust the shutter speed to achieve a proper exposure. If you wish to control both the aperture and shutter speed, switch to manual mode.
How do I set the aperture value manually in AV mode?
To set the aperture value manually in AV mode, first, turn your PSAM dial to "A" (or "Av" on Canon cameras). For some Fuji and Leica cameras, set the Shutter Speed dial to Auto. Then, manually select your desired f-stop using the main dial above the shutter button.
When should I use AV mode instead of other modes?
AV mode is best used when you want to control the depth of field for creative purposes while allowing the camera to handle shutter speed adjustments. This is particularly helpful in situations where the light levels are changing, or when you're focusing on subjects at different distances from the camera.


