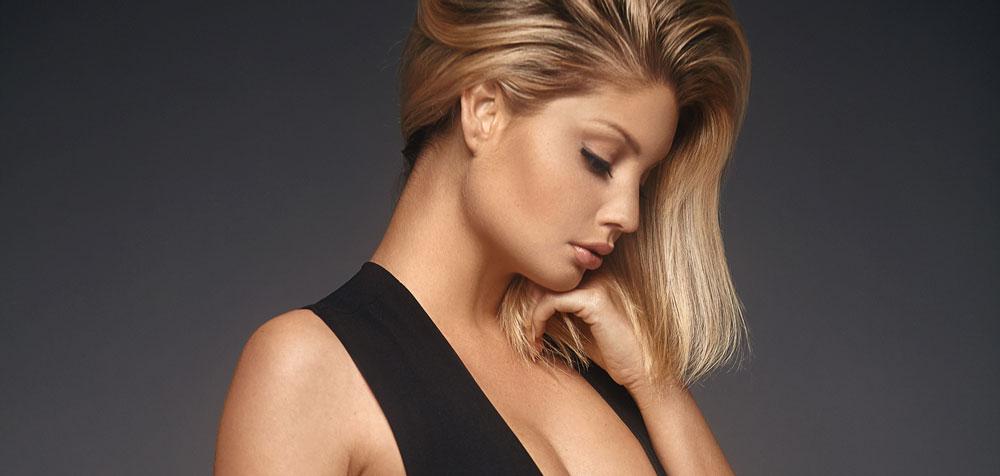
Editing skin seems like the holy grail of post production for photographers. There are more tutorials on skin editing than stars in the sky...almost. Everyone wants to talk about how to edit skin in Photoshop, but no one ever talks about what skin actually is, from a visual standpoint.
This is actually hugely important, because once you realize the different elements that comprise how we see skin, you can make smarter decisions about how to edit it.
Skin Tone
We all know what skin is from a biological standpoint, but what are the visual characteristics that make skin what it is? Because once skin is turned into pixels, it becomes something else entirely.
When you look at skin on a computer screen, you are seeing a combination of texture and color. Or, more specifically, of hue, saturation, and luminosity. These qualities can be manipulated to make skin appear smoother, more even, and more visually appealing.
Hue

Hue, or color, is the main part of what people mean when they say “skin tone.” Most human skin is some variation of orange, either brighter or darker, more red or more yellow. Hues in the skin can be a result of genetics, or can be affected by things like sunlight, ambient light temperature, and blood flow.
Saturation

Saturation is how rich or intense a hue is. The more saturated a color, the more pure or vivid it appears to be. As a color moves toward grey, it decreases in saturation.
Luminosity
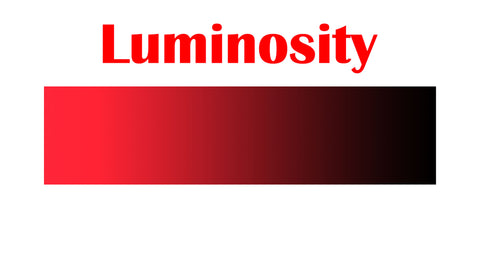
Luminosity refers to how light or dark the hue is. The more white is added to the hue, the higher the luminosity is. The more black is added, the darker the luminosity.
Inherent luminosity is also something to be aware of. Some hues are naturally brighter or darker than others. Yellow is generally a brighter hue, while blue is darker. This is important when considering skin because things like blood vessels, blemishes, tattoos, freckles and moles, and other things of that make make certain areas of the skin appear lighter or darker than others.
Hue, saturation, and luminosity combine to create what is commonly called “skin tone.”
Texture
Texture is rarely related to skin tone, but because it is such an important aspect of skin it’s important to address. Skin texture is basically the contrast in luminosity on a micro scale. Highlights and shadows created by the way light interacts with small variations in the skin structure. It is most apparent under hard and directional light, and should be addressed separately because the relationship to hue, saturation, and luminosity is minimal.

Each of these qualities of skin has to be considered separately in order to effectively edit skin in post production. Addressing texture issues will not fix saturation problems, and tackling hue problems won't solve inconsistencies in luminosity.
Skin also changes at different points on the body. Cheeks, elbows, and legs all have different skin texture. Noses, ears, cheeks and fingertips will generally shift in hue toward more red tones, while foreheads, knees, and underarms will generally be less saturated.
Before any skin issues can be addressed, you must be able to recognize what the problem is. This is where “eye-help” layers come into play.
Eye help layers, such as an empty layer filled with a solid color and set to Color blend mode, can help separate hue, saturation, and luminance, so you can see exactly what kind of problem you need to address.
There are literally dozens and dozens of ways to address any problem in photoshop, and too many skin editing techniques to explain in a single blog post, so this blog will feature one of the most common and popular techniques: frequency separation.
Frequency Separation

This technique separates the visual aspects of skin into two layers or “frequencies.” The hue, saturation, and luminosity will remain on the lower layer, while the texture is on the layer above it.
This separation is what makes so many photographers and retouchers fans of frequency separation. It means that when texture issues are healed or cloned away, it does not affect the color underneath.
The color can be blended, saturated, or changed on the lower layer (or a layer between) while leaving the texture unchanged. There are several techniques that can be used to do this, from using a mixer brush or painting color in, to adding a gradient mask filled with sampled skin tones.
Like any tool, frequency separation can be abused, but the technique allows photographers and retouchers to work quickly and cover large swaths of skin in a relatively short time. For boudoir and glamour photographers, that can be especially valuable.

Whatever technique you plan to use, remember that each aspect of what we can “skin tone” should be handled differently. You may need eye-help layers to begin training yourself to see the differences between a hue issue and a saturation problem, but with a bit of practice you’ll soon be able to handle these differences with ease.
If you’d like to learn more about skin tone and ways to edit it, we will be releasing a tutorial focused on Advanced Skin Retouching with world renowned glamour photographer Nino Batista, soon!


