Headshot photography is a game of people, not just about the headshot photography equipment. If you can’t get the person in front of you at ease, then you don’t have a shot.
However, there are a couple of things as a headshot photographer that you need to run a successful headshot studio and business:
- An online presence
- Gear to pull the best out of your subject
- And, a workflow that maximizes your time.
Your “Getting Clients” kit
I’ve learned that my headshot work is mostly used on LinkedIn. So, building a presence on LinkedIn is paramount for me to attract the clients that I serve.
LinkedIn for photographers is an untapped platform, especially for headshot photographers.
Whatever platform you’re using, make sure your online messaging is clear - it speaks to whom you serve and is presented where your clients hang out in order to increase your bookings.
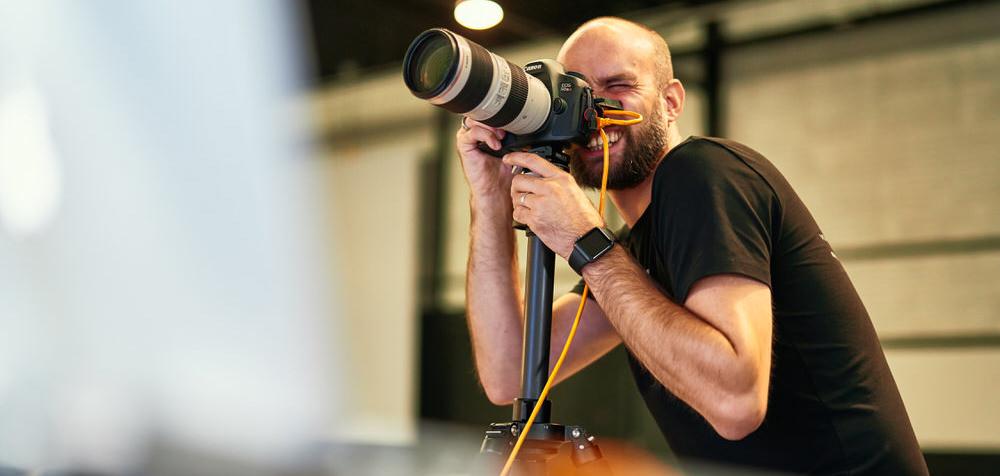
Once they're in your studio, it’s up to you to use your gear to its fullest potential.
Headshot Photography Equipment
We will separate this list of equipment into a couple of segments. It’s a long list, so let’s dive into it!
Ideal Cameras For Headshot Photography
I’m a Canon shooter. Don’t hold that against me, by the way!
I use either the Canon 5DSR, Canon 5D4, or the Canon EOS R for my work. While the first two are excellent. I prefer the EOS R because of the eye-focus, which means I don’t have to press my eye up against the viewfinder all day anymore.
My right eye thanks me for it every day that I’m shooting. ;-)
All is not lost if you don’t use Canon. If you’re a Nikon shooter, I hear good stories about the Nikon D850 and the Nikon Z6. For those who prefer Sony, the Sony A7R IV is the way to go.
I love having big resolution files, not necessarily to eat up all my Synology 1819+ storage, but because of the level of detail, I capture in people’s irises.

Ideal Headshot Photography Lenses
With lenses, you have a couple of solid options.
Personally, I like to shoot anywhere between 90 and 105 mm. I use the Canon EF 70-200 F2.8 pretty much all day, but another option that will produce great results is the Canon 100MM 2.8 Macro.
Nikon also offers a 70-200 mm F2.8 option along with an amazing 105 mm F2.8.
Don’t worry, Sony shooters! You also have a 70-200 mm lens option that creates delicious images, as well.

My Light Source
As a photographer, your light is everything.
You can have the most expensive lenses and cameras, but if your lighting isn’t up to snuff, your photography will suffer. I’m a continuous light photographer when it comes to headshots.
Why?
A headshot is a photo of a face and head. One of the most important assets my subjects have in their faces is their eyes. When shooting with continuous light, my subject’s pupils will dilate and you’ll see all those amazing colors in their iris’.
This dilation is physically impossible when the photographer uses strobes. As a result, their pupils will be huge, and their eyes will look more black than desired.
My preferred kit for continuous lighting is the Westcott Flexkit.

Backgrounds For Headshots
I prefer non-distracting backgrounds in order to drive all the attention of the photo to the subject. For that reason, my clients like them, too.
I use a Savage Seamless Super White background in the studio, and, a Westcott X-drop on location. With white backgrounds, I can take them anywhere from a pure white look by using by two Profoto A1’s or really dark gray by using the light falloff.
Stands And Other Mounting Equipment
All of this gear has to be on stands. There’s no point in having it lay on the ground, right?
In the studio, I’m totally in love with my Tether Tools Low Boy Roller stands. On location, I use the Manfrotto 1004BAC and the Manfrotto 1051BAC stands, which all click together for easy transport. All of them are well-constructed and hold my lights securely. This gives me the peace of mind I need when working with clients.
I’m always shooting into a computer using a Tether Tools tethering cable. In the studio, I shoot into my studio computer, and on location, I use my Microsoft Surface Pro 7 attached to my light source with the Tether Tools AeroTab, a Tether Tools Rock Solid Side Arm, and a Tether Tools Rock Solid Master Clamp.
It’s necessary to shoot into a computer because people want to see their images and you need the opportunity to coach and direct them both in your studio and on location.
As far as the camera goes, it’s always on a tripod, the Feisol CT3472-LV to be precise.
To be honest, I manhandle my tripods and this is the only one that I’ve had for years that hasn’t broken under the pressure I put on it. It’s super lightweight and also super sturdy.
On top of that, I have an Arca Swiss P0 ball head. I don’t like levers on ball heads to position my camera, but the Arca Swiss moves with a simple twist of your wrist. No muscles needed either to get it locked in tight.
The Perfect Headshot Photography Bag
I don’t know about you, but I like all my stuff in one bag. I don’t want to drag around multiple bags. It’s a pain. So I currently pack everything in the Think Tank Production Manager 50. It’s a huge bag.
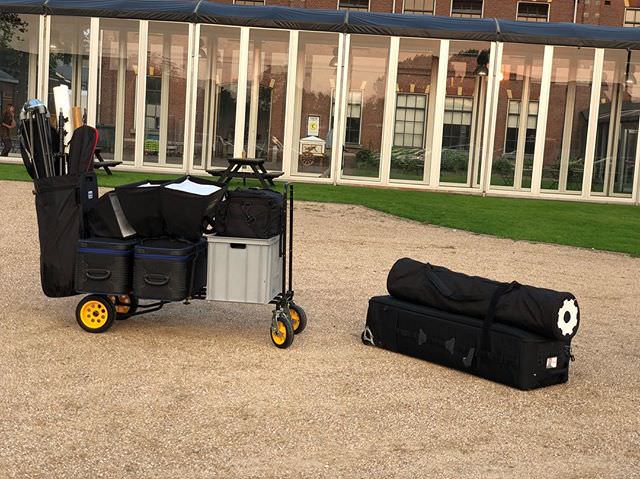
On the left, another photographer’s headshot kit. On the right, mine.
The Workflow
As I said earlier, I always shoot into a computer, either my studio Windows machine or my Surface Pro, both running Capture One Pro. I’m always using Sessions in C1, named “date - the name of the client.” So for example “20200601 - Maurice Jager”. This is where the workflow starts.
It doesn’t make any sense to me to look at my work on a non-calibrated monitor. The photos captured in my studio get viewed and retouched on a BenQ SW321C 4K hardware color-calibrated monitor using the X-Rite i1Display Pro.
I use the TNT Method by Tony Taafe to guide my clients through the selection process. When my clients leave, I know exactly which files they want and need retouching. After the shoot, all my files live on the Synology 1819+. I like having all my files in one place to find them easier later.
My studio client’s images get retouched by my retoucher, who has offsite access to my Synology to grab the files he needs to work on.
For my on-location corporate gigs, I still retouch myself and use The Perfect Headshot Retouching Workflow to create my style and be consistent throughout my work (I created that workflow, by the way!).
To Sum Things Up
As a headshot photographer, you have the opportunity to make people feel better about themselves by creating images that they never expected to have of themselves.
It’s your responsibility to produce amazing work with your subjects using the gear and workflow that makes you not think about any technical aspects during the session. You need to be solely focused on your subject, hands down, no questions asked.
I hope this list gives you some inspiration to re-evaluate your own gear and perhaps inspires you to add some to your kit to make your life easier is a professional headshot photographer.

Maurice Jager
90 Days Of Content
Over the next 90 days we are going to be working with some top artists to explore recommendations giving you solutions to problems we have all gone through. We are paying the writers a really fair wage for every original article, and we are writing about things that aren’t sponsored by any brand. There is no one but our opinion behind it. We would love it if you do use our affiliate links here so we can continue to keep writing awesome articles that you can trust.


