I used to spend countless hours admiring the work of photographers I admire, wondering how these images were created, thinking that I do not YET own the equipment needed to produce anything valuable.
My admiration for striking works hasn’t stopped, I will always get inspired by unique pieces of art. But I stopped hiding behind the “lack of equipment” and created my own body of work.
Only after I had eventually acquired 2 or 3 more lights did I realise that I often come back to a single light setup. Especially when it comes to shooting beauty and portraits, a relatively small subject area, I prefer the simplicity and cleanliness of a single light.
Owning just one light should not hold you back from polishing your portfolios with striking images… and by using what you have available more effectively you can save yourself a few bucks at the same time.
Particularly when looking to break into portrait and beauty photography, here is what (little) you need to get started:
Equipment Choices
Technically we should count the sun as a single light source, but that shall be a separate article topic… for the purpose of this, let’s look at artificial light sources.
Flash
A good starting point for a beauty and portrait studio setup would be a mains powered mono or battery-powered mono light.
If you have read previous articles I have written, you know that I like to emphasise on budget choices. For beginners, second-hand options are a great way to get started without breaking the bank. After all, we have to build our portfolios and experience first, before being able to earn a living.
For beauty and portrait photography, high power is rarely an issue. Heads with lower wattage come cheaper than high performing ones and they are generally perfectly suited.
Watch out how low your flash can be turned down if you are looking to balance sunlight.
Features such as recycle time, flash duration, etc depend on what you are planning to shoot and are down to preference and budgets. If it is speed and power you’re after, consider investing in a pro pack and compatible heads.
Another option when it comes to flash is using on-camera flash heads.
These are often the most cost-effective option and might already be present in wedding and event photographers’ arsenals.
The main advantages of these are portability and storage space. Especially if you only have a small space to work in, at the size of approximately “a handful” space restrictions become a lot more manageable. Similarly, their compact size and especially lightweight makes on flashguns an ideal lighting choice for if you travel to shoots.

Continuous Lighting
Studio lighting doesn’t necessarily mean flash. A continuous light might make a good option for you.
Their power is a lot lower than that of a flash light, forcing you into slower shutter speeds but continuous lighting options come with their own advantages.
Particularly handy when starting out, continuous light gives you the opportunity to see exactly what impact and affect your light source has on your subjects and thus makes adjustments easier. What you see is what you get.
Furthermore, these can be used if you are looking to dabble in moving images!
Depending on preference LED, Fluorescent, Tungsten and Halogen lights are your options for continuous lighting and are sometimes a cost-effective alternative to flash.
Accessories
Lighting accessories are, in my opinion, as important as a decent light source. Even more so when you are looking to use a single light source alone.
Utilising modifiers and accessories effectively will help you get the most out of your light and will help you shape your portfolio in versatile ways!
Firstly, rather than introducing more light sources into your images, start exhausting the different light modifiers available on the market.
Experimenting with a softlight reflector (beauty dish), softbox, umbrella, and various hard light reflectors will add a wide range of looks to your book.

Now control your single light sources further by adding grids into the mix.

Secondly, and most importantly, get familiar with light reflectors, diffusers and flags.
Bouncing light from white flags, silver reflectors, and walls present a great alternative to a fill light as they do a great job in doing just that.
Flags and diffusers furthermore help you control and shape the light to perfection.
Having exhausted the vast options of modifiers, flags, and reflectors, let’s look into creative accessories.
Gels are a popular choice to add some unique variety to your images.
Gobos, objects placed between your single light source and your model, are another.
Experiment with household items such as patterned lace, plants, and sieves.

Different Setups
It doesn’t always have to be the traditional Rembrandt setup, but who am I to disrespect the guy? The original single light portrait, so to speak… Mimicking the window light found in many Rembrandt paintings we place our artificial light in a similar position to the model.
Set up your light in front of and to either side of the model, pointing it down at a rough 45-degree angle. The distinct triangle on the opposite cheek tells you you’ve arrived at Rembrandt’s signature look:

I suggest as a basic starting point to equip your single light source with a softbox to start with as the diffused light from a softbox is the most flattering on most subjects. I don’t need to mention the various light positions you can take from there…
What I should mention however is how to get the most out of this one position. As mentioned in the accessories section, let’s look at taking Rembrandt and adding some fill to it:

Notice the difference a white flag and silver reflector acting as fill lights are making to this image! This was created using a beauty dish to my right, a white flag to the model’s right, and a silver reflector underneath.
Equally, once you are comfortable and familiar with Rembrandt and his softbox, changing modifiers changes the whole game.
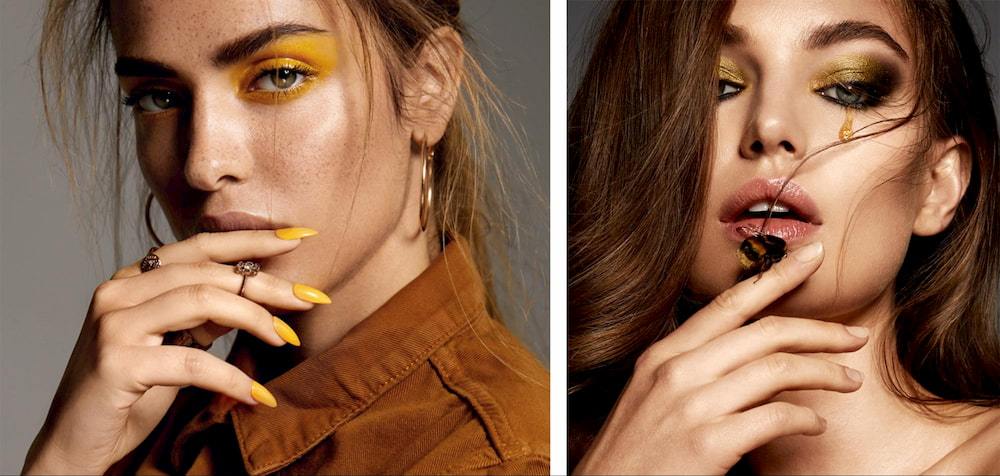
Popular in beauty photography due to its crisp shadows is the softlight reflector or beauty dish, a favourite of mine when it comes to emphasising highlights on cheeks and lip arches:

Now we are slowly getting more comfortable with slightly harder lights, step it up a notch. A hard box or spot small reflector will give you spotlight like effects that can add some beautiful drama to your portfolio:

Dramatic images like this, created with one light only, can really spice up your book! This was created using a single light equipped with a spotsmall reflector.
Conclusion
Having limited resources to work with should never stop you from creating unique, versatile bodies of work. Utilising the accessories you have available can add great variety into your portfolio, using just one light.
Ultimately, knowing how to perfect your single light, as well as managing the shadows it creates is the key to mastering available light, rather than adding more.
I hope my examples and setups have inspired you to get creative and experiment with portraits and beauty photography using just one light! (Even if you have many!)
I’m excited to see what you create, feel free to share your single light images with me on @tina_eisen.

90 DAYS OF CONTENT
Over the next 90 days we are going to be working with some top artists to explore recommendations giving you solutions to problems we have all gone through. We are paying the writers a really fair wage for every original article, and we are writing about things that aren’t sponsored by any brand. There is no one but our opinion behind it. We would love it if you do use our affiliate links here so we can continue to keep writing awesome articles that you can trust.


