What would it mean to you to have a photography studio setup in your own home, an area dedicated to shooting and creating art, just to yourself?
Is this your idea of the ultimate haven of independence you’ll hopefully own one day? Or maybe a financial risk you’ve been avoiding to take?
Let me show you the advantages of setting up your own in home photography studios in the comfort of your own four walls and what space and equipment it takes to get the ball rolling.
Why Do You Want to Set up a Home Photography Studio? – the Pros and Cons.
A home photography studio is an area dedicated to and suitable for the genre of photography you practice. Depending on said genre, these can vary in size and look.
Don’t let the term “photography studio” have you throw in the towel already. This “area” can be as make-shift or professional, permanent, or temporary as you like.
The main goal here is to be able to create art and refine your skill, rather than have a state of the art space, ready to be hired out!
What Are the Advantages?
When I took the leap of faith and decided to start shooting in my own home, the main driving factor for me was the financial benefits. How can there be a benefit if I have to spend money on equipment, you might wonder?
Look at it this way: Investing in your own photography equipment rather than renting it (and the space it lives in) might sting for a moment. That first studio light or backdrop doesn’t come cheap, but from the point of purchasing it onwards, you save hundreds of dollars every time you don’t hire someone else’s studio for a shoot.
Use those dollars to slowly build your own arsenal. Yes, you’re spending money, only THIS time to invest in your own assets.
Not to mention the immense amount of freedom this decision brought me. Available dates for booking a studio were no longer a restriction to my creativity and neither were opening hours.
I was able to set up and prepare for shoots whenever it suited me. Putting up a backdrop at midnight before a shoot? Hold my coffee.
Makeup Artists arriving an hour early to set up their equipment? Who’s going to charge you for that extra time?
Tidying up after a long day? In my own time, rather than chargeable hours. You get the idea.
What Are the Downsides to Consider?
Of course there are cons to consider before taking the leap to set up a studio in your own home. You might (very likely) wonder if the limited space you have in your home is enough to host a shoot.
Do you need all the equipment a professional studio setup offers you and can you afford it?
You might wonder if there are genres of photography more suited than others?
These are just some of the factors that might be holding you back.
Another issue to be aware of is separating your home from work. Don’t get me wrong, I love what I do but there are days when you simply need to switch off and not be surrounded by traces of your job.
If you’re like me, a simple solution is to consider a less-frequented area for your setup or a nice pair of curtains you can draw when you need a break.
Let me show you how to start on a budget and how to make the most of what you have available.
How Much Size & Space Do You Need?
When considering how much space you need to take pictures in your own home, you might be surprised how as little as a strip of a wall can offer a suitable backdrop for portrait and beauty photography. Even a few square feet can give you enough room for fashion and fine art images. Babies and pets require equally minimal space, and so does product and food photography.
When it comes to couples, groups, and families you might have to dedicate a little more space. Consider how many people you’d like to comfortably host in your home at one time.
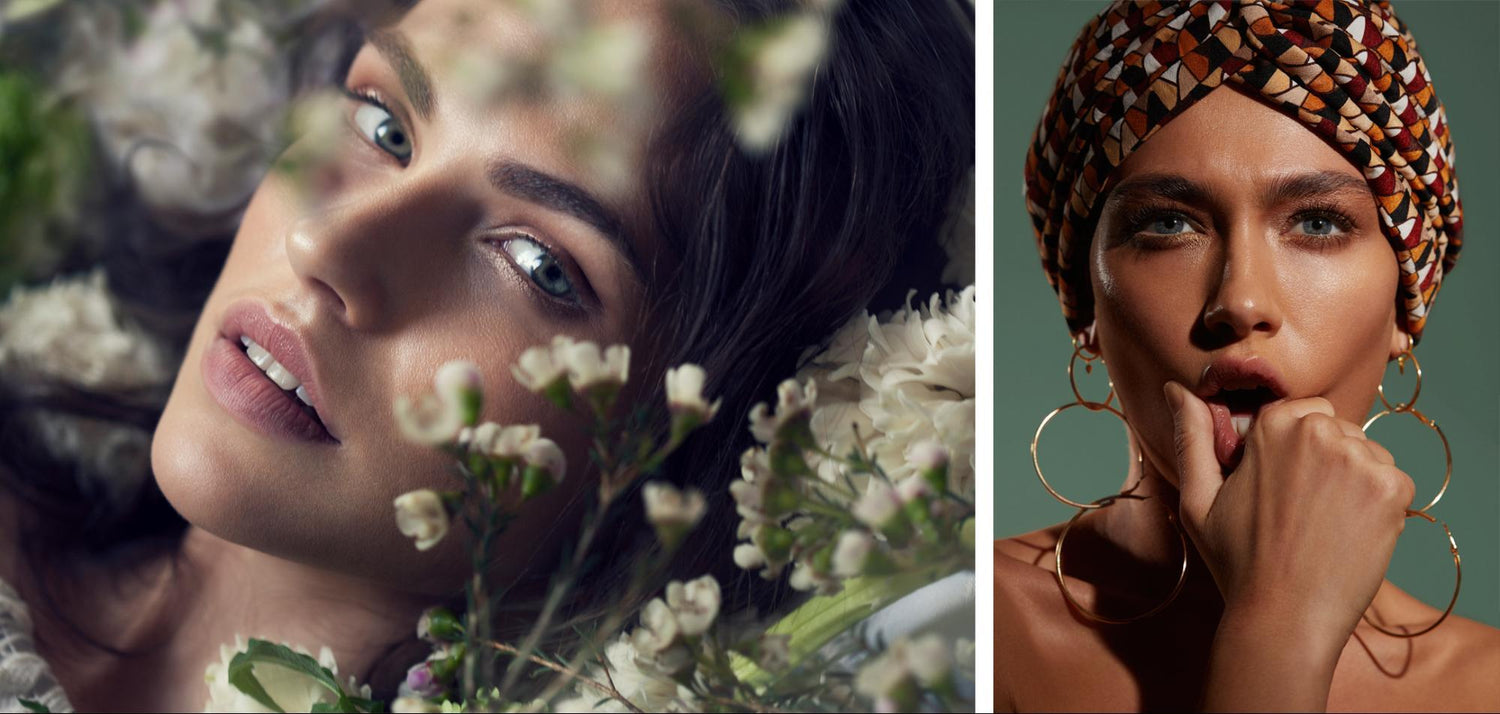
A striking example of the kind of art that can be created in a small in-home photography studio is that of Laura Sheridan. Laura describes herself and her work this way:
"…somehow, everything I touch and get involved in ignites into chaos and escalates beyond expectations so I'm living a life between medieval knights, renaissance beauties and cyberpunk outlaws."


With the decision on how much of your home you’re willing to surrender for your shoots comes the choice between having a constant setup or one that gets packed away after each shoot.
If space is tight you might want to consider breaking your setup down in order to not encroach on your living space. If your setup is out of the way of frequently used passages or in its own separate room, leaving it assembled permanently makes sense.
Setting up your own studio doesn’t have to happen overnight, work with what you have available.
For many years I hosted shoots in my living room, breaking them down again each time. The size of my backdrops and the complexity of my studio lighting setups were limited but most importantly I kept creating. I was learning more with every shoot, adding to my portfolio along the way until a more spacious apartment was an option.
Images like this were shot against a small piece of wall, which is all that was needed:

What Equipment Do You Need?
When it comes to making decisions about what equipment you might want to buy, always take into consideration the space you have available vertically and horizontally. Consider floor space when it comes to lenses and ceiling heights when picking the size of your modifiers.
Here’s what to look out for:
Controlling Ambient Light
Hire studios manage to keep ambient light to a minimum or make it easy to control.
Therefore, before we start adding studio lighting equipment into our setup we need to first control the already existing light and color cast creeping in from our homes’ windows, funky lampshades, that neon green wallpaper, and those mirror reflections.
Using Flags
If you’ve read my article on Flags And Reflectors Kits That Every Portrait Photographer Needs, you know how useful a set of black and white flags can be to take charge of light streaming in, or reflecting back into our setups.
As an example, when making use of the corner of a room you might like the white wall behind your subject, but maybe not so much next to them when they bounce back your flash and fill in every shadow you’re aiming to create. Use flags to shield your setup from reflective surfaces or simply from light streaming in through windows and glows caused by other light sources.
Before starting it is always a good idea to take a picture without introducing your chosen light sources into the scene just yet, the resulting image gives you an idea of any light spillages that might be happening.
Reflectors
On the subject of flags - I can’t move on without mentioning the importance of reflectors when it comes to small spaces and tight budgets!
Instead of tackling the issue of light streaming into your home studios, you might equally be struggling from dimly lit areas or furniture casting shadows.
White and metallic reflectors are inexpensive and a great way to bounce light back onto your subject and to recover details in your shadows. This is especially useful when you are working with limited resources such as one light source.
Using a reflector as fill instead of introducing an additional light is often a great alternative to save space and money.
Here is an example of portrait photographer Brandi Nicole’s space. Due to the wide-open nature of her apartment she is using a combination of flags and reflectors to control the ambient light with stunning results:

“One tip I have for working in a home studio, is to make the space work for you. If you have a small white room - bounce light into the wall or into a low ceiling. We frequently make our studio area much smaller with VFlats - so never be discouraged if you only have a small area to work in!” – Brandi Nicole
Other Equipment (Lights, Modifiers & Camera Gear)
To kick start your in-home photography studio setup, pick a suitable area; control and work with the light you’re naturally given; and add lighting, lenses, backdrops, and finish with some personal touches.
Lighting
If you are blessed with open space and plenty of daylight streaming into your home, this is a good starting point to take advantage of what window light you naturally have available.
These images were created during a test shoot in my own home when I didn’t have studio lighting equipment available to me, using only the window light falling into my living room:

When it comes to introducing flash (or constant light) into your studio, a simple one light setup can go a long way.
Even after growing my collection of light heads over the years I oftentimes find myself sticking to the simple one light setup. Before introducing additional light heads I will always exhaust the potential of reflectors first.
When starting out and upgrading on a budget, speed lights can come in particularly handy. As a key light, they might not be the most useful as there are limitations in power and choice of modifiers available but an excellent option as your first additional fill, rim,, or hair light!
In this example I have used a Profoto A1 Portable Studio Light to add a rim light from behind the model while I was working in a very small space that would not have accommodated for a larger light head:

Your choice of modifiers greatly depends on the space you have available, however, there is a vast selection of differently sized light shapers on the market.
When working under space-restricted conditions, an octabox as small as 2’ is a great choice. While umbrellas offer a lot of hard to control spill, softlight reflectors (beauty dishes), zoom reflectors, snoots, and smaller sized strip boxes are other great options to explore.
When struggling with a lack of distance between subject and backdrop and unwanted spill of light, soft grids and honeycombs can help you shape your light beautifully and control spill, something that can be difficult in small spaces.
This example shows you how, despite the close proximity of the model to my backdrop, the addition of a honeycomb grid supported my vision of a more moody, dark background and controlled spilling of light onto the fabric.

Lenses
When choosing the necessary lenses for your home studio venture, bear in mind if your chosen focal length is suitable for the space you’re working in.
Short focal lengths such as 85mm, 100mm, and the trusted 24-70mm have proven to be great for macro to full-length photography in limited space.
Backgrounds
Just like with most things, your choice and size of backdrop depend on the size of the space you have available. While there are plenty of “professional” options on the market, there are a few ways you can improvise when it comes to the backgrounds of your images.
Major retailers have a large selection of paper rolls and fabric backdrops for sale in different colors and most importantly, sizes. A small roll of paper is a mere 1.35m/ 4.43’’ making it a great (pardon, small!) choice for portraits, babies, and moderately sized product photography.
Fabric, on the other hand, has the advantage that it can be folded and stored away much smaller (and transported with ease if you’re looking to take your studio setup on the road).
Hand-painted custom backdrops can be tailored to your size requirements and due to their uniqueness add that little extra to your work.
Before investing in background solutions though, consider the walls you have available, often offering a nice, neutral canvas.
On top of those, I’m not shy to improvise, either. Due to the nature of my photography, which is predominantly beauty work, my background doesn’t need to be large.
Instead of buying professional rolls in every color, I have found myself using large sheets of craft paper, curtains, and even gift wrap before… you should try using a larger sized octabox as a backdrop some time!
Additional Gear
To complete your home setup of lighting, modifiers, camera gear, and backdrops you will, of course, need a few extra pieces of gear, such as light and background stands. While lights (unless handheld) most likely need a light stand, there’s a space-saving tip for smaller backdrops: sticky tape and thumbtack!
Take a look at a fellow photographer Ethan Alex giving us an insight into his home photography studio haven, complete with thumbtacks:

Another tip from Ethan for home studios:
“I love the use of autopoles/ varipoles for hanging backdrops, lights, etc. When shooting in small spaces it's always helpful to conserve as much floor space as possible. For me, discovering autopoles was a game changer.”
Additional studio gear that doesn’t cost a lot but can make your life a lot easier includes extension leads and cable ties (manage those tripping hazards!). Add a step ladder and some strong clamps. When shooting garments I also like to have safety pins at hand.
Consider adding amenities that not only make your own working environment enjoyable as well as that of your team. Chairs and tables for hair and make up artists and models are a given. Upgrade the experience with a mirror, a fan or aircon, some music to create a relaxed atmosphere and some refreshments.
Conclusion
Setting up your home photography studio can give you the freedom of scheduling shoots on your own agenda and testing whenever it suits you best.
Once you have established a basic setup you’re giving yourself the opportunity to perfect your craft and push your portfolio in the desired direction every time you find some free time. You’re able to regularly get creative without the financial pressure of hiring a photo studio and the constraints of availability and typical working hours.
Remember that your setup doesn’t need to be immaculate and professionally perfect from the get-go. You’re not looking to hire your place out, you’re looking for an area you (and your team) can create and feel comfortable in. An area to rehearse the reality of larger-scale client shoots that will eventually require more space.
Control your ambient light, take advantage of window light, use reflectors and flags in your advantage, and consider modifier sizes and focal length wisely to create some beautiful art in small spaces.
And most importantly - invest time. If the space permits, dedicate an area or a room exclusively for shoots. This might take months and years but eventually, you can end up with something as personal and beautiful as fashion photographer Cody Kinsfather has built for himself:

Cody adds:
“I try not to let a space define my style, I get creative and experiment! I never know what might help me create my next favorite image!”
I hope the stunning examples from photographers all over the globe have inspired you to set up your own space! If you would like to see more of Laura, Brandi, Ethan, and Cody’s photography work, take a look here:
Laura: www.laurasheridan.com
Brandi: www.brandinicolephotography.com
Ethan: www.EthanAlexPhotography.com
Cody: www.codykinsfather.com

90 Days Of Content
Over the next 90 days we are going to be working with some top artists to explore recommendations giving you solutions to problems we have all gone through. We are paying the writers a really fair wage for every original article, and we are writing about things that aren’t sponsored by any brand. There is no one but our opinion behind it. We would love it if you do use our affiliate links here so we can continue to keep writing awesome articles that you can trust.


