Increase Creativity and Efficiency with a Solid Workflow
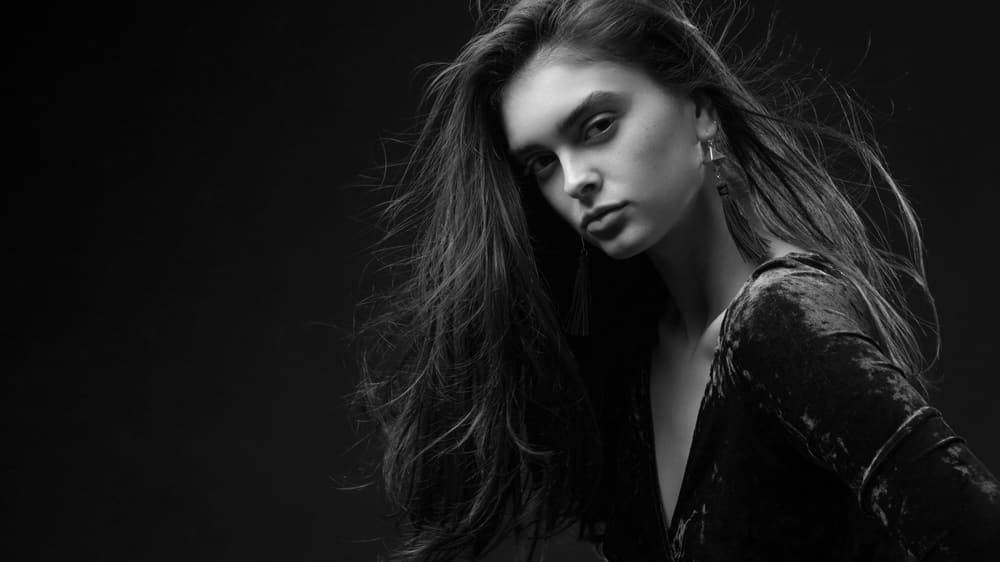
Photo ofMadison byNicole York, Makeup artistKimberly Davis
Improving your retouching workflow can do more than just keep your layers in order; it can improve your efficiency and make you more creative.
Workflow can be a sensitive subject for many photographers and retouchers because we get into habits that aren’t easy to break, and we don’t like to admit when our habits are inefficient. So, we make new layers for everything, make mistakes, make destructive mistakes, spend precious minutes searching through layers for the dot that somehow appeared on our subject’s cheek.
What is Workflow?
Workflow is the step-by-step process of post-production that sees an image go from the camera to a finished product. Most photographersand retouchers have a workflow for importing, culling and archiving images after a photo shoot, and another for retouching, grading, and saving images.
In this article, we’ll talk about the process of retouching, grading, and saving images.
It’s not that we use technology, we live technology.
- Godfrey Reggio
Why is Workflow Important?
Having an effective, efficient workflow isn’t about being anal or picky. It’s about cultivating repeatable habits that allow us to get the results we want in a timely manner. And while it seems counterintuitive, having a framework for setting up layers and approaching post-production actually allows retouchers to be more creative because they don’t have to think about how to build their system.
Speed is an important factor in this equation for two main reasons: the first is that retouchers and photographers both need to meet deadlines, and the second is that the longer an image spends in post-production, the less time it spends making money.
Deadlines
Whether you’re turning over a product to an agency or delivering wedding photos, deadlines matter. Meeting a deadline lets clients know you respect their time and yours, and makes it more likely you’ll be hired again in the future. A messy workflow can hamper your ability to ship files and make changes if the client requests them.
Time is Money
The old adage is as true for retouching as it is for traditional business. Every hour spent retouching is an hour not spent marketing, serving customers, taking photographs, and doing the other important work that brings income through your doors. An inefficient workflow is a costly workflow.

How to Improve Your Workflow
Take Notes
As noted in the interview, high-end commercial retoucher and instructor Sef McCullough recommends first writing down your current retouching process and take notes when you get into trouble. After a while, you’ll start to notice where you struggle. Whether color grading makes you get lost in a labyrinth of layers, or texture clean-up results in losing your place, knowing what issues you struggle with in workflow is the first step to moving forward.
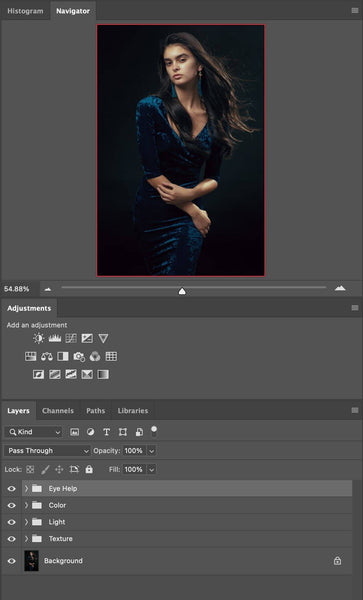

Build a Simple Framework
The easiest way to start improving your workflow is having a simple layer set-up that covers the majority of retouching issues without being complex. A good initial framework to test is:
- Shape: liquify, perspective, etc.
- Texture: healing, cloning, etc.
- Light: global tonal adjustments, D&B
- Color: white balance adjustments, color grading
- Sharpening
Name your layers
This helps you keep track of what layer performs what function. It does take a moment to name the layer, but it’s invaluable when you run up against a problem that needs fixing or the client asks for additional changes.
Use folders
Grouping layers that perform related functions, such as layers that address lighting problems or layers that address textural issues, grouping them in folders can help keep things organized and easily trackable.
Test the Framework
See how it works for you with your earlier notes in mind, and make adjustments when something doesn’t work for you.
Conclusion
Keep in mind that you may have different workflows for different types of images. Beauty retouching may require a different process than a composite or a product. You may process certain raw files in Lightroom, but prefer to run others through Camera Raw.
Some photographers will set up Frequency Separation right away, while others will only create those layers if they can’t solve the problem any other way. Some photographers do their dodging and burning on grey layers, other’s do it using curves adjustments.
Whether you tackle skin tones right away or wait till the last minute, the only wrong answer is one that doesn’t get you the results you want or takes so much time it causes you to lose money.
No matter how you approach retouching, if you keep track of your process, set up a solid framework, test that framework, and then make adjustments to figure out which parts work for you and which parts don’t, you’ll be on the path toward a functional, efficient workflow.


