Vignetting in Photography: Techniques for Mastering Focus and Depth
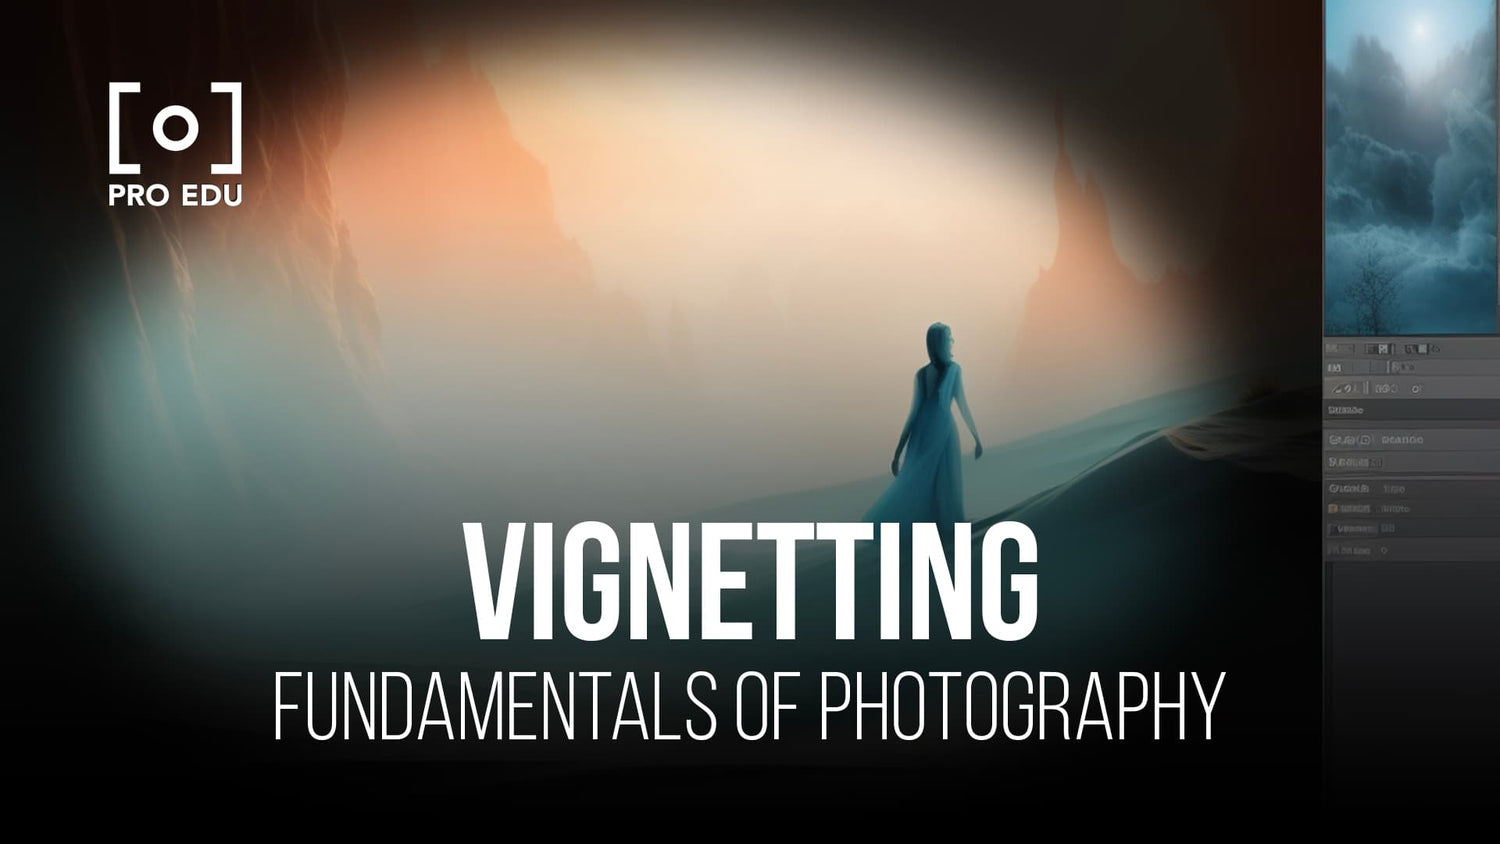
Vignetting in photography is a feature that can elevate the visual appeal of an image by adding depth and guiding the viewer’s focus to a specific area. Commonly seen as a darkening around the edges of a photograph, vignetting occurs naturally due to lens properties or can be intentionally introduced during or after the capture process.
When used skillfully, it subtly draws the eye toward the subject at the center, creating a tunnel-like concentration that can add intimacy or drama to a photograph.
Understanding and manipulating vignetting allows us to control the viewer’s attention within the frame. Whether we're doing portrait, landscape, or macro photography, the application of this technique can be crucial for aesthetic and compositional effectiveness.
It's not just about the dark corners; it's about the story we wish to tell and how we frame that narrative within the bounds of the camera's eye. The mastery of vignetting opens up a new dimension in our photographic expression, giving us the ability to underscore our subjects with an almost theatrical spotlight.
Key Takeaways
- Vignetting directs the viewer's focus and adds depth to photographs.
- It can be natural or intentionally applied for aesthetic purposes.
- Mastery of vignetting enhances photographic expression and storytelling.
Understanding Vignetting in Photography
Vignetting is an effect often seen in photography where the corners of an image are darker than the center. When we talk about vignetting, we refer to the reduction of an image’s brightness or saturation at its periphery compared to the image center. There are several types of vignetting, each with its unique characteristics:
- Optical vignetting: Caused by the physical properties of a lens. Light falloff occurs due to the angle at which light enters the lens, affecting the edges more than the center.
- Mechanical vignetting: Occurs when an obstruction, like a lens hood or filter, blocks light at the periphery of the lens.
- Natural vignetting: A result of the natural decrease in illumination from the center to the edge of the image.
- Pixel vignetting: Less common, it's related to the angle of light hitting the sensor, which affects the light-gathering efficiency of individual pixels.
It should be noted that vignetting can be introduced deliberately in post-processing to direct the viewer's attention towards the center of the image or to create a certain mood. This effect can be subtle or pronounced, depending on our artistic intention. Here’s how vignetting alters the perception of a photo:
- Vignette can enhance focus by subtly leading the eye to the subject at the center.
- The darkened edges add a layer of depth, giving the photo a three-dimensional feel.
We understand vignetting as an instrument in our photographic toolkit that, when used wisely, can greatly impact the visual storytelling of our images.
Technical Aspects of Vignetting
When we discuss vignetting in photography, we're focusing on the reduction in brightness at the edges of an image compared to the center. It's a technical phenomenon that can be both a stylistic choice and a challenge to overcome.
Types and Causes
Vignetting occurs due to several factors, and understanding the types and causes helps us control it. One common type is optical vignetting, which happens when light rays at the edge of the lens have a different angle than those in the center, leading to a reduction in brightness. This is often more pronounced at wider apertures and with wide-angle lenses.
Another type is mechanical vignetting, where a physical obstruction, like a misaligned lens hood or a filter, blocks some of the light. There's also "pixel vignetting", which is digital and related to sensor performance, but less common.
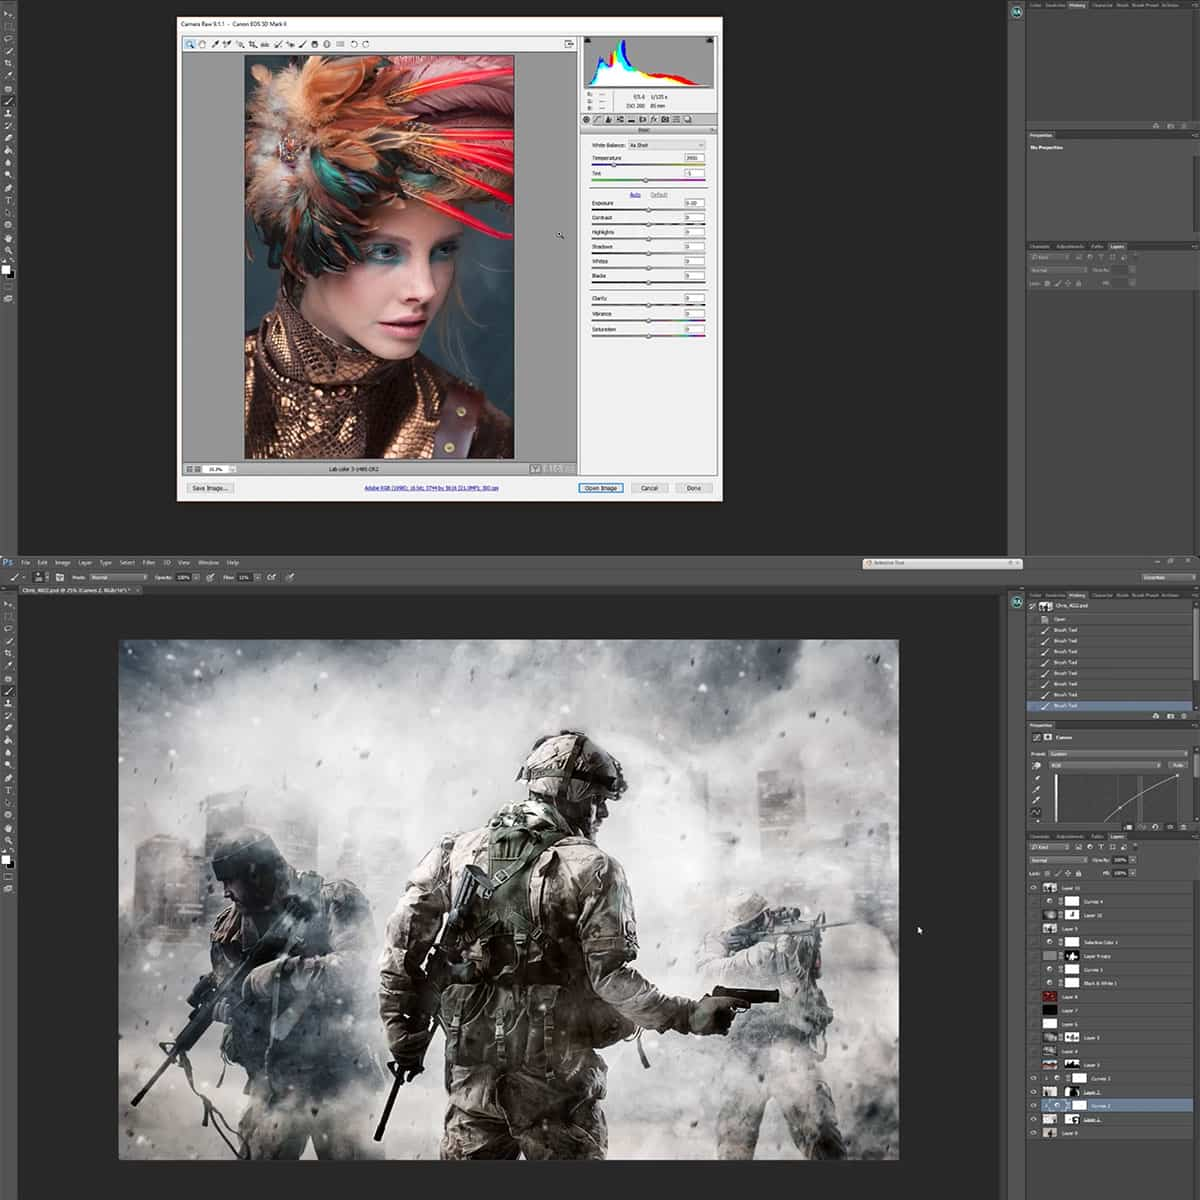
Correcting Vignetting in Post-Production
In post-production, vignetting can be corrected or minimized. Tools like Adobe Lightroom or Photoshop include lens correction features, which can fix vignetting with a simple click. When editing, we have the choice to work on either raw files or jpeg images. Using raw files offers more data for better correction.
Post-processing software profiles many lenses and can automatically compensate for the vignetting. However, manual sliders allow us to fine-tune the effect to our satisfaction, controlling the amount and midpoint of light falloff.
Using Vignetting Creatively
Vignetting isn’t all about correction—we can also use it to add depth, focus, and shape to our composition. This artistic effect can enhance the atmosphere, emotion, and narrative of our photographs. By deliberately darkening the corners, we guide the viewer's eye to the center, emphasizing the subject.
When we want to tell a story, introduce drama, or set a tone, adding a vignette in editing software allows us to subtly transform the storytelling dynamics of our images without overpowering the content. It’s about finding balance and using vignetting to complement the composition and focus.
Equipment and Techniques to Control Vignetting
In our practice of photography, controlling vignetting is key to achieving the desired focus and depth in our images. We're focusing on the right equipment selection and the technical manipulations necessary to manage this effect.
Camera and Lens Selection
Choosing the correct camera and lens can greatly influence the vignetting effect in our photos. Widely, zoom lenses and telephoto lenses are more prone to vignetting, especially at their widest aperture settings. Conversely, a lens with a smaller maximum aperture can reduce the likelihood of vignetting. For shooting scenarios that benefit from a wider angle, we take into account lenses that naturally minimize vignetting. Furthermore, vintage lenses often exhibit a stronger vignetting effect, adding a unique character to the image which can be purposive, depending on our artistic vision.
In-Camera Settings and Adjustments
Our camera's in-built settings are powerful tools to adjust vignetting. We experiment with different aperture settings; as stopping down the lens (using a smaller aperture) often reduces the vignette effect. Moreover, we can harness the exposure levels and lighting conditions to effectively counter any unwanted darkening. Many modern cameras also come with vignetting correction features that can be adjusted during shooting, allowing us to preemptively control the extent of vignetting in our captures.
Filters and Accessories
The use of filters and accessories is an integral part of our approach to managing vignetting. Lens filters, especially if they are low-quality or stacked improperly, can introduce vignetting. Hence, we opt for high-quality, flat filters to avoid adding unnecessary vignetting. A lens hood can also contribute to vignetting, particularly if it's not suited for the lens' angle of view, therefore, we ensure that our lens hoods match our lenses perfectly. When aiming for less vignetting, we select thinner or appropriately sized hoods to mitigate this effect.
The Art of Vignetting in Composition
Vignetting is a creative tool in photography that allows us to enhance visual interest and guide the viewer's gaze. By subtly darkening the periphery of an image, we can create depth and focus, framing our subjects and setting a specific mood or atmosphere.
Enhancing Visual Impact
We use vignettes to add contrast between the center and edges of an image, intensifying the sense of depth. A subtle vignette can draw the eyes toward the main subject with a gentle transition, avoiding the abruptness that might come from harsh lines or stark contrasts.
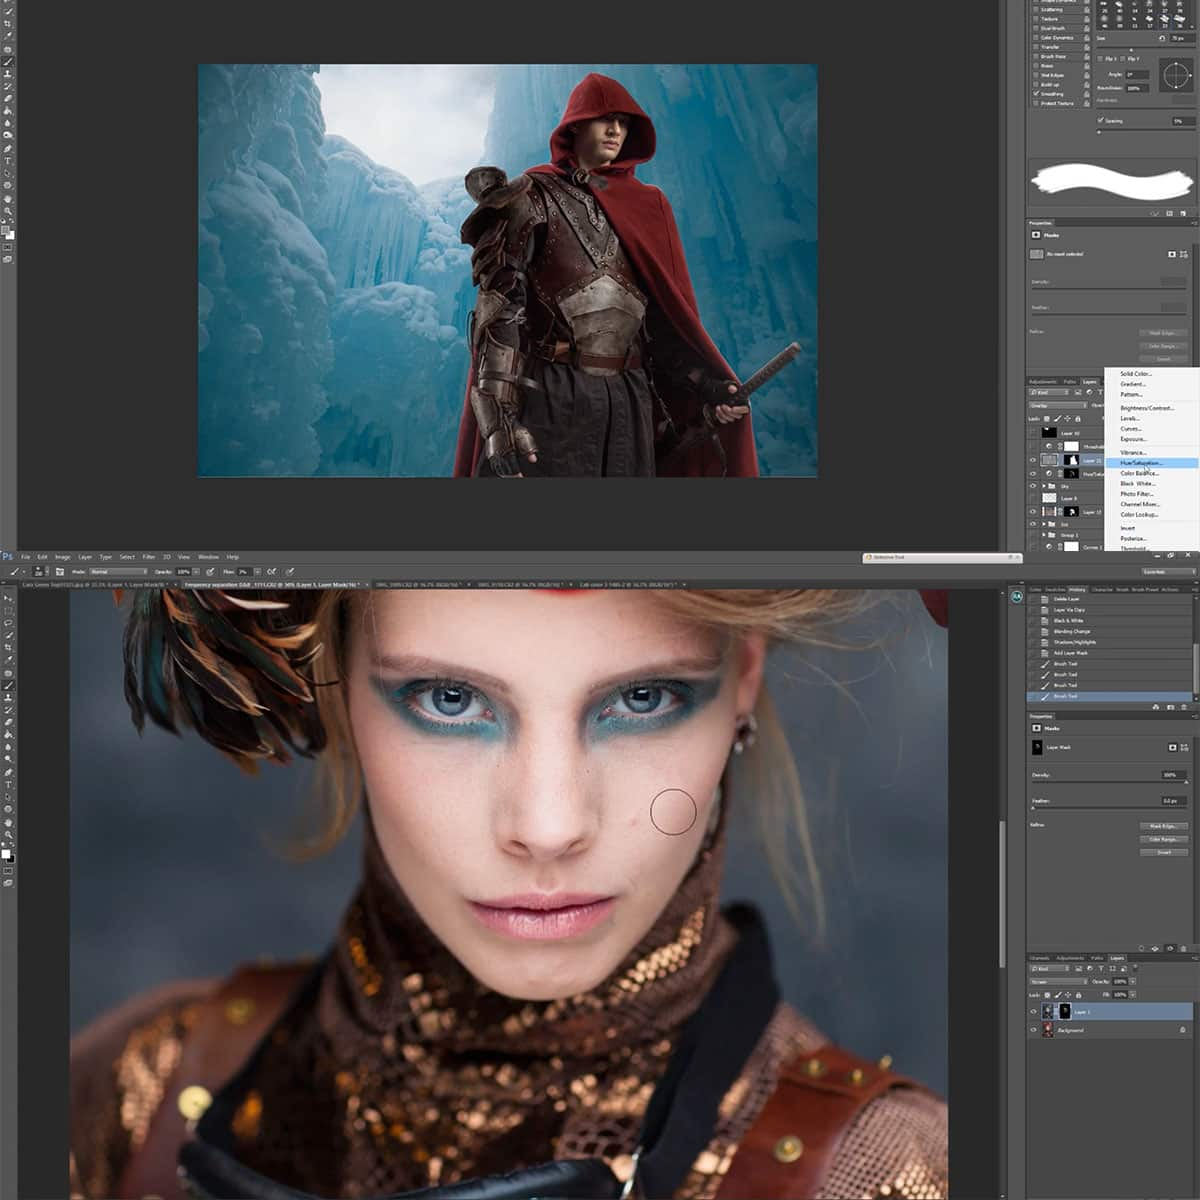
Controlling Viewer's Attention
Our goal is often to lead the viewer’s attention to a specific part of the image. By darkening the edges through vignetting, we highlight the center where the focus lies. This method is particularly powerful in portraits, where we wish to ensure that the viewer's attention is drawn to the subject’s face.
Setting the Scene and Mood
The mood in a photograph is paramount, often as important as the subject itself. A moody landscape, for instance, can be accentuated with a darker vignette, thus creating an atmosphere filled with drama and emotion. We carefully adjust the intensity and transition of the vignette to contribute to the story we're telling.
Advanced Post-Processing Techniques
When we approach advanced post-processing, our objective is to enhance the photograph's visual appeal without compromising its quality. Mastering the art of vignette creation and addressing common post-processing issues ensures an optimized final output.
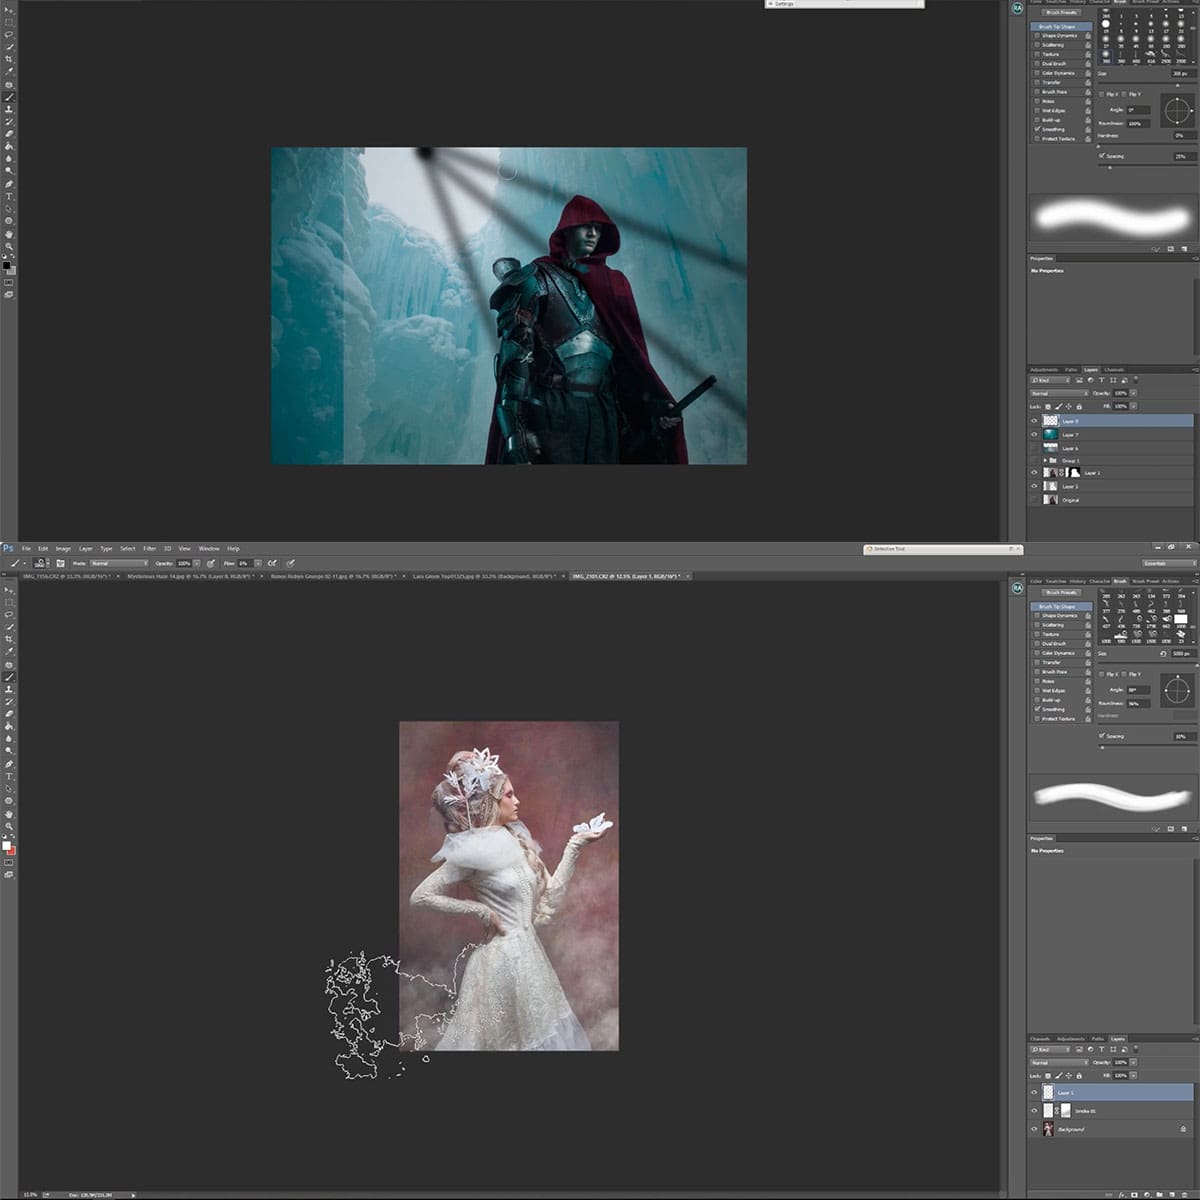
Creating and Modifying Vignettes
To create an artificial vignette, we often use Photoshop or Lightroom. We start by selecting the elliptical marquee tool to define the vignette area. Once the area is selected, we create a new layer and fill it with black, following which we adjust the opacity to control the effect's intensity. For a more subtle effect, we can apply a gradient to soften the edges. With the feather option, we ensure the transition is smooth, blending the vignette seamlessly into the image. In Lightroom, this process is more straightforward as we can directly apply a post-crop vignette and adjust the amount, midpoint, roundness, and feather to craft the desired effect.
Dealing with Common Issues
Unwanted vignetting is a frequent issue that can occur due to lens limitations or improper lens hood use, causing an undesirable light falloff in the corners of an image. To correct unwanted vignetting, we use the Lens Correction function in Lightroom or the adaptive wide angle filter in Photoshop. These tools help us to fix the density and transparency of the darkened corners. In some cases, shadows and highlights may also need adjustments to unify the image's exposure.
Optimizing Final Image Output
The final step in our post-processing workflow is to ensure that the image's output settings are optimized for the intended medium—be it print, web, or social media platforms like Instagram. This includes calibration of contrast, saturation, and sharpness to enhance the overall image quality. In Photoshop, we pay close attention to pixel consistency to avoid any unwelcome noise or blur, while in Lightroom, it's crucial to review the histogram for any clipped shadows or highlights, ensuring a balanced final piece.
Frequently Asked Questions
In our exploration of vignetting, we address some of the most common inquiries photographers have about this effect, how it's produced, and the ways it can be utilized or corrected.
How can I correct vignetting in Photoshop?
We can easily correct vignetting in Photoshop using the Lens Correction filter, which allows us to adjust the amount of vignette and midpoint to achieve a more evenly lit image.
What causes vignetting in camera lenses?
Vignetting in camera lenses is often caused by the physical design of a lens. The effect occurs when light rays from the periphery have a different incidence angle than those in the center, resulting in a decrease in brightness at the edges.
How does vignetting affect the composition of a photograph?
Vignetting alters the composition of a photograph by drawing the viewer's eye toward the center, creating a natural focus point and potentially adding depth and a sense of drama to the image.
Can vignetting be added during post-processing?
Yes, vignetting can be introduced during post-processing with various photo editing software, allowing photographers to control the intensity and spread of the vignette effect.
What role does a vignette play in the focus and depth of a photo?
A vignette emphasizes focus and depth in a photo by subtly darkening the edges, which can guide the viewer's attention towards the subject or a specific part of the image, creating a more dynamic and layered composition.
Are there tools available to create vignette effects in photo editing software?
There are numerous tools available in photo editing software to apply a vignette effect. These often include sliders to adjust the size, shape, and intensity, providing us with complete creative control over the final result.


